How to Stop Your Carpet from Fraying at the Metal Thresholds
Most guys skip the leveling compound. They think the underlayment will hide the dip. It won’t. I spent three days grinding concrete on a job last month just so the floor wouldn’t click like a castanet. I saw the same issue at the doorway. A $4,000 carpet install was falling apart because the transition was an afterthought. The edges were fuzzy and unraveling like an old sweater. It is a common sight in homes where the installer was in a hurry to get to his next paycheck. When you see those loose threads at the metal strip, you are looking at a mechanical failure of the carpet backing and the subfloor interface. If the subfloor is not flat, the metal strip cannot sit flush. If the metal strip is not flush, the carpet moves. When the carpet moves, it frays. It is physics, plain and simple. I smell the oak dust and the WD-40 on my hands as I write this, thinking about the hundreds of homes where the floor leveling was ignored, leading to this exact disaster. You cannot fix a frayed edge with a pair of scissors. You have to address the structural tension and the chemical bond of the fibers themselves.
The mechanical reality of transition failures
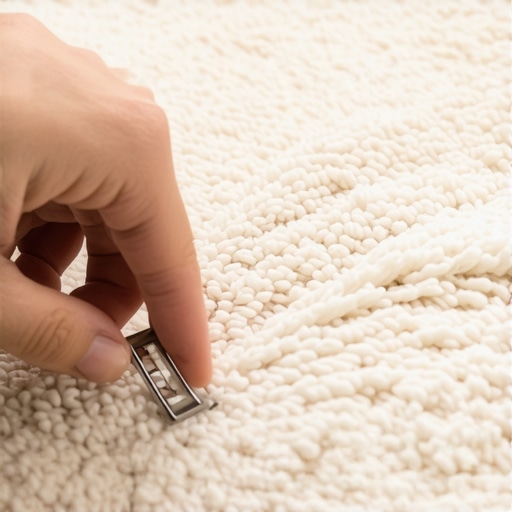
Carpet fraying occurs when the primary and secondary backing of the textile are exposed to abrasive friction against a metal threshold. This usually happens because the tack strip is placed too far from the transition or the carpet nap is not properly tucked into the gulley of the metal edge. When you walk across a transition, your foot applies several hundred pounds of pressure per square inch. If there is a gap between the carpet and the metal, that pressure causes the carpet to shift. This shifting creates a sawing action against the edge of the aluminum or brass strip. Over time, the polypropylene yarns are sliced away from the latex adhesive that holds them in place. This is not just an aesthetic problem. It is a sign that the carpet install is structurally unsound. You have to ensure that the tension of the power stretch is maintained all the way to the very edge of the room. Without that tension, the fibers have nowhere to go but out.
“A floor is only as good as the subfloor beneath it; deflection is the enemy of every joint.” – Master Flooring Axiom
The role of floor leveling in transition stability
Floor leveling is the foundation of a successful carpet transition because a flat subfloor ensures the metal threshold sits at a consistent elevation. If the concrete slab or plywood subfloor has a dip at the doorway, the transition strip will flex every time it is stepped on. This deflection pulls the carpet fibers out of the tucker. I have seen guys try to shim a metal strip with scraps of cardboard or extra padding. That is a recipe for a callback. You need a self-leveling underlayment with a high compressive strength, usually around 3,000 PSI, to create a dead-flat plane. When the metal strip is mounted to a perfectly flat surface, it acts as a clamp. It locks the carpet edge in place and prevents the micro-movements that lead to fraying. Even a 1/8 inch deviation over ten feet can be enough to ruin the structural integrity of your carpet install at the most high-traffic point in the house.
The chemical bond of latex seam sealers
Latex seam sealer is the chemical defense against carpet fraying because it reinforces the molecular bond between the face fibers and the synthetic backing. Most installers skip this step because it takes an extra five minutes to dry. That is a mistake. When you cut a carpet to fit a metal threshold, you are essentially creating a raw edge. Those fibers are only held in by a thin layer of SBR latex applied at the factory. By applying a bead of thermoplastic or liquid latex sealer along the cut edge, you are creating a welded border. This prevents the yarn twists from blooming. If you are dealing with a berber carpet or a loop pile, this step is mandatory. A single pulled loop can unzip an entire room of carpet. The sealer acts as a buffer between the metal teeth of the threshold and the delicate yarns.
| Transition Type | Fray Risk | Required Tooling | Best Use Case |
|---|---|---|---|
| Fluted Metal | High | Hammer, Tin Snips | Basements and Rentals |
| Z-Bar Transition | Low | Power Stretcher, Stair Tool | High-End Residential |
| Nap Lock Strip | Medium | Rubber Mallet | Standard Bedroom Doorways |
| Wood to Carpet | Very Low | Chisel, Seam Tape | Living Room to Kitchen |
The geometry of the tuck and the gulley
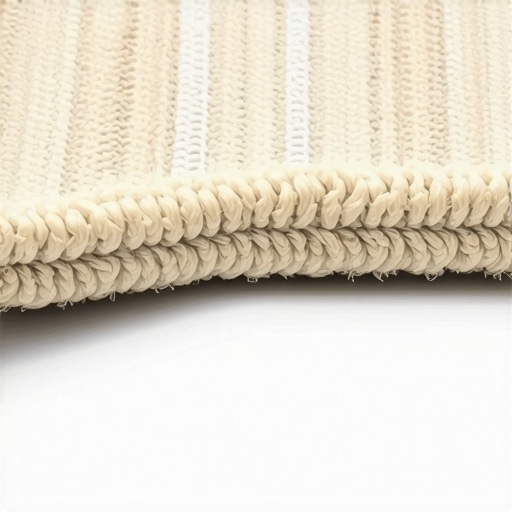
The carpet gulley is the recessed space between the tack strip and the metal threshold where the excess carpet is folded and hidden. If this gulley is too wide, the carpet will bridge the gap and eventually collapse into the void, causing the edge to pop out and fray. If the gulley is too narrow, you cannot get enough material tucked in to create a friction lock. The ideal width is exactly two-thirds the thickness of the carpet. You need a stair tool or a dead-blow hammer to drive that carpet into the crevice. This creates a mechanical wedge. When the metal lip is then hammered down, it compresses the cushion and the backing together. This sandwich effect is what keeps the edge from ever seeing the light of day. I always tell my apprentices that if you can see the backing of the carpet at the transition, you have already failed the job. The nap should roll over the edge of the metal like a wave, hiding the structural components entirely.
How to fix a fraying edge at a doorway
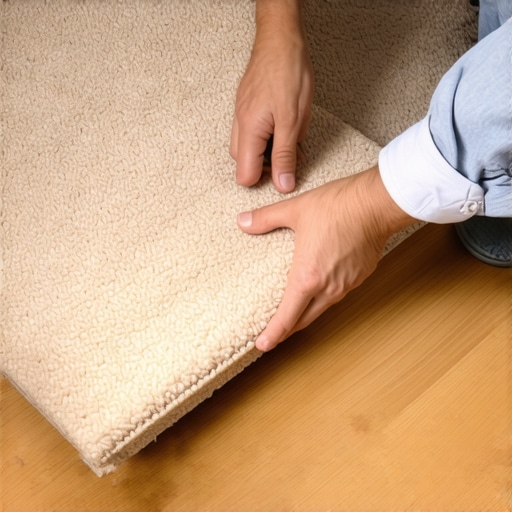
Repairing a frayed carpet requires re-tensioning the textile and sealing the edges before re-tucking them into a new transition strip. You cannot simply glue the threads back down. You must first trim the loose filaments with a duckbill shear to create a clean working edge. Following this, you must determine if there is enough slack in the carpet to re-stretch it. If the carpet install was done correctly the first time, you should have about an inch of play. Use a knee kicker to pull the carpet toward the metal threshold. Before you lock it down, apply a continuous bead of seam sealer. Replace the old, bent metal strip with a new heavy-duty aluminum version. A nap lock transition is best for this because it has built-in teeth that grab the backing. Once the carpet is stretched over the teeth, use a rubber mallet and a scrap piece of 2×4 to evenly crimp the metal lip down. This ensures the pressure is distributed laterally across the entire threshold, preventing localized stress points.
- Inspect the subfloor for moisture or alkalinity that might degrade adhesives.
- Remove any old staples or nails that could snag the carpet backing.
- Use a premium underlayment that matches the pile height of the adjacent flooring.
- Apply seam sealer to every cross-cut without exception.
- Ensure the metal threshold is anchored with hardened steel screws, not just nails.
- Vacuum the gulley before tucking to ensure no debris interferes with the lock.
The ghost in the expansion gap
In regions with high humidity like Florida or the Gulf Coast, the expansion and contraction of the subfloor can literally pull the carpet out of its transitions. If you are installing over laminate or hardwood in a wet area like showers or bathrooms, the moisture vapor will cause the wood fibers to swell. This movement puts immense pressure on the metal threshold. I have seen heavy-duty transitions sheared right off the subfloor because the installer didn’t leave a 1/4 inch expansion gap. The carpet then becomes the anchor point for all that kinetic energy. It frays because it is being tugged back and forth by the climate-controlled interior fight against the outside humidity. In these environments, I always recommend using a silicone-modified adhesive to bond the metal strip to the slab, in addition to mechanical fasteners. This provides a flexible joint that can absorb the seasonal movement without sacrificing the carpet edge.
“Deflection at the threshold is the primary cause of premature textile fatigue in residential environments.” – Tile Council of North America Standards Adaptation
The 1/8 inch that ruins everything
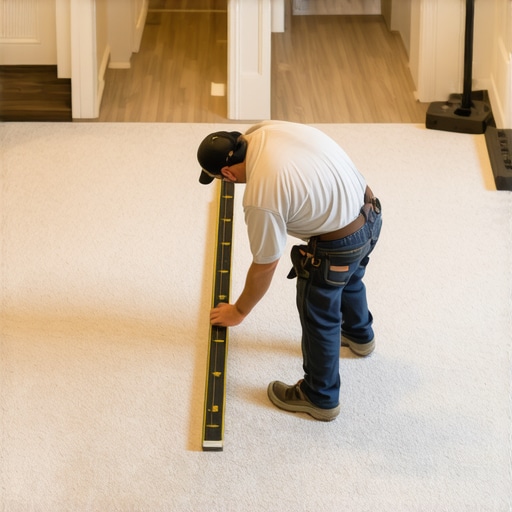
If your metal threshold is 1/8 inch too high, it becomes a trip hazard and a carpet shredder. If it is 1/8 inch too low, it won’t clamp the fibers. Precision is the only thing that separates a Master Floor Installer from a handyman. You have to measure the compressed height of the carpet and padding together. Most people forget that the pad will deflate over time. If you set your metal strip based on the uncompressed height, the transition will be loose within six months. This looseness allows grit and dirt to get under the carpet edge. That grit acts like sandpaper, grinding away at the latex backing from the underside. This is why floor leveling is so critical. You are not just making it pretty. You are calibrating the height of the mechanical assembly. When I walk onto a job site, I can tell immediately if the installer used a level. The transitions tell the whole story. If they are gapped or crooked, the carpet will be bald at the doorway in two years. I don’t care if you’re installing laminate or solid oak, the threshold is where your reputation lives or dies. Keep your blades sharp, your tucks tight, and your seams sealed. That is how you stop the fray.