The ‘Feather Edge’ Secret for Perfectly Smooth Flooring Transitions
Most guys skip the leveling compound. They think the underlayment will hide the dip. It won’t. I spent three days grinding concrete on a job last month just so the floor wouldn’t click like a castanet. I have seen installers try to shim a laminate joint with cardboard. It lasted a week. Flooring is not about what you see on top. It is about the gray, dusty mess underneath that you spend ten hours prepping. If you do not respect the flat plane, the floor will fight you back. I smell like WD-40 and oak dust most days, and that is because I am on my knees making sure the subfloor is within 1/8 inch of perfect. You cannot hide a bad foundation with a expensive finish. The physics of deflection will eventually snap the tongues off your planks, and you will be left with a clicking, shifting mess that costs thousands to rip out.
The phantom dip that kills your laminate
Subfloor flatness requires a deviation of no more than 1/8 inch over 10 feet for Laminate, LVP, and Hardwood installations. If your concrete slab or plywood subfloor has a dip, the locking mechanisms will fail under the weight of foot traffic, leading to joint separation. People think laminate is forgiving because it is a floating floor. That is a lie. A floating floor is actually more sensitive to subfloor imperfections because the air gap creates a trampoline effect. When you step on a plank over a dip, the board bows. This movement puts immense stress on the click-lock joint. Over a few months, the HDF core will fatigue and crumble. This is why you must use a feather edge compound to fill those low spots before a single plank hits the ground. You are not just filling a hole, you are creating a structural bridge for the floor to sit on. [image_placeholder_1]
“A floor is only as good as the subfloor beneath it; deflection is the enemy of every joint.” – Master Flooring Axiom
The chemistry of the perfect bond
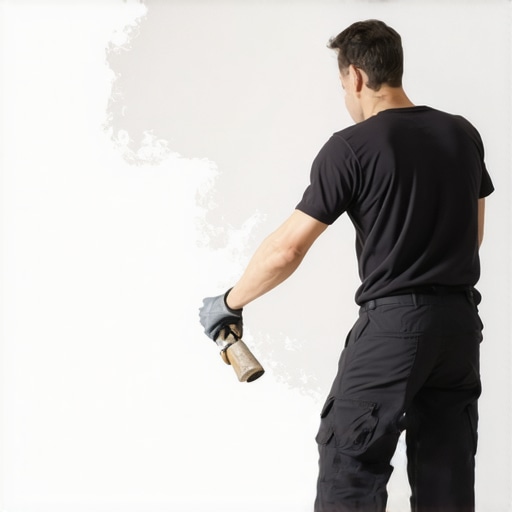
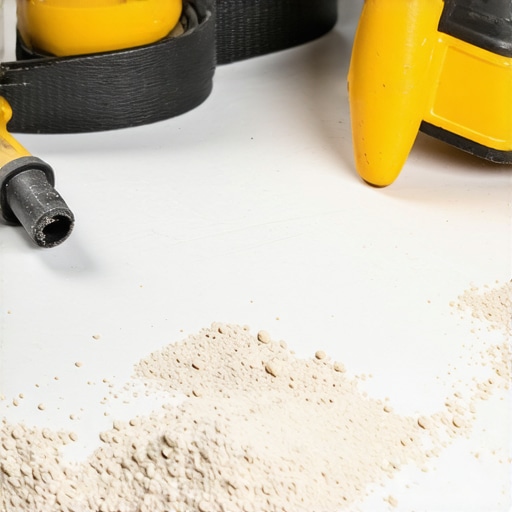
Using a polymer-modified feather finish allows for a tenacious bond to non-porous surfaces without the need for a primer. This Portland cement-based compound fills surface defects, grout lines, and seams to ensure the finished flooring lies perfectly flat without telegraphing imperfections from below. Most guys use cheap gypsum-based patches. Do not do that. Gypsum is soft and brittle. It will eventually turn back to powder under the constant vibration of footsteps. You want a product that uses calcium aluminate cement. This stuff dries fast and has a compression strength that rivals the original slab. When you mix it, you are looking for the consistency of peanut butter. If it is too runny, it will shrink and crack. If it is too thick, you cannot feather it out to a true zero edge. The goal is to make the transition from the patch to the slab invisible to the touch.
Why your shower transition is destined to fail
Proper shower transitions require a waterproof membrane that integrates with the subfloor leveling to prevent moisture migration. In a bathroom remodel, the transition between the wet area and the dry floor is the primary point of failure for thin-set and grout bonds. The problem is usually height. You have a thick tile and mud bed in the shower, and a thinner floor in the hallway. If you do not feather that transition over a long enough distance, you create a trip hazard and a stress point. I have seen water travel six feet under a floor because the installer did not seal the edge of the leveling compound. You need to use a high-quality sealant at the change of plane. Do not trust the grout to hold back the water. Grout is porous. It is basically a hard sponge. Use a color-matched 100 percent silicone caulk at the threshold to allow for the expansion and contraction that happens when the shower heats up and cools down.
The physics of the carpet to tile jump
A carpet install next to tile or hardwood requires a tack strip set exactly 3/8 inch away from the hard surface to allow for a tucked edge. This creates a flush transition that eliminates the need for ugly metal transition strips while ensuring the carpet pile does not fray. Most carpet guys are in a hurry. They nail the strip too close or too far. If it is too close, you cannot tuck the carpet deep enough. If it is too far, you get a visible gap where the subfloor shows through. When you are moving from carpet to a higher surface, you might need to build up the subfloor with a feather edge. I have spent hours troweling out a ramp over four feet just so the transition feels natural underfoot. If the height difference is more than 1/2 inch, you cannot just tuck it. You have to build a sub-slope. It is about the ergonomics of the walk. You should be able to walk through the house blindfolded and never feel a change in elevation.
| Material Type | Max Deviation (10ft) | Required PSI | Bond Method |
|---|---|---|---|
| Laminate | 1/8 inch | 3000 | Mechanical Lock |
| LVP (Vinyl) | 3/16 inch | 2500 | Pressure Sensitive |
| Ceramic Tile | 1/4 inch | 4000 | Chemical Thin-set |
| Solid Hardwood | 1/8 inch | 3500 | Cleat or Nail |
The 1/8 inch that ruins everything
Precision floor leveling is achieved by screeding the compound across the subfloor using a straight edge to identify low spots. Any elevation change greater than 1/8 inch over a ten-foot radius will cause structural stress on the locking mechanisms of modern click-lock flooring systems. This is a hard rule. I carry a 10-foot box beam level on every job. I do not care if the house is brand new. Builders are sloppy. They leave humps at the seams of the plywood and dips in the middle of the joist spans. If you ignore these, your floor will squeak. A squeak is just the sound of two pieces of wood or plastic rubbing together under pressure. It means there is a void underneath. By using a feather edge compound, you are essentially erasing those voids. You are turning a chaotic surface into a laboratory-flat plane. It takes time. It is back-breaking work. But it is the difference between a floor that lasts 30 years and one that needs replacing in three.
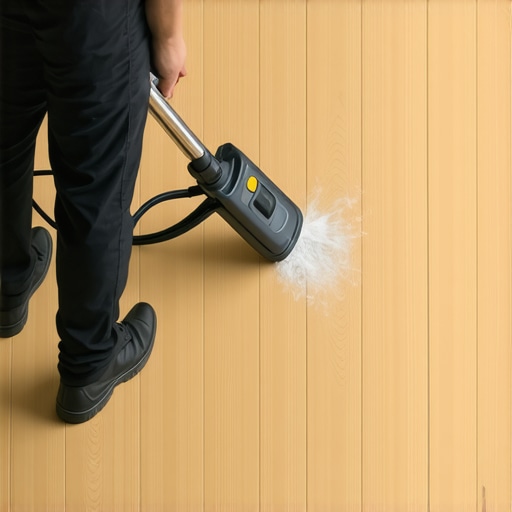
- Vacuum the subfloor twice to remove all dust.
- Scrape off any drywall mud or paint overspray.
- Apply a high-solids primer to ensure the patch sticks.
- Mix the feather edge compound in small batches.
- Use a flat stainless steel trowel at a 45-degree angle.
- Let the compound dry completely before sanding high spots.
The truth about self-leveling myths
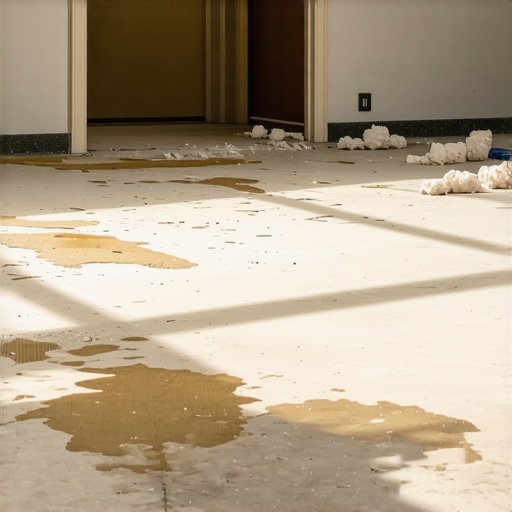
Standard self-leveling underlayment is not truly self-leveling and requires manual manipulation with a spiked roller or gauge rake. You cannot just pour it out and walk away. Gravity is not that kind. You have to help it along. You also have to watch the water-to-powder ratio like a hawk. If you add an extra cup of water, you dilute the polymers. The surface will look fine for a week, then it will start to flake off like a bad sunburn. This is why I prefer feather edge patches for most transitions. They give you more control. You can shape the ramp. You can control the thickness. In humid climates like Florida or the Gulf Coast, the moisture in the air can slow down the drying time. If you install over damp patch, you are trapping water. That water will eventually cause the adhesive to re-emulsify or the wood to swell. Check it with a moisture meter. Every time.
“Surface preparation is 90 percent of the installation; the finish is just the reward for the work.” – NWFA Professional Standard
The 1000-grit finish for transitions
Fine sanding of the feather edge ensures that high-gloss finishes or thin-gauge LVP do not show ghost lines from the patching compound. If you are installing a 2mm vinyl plank, every grain of sand under that floor will look like a mountain once the light hits it. I usually go back over my patched areas with a fine-grit sanding block. I want it to feel like glass. This is the zooming part of the job. You have to get down and look at the floor at an angle. Use a work light on the floor to cast long shadows. If there is a hump, the shadow will find it. This level of detail is what separates a craftsman from a handyman. A handyman wants to get the job done by five o’clock. A craftsman wants the floor to be perfect for the next generation. It is about pride in the substructure. It is about the science of the surface. Stick to the NWFA guidelines. Use the right chemistry. Don’t be lazy with the trowel. Your knees will hurt, but your reputation will be solid.