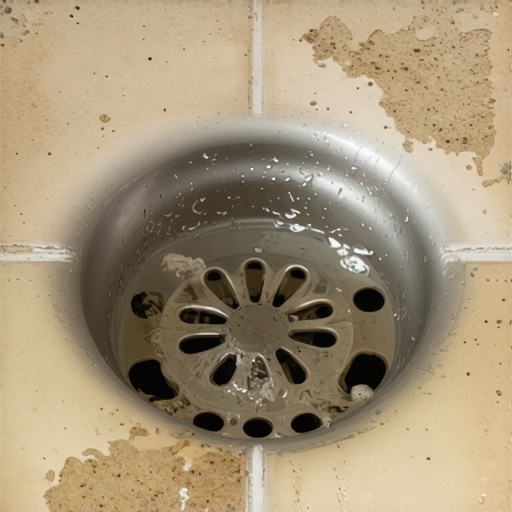
Why Your Shower Niche Drain Is Clogged with Grout
Most guys skip the leveling compound. They think the underlayment will hide the dip. It won’t. I spent three days grinding concrete on a job last month just so the floor wouldn’t click like a castanet. That job taught me that shortcuts in the wet zone are even more dangerous than a bouncy subfloor in a living room. When you are dealing with a shower niche, you are dealing with the most precision-dependent part of the entire bathroom. If your drain is clogged with grout, it is not just a plumbing issue. It is a sign of a fundamental failure in installation hygiene and structural planning. I have seen fifteen thousand dollar wide plank walnut floors ruined by moisture, but a clogged shower drain from grout is a special kind of neglect that starts the moment the bag is opened.
The concrete dust that haunts your plumbing
Grout clogs occur because installers wash excess material down the drain during the cleaning phase of a tile installation. This slurry consists of portland cement and fine aggregates that settle in the P-trap and harden underwater. Unlike organic clogs, grout creates a physical stone barrier that requires mechanical removal or aggressive chemical intervention. It is a avoidable disaster. The weight of the grout is higher than the force of the water used to rinse sponges. This means the heavy particles drop to the lowest point of the plumbing and stay there. They undergo a chemical hydration process. They turn back into solid rock while sitting in your pipes.
“A floor is only as good as the subfloor beneath it; deflection is the enemy of every joint.” – Master Flooring Axiom
The math of a perfect shower slope
A shower niche must have a positive slope of at least one eighth of an inch toward the shower floor to prevent standing water. Without this pitch, water sits on the horizontal surface and begins to break down the grout via capillary action. This leads to mold and eventually structural rot behind the cement board. When we talk about showers, we are talking about gravity. If you ignore the 1/4 inch per foot rule for the main floor, you are asking for puddles. The same applies to the tiny shelf in your wall. I use a digital level on every niche. If it is flat, it is wrong. If it slopes backward, it is a bathtub for bacteria.
Why your subfloor is lying to you
Subfloor levelness is the single most ignored factor in high quality flooring installations across all materials. Whether you are putting in showers, laminate, or carpet, a dip in the floor will manifest as a failure in the finished product. In laminate, it causes the locking tabs to snap. In carpet install scenarios, it creates ripples that no power stretcher can fix. For a shower, an unlevel subfloor means your pre-slope is off from the start. You cannot build a perfect wet system on a crooked foundation. I spend more time with a floor grinder and self-leveling underlayment than I do with a tile saw. That is the difference between a floor that lasts forty years and one that fails in four.
| Grout Type | Compressive Strength | Water Absorption | Best Use Case |
|---|---|---|---|
| Sanded | 3000 PSI | Moderate | Joints wider than 1/8 inch |
| Unsanded | 2500 PSI | Higher | Narrow niche joints |
| Epoxy | 8000 PSI | Near Zero | High moisture zones |
The microscopic war between water and cement
Hydration is the chemical process where cement particles form interlocking crystals of calcium silicate hydrate. When grout is washed into a drain, this process does not stop just because it is submerged. In fact, the presence of water can sometimes assist the curing of certain cementitious compounds. The particles are dense. They are heavy. They find the belly of a pipe and they rest there. Once they interlock, you no longer have a clog. You have a new section of concrete pipe inside your PVC. This is why I tell my apprentices that the bucket of wash water never goes down the tub. It goes outside into a sediment bin.
The ghost in the expansion gap
Expansion gaps are the lungs of a floor, allowing it to breathe as humidity levels fluctuate throughout the seasons. In the Pacific Northwest, where the air is thick with moisture, a laminate floor will grow significantly. If you do not leave that 3/8 inch gap at the perimeter, the floor will peak. It will buckle. It will ruin your baseboards. The same logic applies to tile transitions. You must use a flexible 100 percent silicone sealant at change of plane joints. Hard grout in a corner will crack. It is not a matter of if, but when. The house moves. The wood moves. The tile stays rigid. Something has to give.
The 1/8 inch that ruins everything
Precision in flooring is measured in increments that most homeowners cannot see with the naked eye. A 1/8 inch deviation over 10 feet is the industry standard for a subfloor. If you exceed that, your floor leveling becomes a rescue mission. I have seen guys try to fill dips with extra thin-set. This is a crime. Thin-set is an adhesive, not a structural filler. As it cures, it shrinks. If the layer is too thick, it pulls at the tile and creates tension. This leads to hollow spots. You walk on it and it sounds like a drum. It feels cheap. It feels like a builder-grade mistake.
“The bond between the tile and the substrate is a chemical marriage that cannot tolerate the interference of dust or excess moisture.” – TCNA Handbook Guidelines
- Verify subfloor deflection is less than L/360.
- Check niche slope with a digital level.
- Vacuum all dust before applying thin-set.
- Measure moisture in the concrete slab.
- Ensure the P-trap is clear before grouting.
The chemistry of modern adhesives
Modified thin-set contains polymers that increase the shear strength and flexibility of the bond. These polymers are vital for large format tiles. They allow the assembly to withstand the minor vibrations and shifts of a residential structure. Without these additives, the bond is brittle. In a shower niche, where you have multiple cuts and corners, you need that extra grab. I prefer a high-grade white thin-set for niches to prevent ghosting through lighter stones. It is about the details that no one sees until they fail.
The regional moisture factor
In high humidity environments like Houston or Seattle, moisture vapor transmission through a concrete slab can blow the finish off a floor. You must use a moisture barrier. You must test the slab with calcium chloride or an in-situ probe. If you ignore the vapor, the vapor will find a way out. It will push through the adhesive. It will cloud the finish on your hardwood. In a bathroom, this vapor pressure can lead to delamination of the waterproofing membrane if it was not installed with 100 percent coverage. I have seen entire walls of tile peel off like an orange because of trapped moisture. It is a slow motion train wreck.
A checklist for a dry house
Successful installation requires a sequence of operations that cannot be rearranged for the sake of speed. You start with the subfloor. You grind the high spots. You fill the low spots. You check for deflection. Only then do you start the waterproofing. Every step is a layer of defense. If your niche is clogging the drain, you have already failed the hygiene step of the process. You have allowed construction debris to enter the finished plumbing. This is a sign of a messy site. A messy site leads to a messy finish. I keep my jobs clean enough to eat off because dust is the enemy of adhesion. If there is grout in your drain, there is likely dust under your tile.