The Rubber Mallet Mistake That Breaks Tile Corners
The invisible physics of the mallet strike
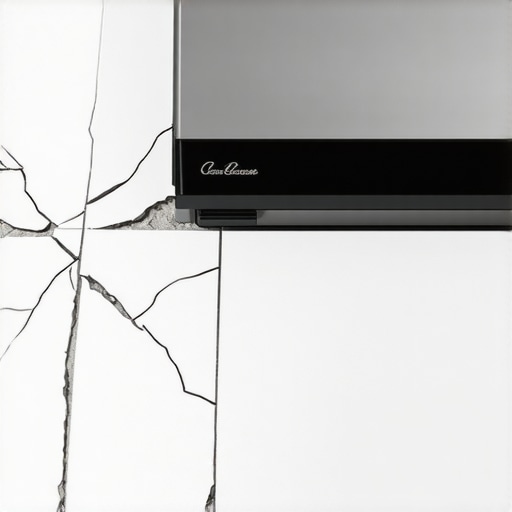
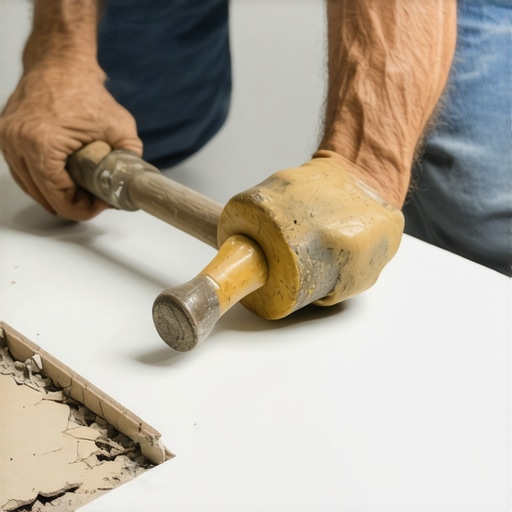
The rubber mallet mistake that breaks tile corners occurs when an installer strikes a tile over a hollow spot or air pocket in the thin-set mortar. This creates a cantilever effect where the impact energy has no substrate to absorb the force, causing the brittle ceramic or porcelain to snap immediately.
You can smell the damp concrete and the sharp, alkaline scent of freshly mixed mortar on every job site I run. I have spent twenty five years on my knees with a moisture meter and a six foot level. I see the same disaster every week. A guy picks up a twenty four ounce rubber mallet and thinks he is being gentle. He is not. He is applying concentrated kinetic energy to a material that has high compressive strength but nearly zero flexural depth. If you hit a corner that is not backed by one hundred percent mortar coverage, you are not installing a floor. You are playing a very expensive game of glass breaking. The sound is unmistakable. It is a sharp, sickening pop that tells you that you just wasted a sixty dollar plank of large format porcelain. This happens because most installers do not understand the molecular reality of the bond. They think the mallet settles the tile. In reality, the mallet should only be used to vibrate the ridges of the mortar into a collapsed, flat bed that eliminates the air. If the air stays, the tile dies.
The subfloor secret that contractors ignore
Most guys skip the leveling compound because they think the underlayment or the mortar will hide the dip in the concrete. It will not. I spent three days grinding concrete on a job last month just so the floor would not click like a castanet or crack under the first heavy footfall.
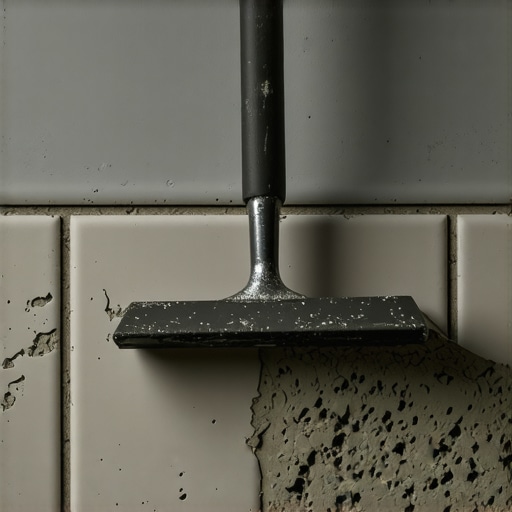
Subfloor preparation is the only part of the job that actually matters. You can buy the most expensive Italian marble in the world, but if your subfloor has a dip of more than one eighth of an inch over ten feet, that marble is going to crack. I remember a job in a high rise where the slab was so wavy it looked like the Atlantic Ocean. The contractor wanted to just ‘slap some extra thin-set’ in the holes. That is a crime in my book. When you have a dip, the tile spans it like a bridge. Bridges are meant to flex. Tile is not. I had to bring in a planetary grinder with diamond segments to shave down the high spots. The dust was everywhere, thick and grey, smelling like ancient earth. We then used a high flow self leveler with a grit of sand to build a surface that was dead flat. This is the difference between a floor that lasts fifty years and a floor that fails in five months. If you are not checking for deflection, specifically the L over 360 standard for ceramic, you are setting yourself up for heartbreak. For natural stone, you better be at L over 720. That means the floor moves half as much. If the floor moves, the grout pops. If the grout pops, the water gets in. If the water gets in, the job is over.
“A floor is only as good as the subfloor beneath it; deflection is the enemy of every joint.” – Master Flooring Axiom
The chemistry of the thin-set bond
Thin-set mortar is not just mud. It is a sophisticated chemical adhesive. Modern polymer modified mortars use ethylene vinyl acetate to create a flexible yet incredibly strong bridge between the substrate and the tile, ensuring that the bond survives the thermal expansion and contraction of the building.
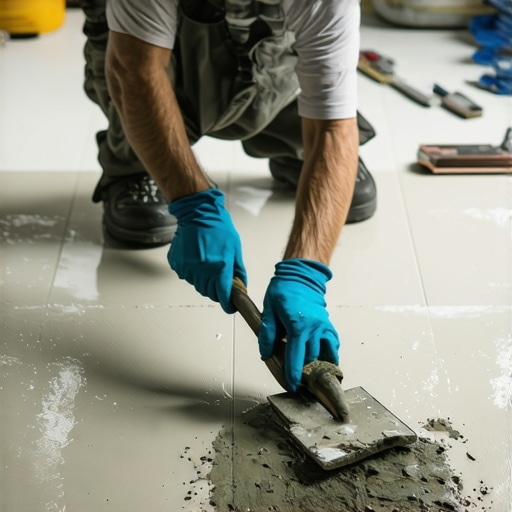
When you mix a bag of high performance mortar, you are triggering a hydration reaction. I see guys adding too much water because they want it to spread easier. They are ruining the chemistry. Too much water leaves microscopic voids when it evaporates. Those voids are weak points. I prefer a mortar with a high creaminess factor that holds the ridge shape. You need to use a notched trowel, and you must trowel in straight lines. Never use swirls. Swirls trap air. When you set the tile, you move it perpendicular to the ridges. This collapses the ridges and pushes the air out the sides. If you trap air in the center, you have created a drum. A drum sounds hollow when you walk on it, and it breaks when you drop a pot on it. In showers, this is even more vital. A shower floor failure is a nightmare of mold and rot. You need one hundred percent coverage in wet areas. No excuses. I always back butter my tiles. I take the flat side of the trowel and burn a thin layer of mortar into the back of the tile before I set it. This ensures the chemical bond is locked into the tile pores before it ever hits the floor bed.
Why your waterproof laminate is not a swimming pool
Waterproof laminate and LVP flooring are only waterproof from the top down. Moisture vapor rising through a concrete slab can still destroy the core or cause mold growth if a proper six mil poly film moisture barrier is not installed before the planks are clicked together.
I hear it every day at the shop. Customers think they can flood their laminate floors because the box says waterproof. I tell them to think again. The planks themselves might not swell, but the water will sit in the locking mechanisms and rot the subfloor. If you have a crawlspace with high humidity, that moisture is moving up. It hits the bottom of your floor and gets trapped. That is why I am a stickler for acclimation. You cannot take wood or laminate from a cold truck and put it down in a warm house immediately. It needs forty eight to seventy two hours to reach equilibrium. If you skip this, the floor will grow or shrink after you install it. It will buckle. It will gap. I have seen floors lift two inches off the subfloor because they were jammed tight against the walls with no expansion gap. You need that gap. The baseboard covers it, so stop worrying about how it looks during the install. Focus on the physics.
| Material Type | Janka Hardness | Acclimation Time | Max Deflection |
|---|---|---|---|
| Solid White Oak | 1360 | 7 to 10 Days | L/360 |
| Engineered Maple | 1450 | 3 to 5 Days | L/360 |
| Porcelain Tile | N/A | None | L/360 |
| Natural Stone | N/A | None | L/720 |
The ghost in the expansion gap
The expansion gap is the most ignored rule in floor leveling and laminate installation. Every floating floor requires a minimum of one quarter inch space around the entire perimeter to allow for the natural expansion of the material as the indoor humidity changes throughout the seasons.
I have walked into houses where the floor was peaking at the seams. It looks like a little mountain range. The homeowner is crying, the installer is gone, and the floor is ruined. Why? Because they installed the kitchen island on top of the floating floor. You cannot do that. You have locked the floor in place. It cannot move. When the humidity hits in the summer, the floor expands. If it has nowhere to go, it goes up. I always install the island first, then floor around it. Or, if the floor must go under, I drill massive pilot holes for the screws so the floor can still slide. It is about respecting the movement of the materials. Even tile needs movement joints. If you have a run longer than twenty feet, you need a soft joint filled with 100 percent silicone caulk, not grout. Grout is rigid. Silicone moves. Without those joints, the floor will tent and snap.
“Coverage is the hallmark of a professional; eighty percent is a failure, ninety five percent is the standard, and one hundred percent is the goal.” – TCNA Handbook Synthesis
A checklist for a crack free installation
- Check subfloor flatness with a ten foot straight edge to ensure no more than one eighth inch variation.
- Measure moisture content in wood subfloors or relative humidity in concrete slabs before opening boxes.
- Mix mortar with a low speed drill to avoid whipping air into the mixture which weakens the bond.
- Use the correct trowel notch size based on the tile dimensions to ensure proper coverage.
- Back butter every tile larger than twelve inches to guarantee a mechanical and chemical bond.
- Leave a consistent expansion gap around the perimeter and at all vertical obstructions.
- Avoid heavy foot traffic or furniture placement for at least twenty four to forty eight hours after install.
The final word on the carpet install transition
A proper carpet install transition requires a tack strip placed exactly one quarter inch away from the hard surface edge. This allows the carpet to be tucked into the gully, creating a clean look that does not require a bulky metal transition strip.
I hate those cheap silver transition strips you see in apartments. They are a trip hazard and they look like garbage. If you plan your floor leveling correctly, you can have a flush transition. This is the mark of a master. It requires knowing the thickness of your tile, your thin-set, and your carpet pad before you even start. I often use a shim under the tack strip to bring the carpet up to the exact height of the tile. It takes an extra hour. Most guys won’t do it. But when you walk across that floor and your toe doesn’t catch on a sharp metal edge, you will thank me. It is about the details. It is about the grind. It is about the sawdust under your nails and the pride of knowing the floor is solid. Don’t break your tile corners. Don’t rush the subfloor. Do it right the first time so I don’t have to come out and fix it next year. “,