The ‘Flashlight Test’ for Finding Hidden Gaps in Your Grout Joints
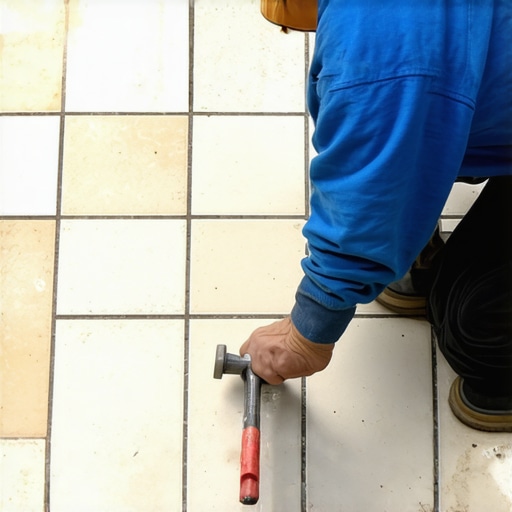
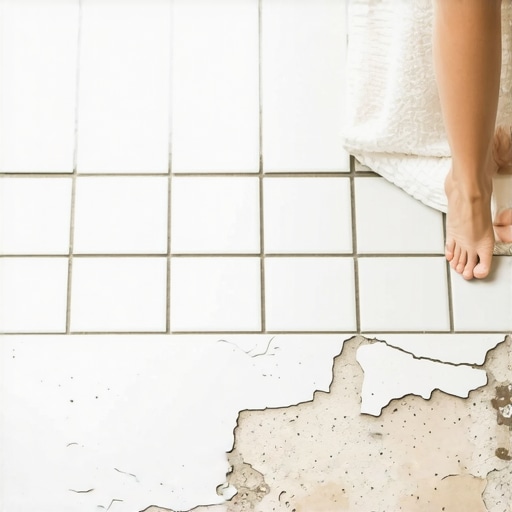
Most guys skip the leveling compound. They think the underlayment will hide the dip. It won’t. I spent three days grinding concrete on a job last month just so the floor wouldn’t click like a castanet. That job was a reality check for the homeowner who thought a few bags of cheap thin-set could bridge a half-inch valley in a slab. It cannot. When you ignore the subfloor, the surface eventually pays the price. You see it first in the grout. A hairline crack appears, then a flake pops out. Before you know it, you are looking at a structural failure disguised as a cosmetic nuisance. My hands are stained with the grey dust of a thousand grinds, and my knees tell the story of every shortcut a builder ever took. If you want a floor that lasts, you have to stop looking at the color and start looking at the chemistry and the physics of the installation.
Shadows reveal the truth about your installation
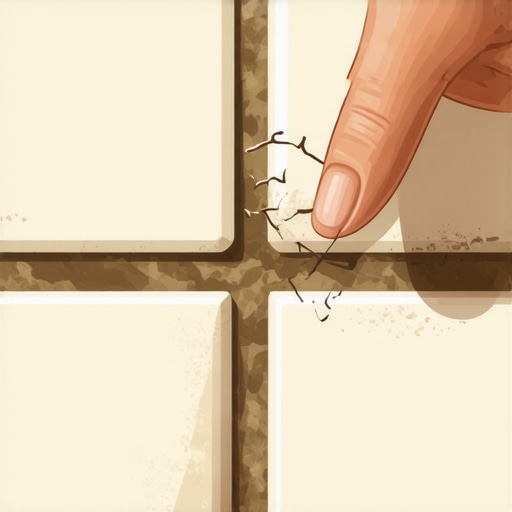
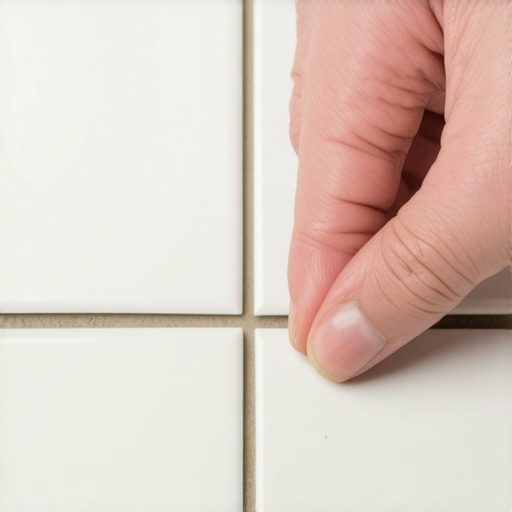
The flashlight test involves placing a high-intensity light source flat against the tile surface to cast long shadows across the grout joints. This technique highlights every high spot, low spot, and pinhole that is invisible under standard overhead lighting. By using raking light, you can identify where the grout has not been fully packed into the joint or where the tile edges are lipped. If the light reveals a shadow jumping over a gap, you have a void that will eventually harbor moisture and bacteria. This is not about being picky. It is about identifying structural weaknesses before they become expensive repairs. When I walk a job site at night with my 1,000-lumen torch, the floor tells me its secrets. A perfect floor looks like a continuous plane. A bad floor looks like a mountain range of errors.
“A floor is only as good as the subfloor beneath it; deflection is the enemy of every joint.” – Master Flooring Axiom
The physics of the void inside your tile
Grout is more than just a filler. It is a sacrificial component designed to handle the compressive forces of a room. When grout is mixed with too much water, the evaporation process leaves behind microscopic tunnels known as capillaries. These voids weaken the overall structure of the joint. If the installer was lazy and only smeared a thin layer over the top, the joint is hollow. This is where the flashlight test becomes your most valuable tool. When you see a shadow dipping into a joint, you are looking at a lack of density. Over time, the weight of foot traffic or even a heavy furniture leg will crush that hollow shell. You need a full-depth pack. We are talking about 100 percent coverage of the tile edge. Anything less is just a countdown to a crack.
The invisible collapse of polymer bonds
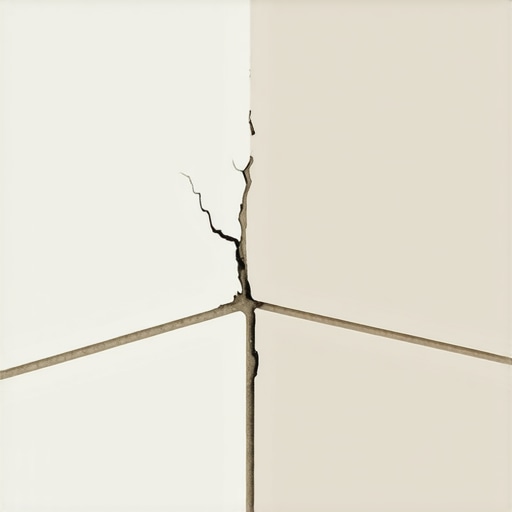
Modern grouts are often modified with polymers to increase flexibility and decrease water absorption. However, these chemicals require a specific environment to cure correctly. If the room is too hot or the subfloor is too thirsty, the water needed for hydration is sucked out before the polymer chains can link up. This results in a soft, chalky grout that looks fine to the naked eye but fails under the flashlight test. You will see micro-fissures along the tile interface where the bond has snapped. These gaps are often less than a millimeter wide, yet they are large enough for water to seep through in a shower environment. Once moisture hits the thin-set underneath, the bond to the subfloor begins to degrade. This is why floor leveling is not an option; it is a requirement. A level floor ensures a uniform thickness of thin-set, which in turn ensures the tile stays still while the grout does its job.
| Grout Type | Janka Compatibility | Typical Mil Thickness | Drying Time |
|---|---|---|---|
| Sanded Cement | High | 1/8 to 5/8 inch | 24-48 Hours |
| Unsanded Cement | Low | 1/16 to 1/8 inch | 24 Hours |
| Epoxy Grout | Superior | 1/16 to 1/2 inch | 12-24 Hours |
| Pre-mixed Polymer | Medium | 1/16 to 1/4 inch | 72 Hours |
Why floor leveling prevents grout cracking
Floor leveling is the process of creating a perfectly flat substrate using self-leveling underlayment or mechanical grinding to ensure tile stability. Without a flat surface, tiles will bridge over low spots, creating a trampoline effect. Every time you step on that tile, it flexes. Even a microscopic amount of deflection is enough to shatter the rigid structure of cementitious grout. If you are installing laminate over a floor that has not been leveled, you will hear that dreaded clicking sound. In a tile installation, that same movement results in grout dust. I have seen guys try to fix this by adding more grout on top. That is like putting a bandage on a broken leg. The movement must be stopped at the subfloor level. This usually involves a primer and a high-flow cementitious leveler that can reach a compressive strength of 4,000 PSI. That is the only way to ensure the flashlight test does not reveal a disaster six months down the line.
The shadow map of a failing shower
In showers, the stakes are significantly higher. A gap in the grout is an invitation for mold to grow behind the tile. The flashlight test in a shower often reveals “holidays” where the installer missed a spot during the final wash. Because shower tiles are often smaller, there are more grout lines and more opportunities for failure. Capillary action will pull water into the smallest pinhole, saturating the backer board. If you do not have a proper waterproof membrane like a topical liquid or a sheet-applied system, that water is going straight into your wall studs. I always tell people that the tile and grout are just the skin. The waterproofing is the internal organ. If the skin has holes, the organs are at risk. Use the light to find the holes before you turn on the water for the first time.
“Standard cementitious grout requires specific hydration levels to achieve its rated compressive strength.” – TCNA Handbook Standards
The checklist for a perfect joint
- Ensure the tile spacers are completely removed and no thin-set is oozing into the joint.
- Mix the grout to a peanut butter consistency with no lumps.
- Use a hard rubber float at a 45 degree angle to pack the joint to its full depth.
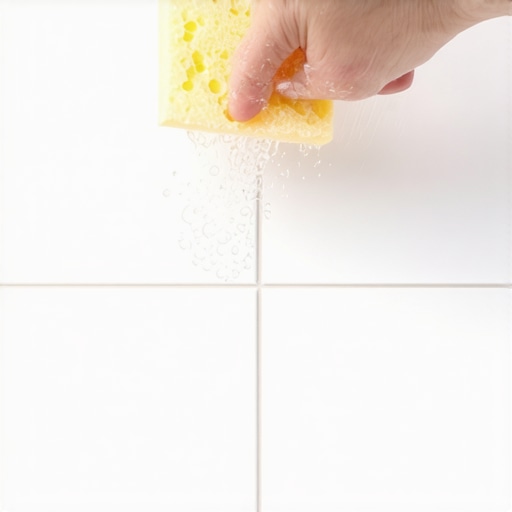
- Wait for the grout to haze before performing the first wipe with a damp, not dripping, sponge.
- Perform the flashlight test after the first wash to catch voids while the grout is still workable.
- Avoid using acidic cleaners on new grout which can eat away the fresh cement bonds.
The thermal expansion trap in laminate and tile
Laminate flooring and tile react differently to temperature, but both are slaves to the expansion gap. Many installers forget that even a tile floor needs to breathe at the perimeter. If you grout the tile tight against a wall or a stone fireplace, the floor has nowhere to go when the house settles or the temperature shifts. The pressure builds until the weakest point gives way. Usually, that is the grout joint. It will pop or tent. Laminate is even more sensitive. If you do not leave a quarter-inch gap at the edges, the boards will peak at the seams. People think they can hide these errors with baseboards, but the flashlight test will show the slight rise in the floor as it struggles against the wall. A floor needs room to exist. Do not choke it.
The myth of waterproof surfaces
Here is a piece of information that most retail salesmen will not tell you. While the material might be waterproof, the installation rarely is. Whether it is a carpet install in a basement or a luxury vinyl plank in a kitchen, moisture always finds a way. I have seen waterproof vinyl buckle because the concrete slab underneath was emitting too much vapor. The moisture gets trapped under the planks, has nowhere to go, and creates a pressure cooker effect. This is why I insist on a moisture test for every single job. If the slab is reading over 80 percent relative humidity, you are asking for trouble. You need a vapor barrier. You need to understand that the floor is a living system. It interacts with the air above it and the ground below it. If you treat it like a static object, you have already lost the battle.
The final word on the matter
A floor is the most used and abused part of any building. It deserves more than a quick glance. The flashlight test is a tool of accountability. it forces you to see the reality of the work. It separates the craftsmen from the hacks. When you take the time to level the subfloor, mix the grout correctly, and respect the physics of expansion, you create something that lasts for decades. My knees might be shot and my back might ache, but when I turn on that flashlight and see a perfectly smooth plane of shadowless grout, I know the job was done right. Stop looking at the samples in the showroom and start looking at the prep work on your job site. That is where the real beauty of a floor lives. It lives in the things you cannot see until you shine a light on them.