How to Stretch Your Carpet Without a Power Stretcher
The myth of the effortless carpet pull
I have spent twenty five years on my knees with the smell of old latex and the grit of concrete dust in my lungs. In that time, I have seen a thousand homeowners try to save a buck by skipping the professional grade power stretcher. Most of them end up calling me three months later when their living room floor starts looking like a topographical map of the Appalachian Mountains. Stretching a carpet is not about tugging on a piece of fabric. It is a structural engineering task that requires you to manipulate the molecular tension of the primary and secondary backings without snapping the locking mechanisms of the fibers. If you refuse to rent a power stretcher, you are entering a world of physical labor where your knees and a simple kicker are your only allies. You need to understand that a carpet is a living thing that reacts to humidity, subfloor prep, and the precise angle of a tack strip. I once spent three days on a job in a high rise where the installer thought he could hand stretch a dense woven Wilton. The result was a disaster of delaminated backing and ruined seams. I had to rip the whole thing out because the tension was so uneven it had literally pulled the tack strips off the floor leveling compound. We are going to avoid that. We are going to look at the physics of the stretch and why your subfloor is the most important part of the equation.
The physics of carpet tension
Carpet tension is the result of applying enough force to the secondary backing to reach its elastic limit without exceeding the shear strength of the latex bond. When you stretch a carpet, you are physically elongating the polypropylene or jute grid that holds the face yarns in place. Without a power stretcher, you must rely on a knee kicker to provide localized bursts of kinetic energy to move the material toward the perimeter pins. It is a game of inches and ounces. You are looking for a stretch of about one to one and a half percent of the total length of the room. If your room is twenty feet long, you need to find an extra three inches of carpet to tuck behind the strip. If you do not hit that mark, the carpet will eventually relax and create those ugly ripples that everyone hates.
“A floor is only as good as the subfloor beneath it; deflection is the enemy of every joint.” – Master Flooring Axiom
Why your subfloor is lying to you
Subfloor flatness is the single most important factor in a successful carpet install because any dip or hump will create a pocket of air that prevents proper tension. Most guys skip the floor leveling phase. They think the thick pad will hide the 1/4 inch dip in the plywood. It will not. I spent three days grinding concrete on a job last month just so the floor would not click like a castanet and the carpet would sit flat. If your subfloor is not level, the carpet will bridge over the low spots. When you walk on it, that bridge collapses and pulls on the tack strips. This eventually leads to the carpet popping off the pins. You need to use a high quality floor leveling compound to fill those voids. If you are working over concrete, you also have to worry about moisture. A damp slab will rot your tack strips and turn your carpet backing into mush. I have seen solid oak floors cup like potato chips and carpets grow mold because someone forgot to check the calcium chloride levels in the slab.
The tools that replace the heavy iron
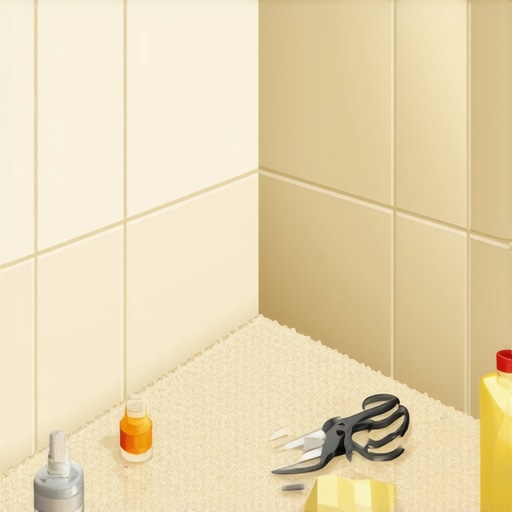
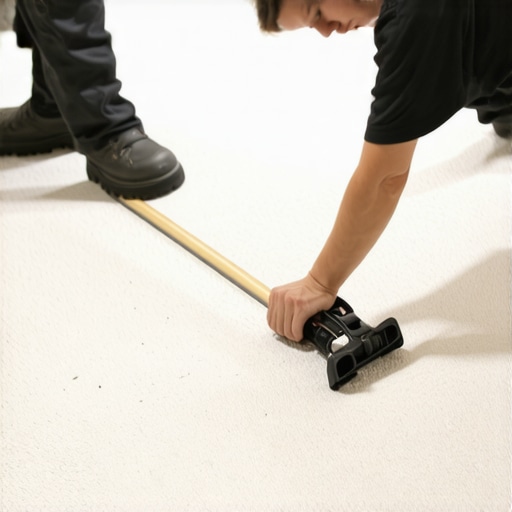
Manual carpet stretching requires a heavy duty knee kicker, a sharp utility knife, a stair tool, and a set of high quality tack strips with pre hammered nails. You cannot do this with just your hands. The knee kicker is your primary engine. You need to adjust the teeth depth to match the pile height of your carpet. If the teeth are too short, they will only grab the face yarns and rip them out. If they are too long, they will dig into the subfloor and give you zero leverage. You are aiming for the teeth to penetrate through the face yarn and firmly grasp the primary backing. This allows the force of your knee strike to transfer directly into the structure of the carpet. You also need a stair tool to drive the carpet into the gully between the tack strip and the baseboard. This creates a mechanical lock that prevents the carpet from sliding back once you release the tension.
| Metric | Power Stretcher | Knee Kicker Only |
|---|---|---|
| Total Stretch % | 1.5% to 2% | 0.5% to 1% |
| Physical Strain | Low to Moderate | Extreme |
| Risk of Ripples | Very Low | High |
| Room Size Limit | None | Small (under 12ft) |
The humidity factor in carpet stretching
Ambient humidity and temperature dictate the flexibility of the carpet backing and determine how much force is required to achieve a permanent stretch. If you are in a swampy environment like Houston, the moisture in the air will actually soften the latex in the carpet backing. This makes it easier to stretch but also means it will expand more when the AC goes out. Conversely, in the dry heat of Phoenix, the backing can become brittle. If you try to kick a dry, brittle carpet too hard, you risk snapping the primary backing. This is why acclimation is non negotiable. You need that carpet sitting in the room for at least 48 hours before you even think about touching a kicker. This allows the fibers to reach an equilibrium with the local climate. I have seen beautiful laminate and carpet jobs ruined because the installer rushed the acclimation and the floor shrunk or expanded within a week.
Steps to a wrinkle free surface
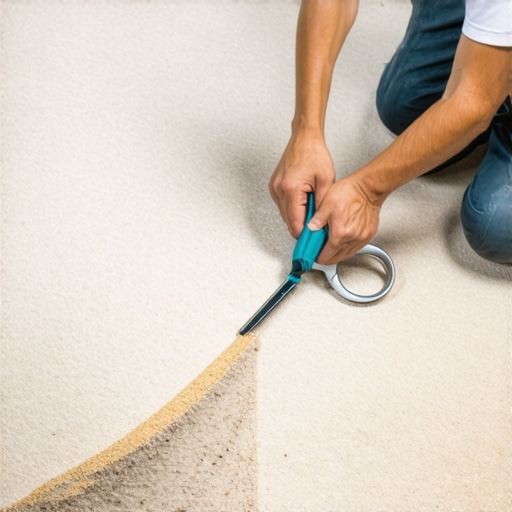
Success in manual stretching follows a strict sequence of anchoring one wall and then working in a fan pattern toward the opposite corners. Do not just start kicking randomly. You need a plan. First, you anchor the carpet on the starting wall. Use your stair tool to tuck it tight. Then, you move to the adjacent wall and anchor that. Now you have a corner locked in. From there, you use the knee kicker to push the carpet toward the far walls at a fifteen degree angle. Every strike of your knee should be followed by immediate pressure from your hand to set the backing onto the tack strip pins. It is a rhythmic process. Strike, set, tuck. Strike, set, tuck. If you see a ripple forming, you have to go back and redistribute the tension. You cannot just kick harder at the end. That is how you tear a seam.
- Inspect the subfloor for any protruding staples or nails.
- Apply floor leveling compound to any dips deeper than 1/8 inch.
- Install tack strips exactly 1/4 inch away from the baseboard.
- Vacuum the subfloor twice to ensure the adhesive on the pad sticks.
- Lay the carpet and allow it to acclimate for 48 hours.
- Start stretching from the center of the longest wall.
The molecular reality of the wear layer
The wear layer and the fiber type determine how much abuse a carpet can take during the stretching process without showing signs of stress. Nylon fibers are resilient and have a high memory, meaning they want to return to their original shape. Polypropylene is less expensive but also less elastic. If you overstretch a polypropylene carpet with a knee kicker, you can actually create permanent white stress marks in the backing. This is a chemical change where the plastic has been stretched beyond its point of no return. You also have to consider the mil thickness of the backing. A thin, cheap carpet from a big box retailer will not hold a stretch as well as a heavy, commercial grade product. This is why I tell people to avoid the bargain bin. You are buying a headache. A quality carpet has a dense weave that distributes the tension across thousands of individual fibers rather than concentrating it on a few weak spots.
“Modern synthetics require precision; the days of just ‘kicking it in’ ended with the invention of action-bac.” – Master Flooring Axiom
The danger of the heavy island
Placing heavy furniture or kitchen islands on top of a floating floor or a carpeted area kills the ability of the material to move and breathe. Homeowners always ask why their waterproof vinyl is buckling. Usually, it is because they locked it under a heavy kitchen island, killing the floor’s ability to breathe. The same logic applies to carpet. If you stretch a carpet and then immediately drop a 500 pound oak armoire on one end, you have created a fixed point. If the house settles or the humidity changes, the carpet will pull against that armoire. This is how you get ripples in the middle of a room. You must ensure that the tension is uniform across the entire surface before the furniture goes back in. If you are also doing showers or tile work in the adjacent room, make sure the transitions are clear. A bulky T-molding is an eyesore, but a zero-threshold transition requires perfect floor leveling and a master’s touch with the carpet tuck.
Final technical considerations for longevity
The longevity of a manual stretch depends on the quality of the tack strips and the density of the carpet pad underneath. If you use a cheap, airy pad, the carpet will have too much vertical travel. Every time you step on it, the carpet moves up and down. This movement eventually works the carpet off the tack strips. You want a high density 7/16 inch pad. It provides enough cushion for comfort but enough support to keep the backing stable. Also, check your tack strips. If the pins are dull or rusted, they will not grab. I always use architectural strips with three rows of pins for any room over fifteen feet. It gives you that extra bit of insurance. If you follow these rules, you can get a decent result without a power stretcher, but your knees will feel it the next day. This is the grit of the trade. It is not pretty, it is not fast, but if you respect the physics of the materials, the floor will stay flat. Just remember that 1/8 inch can be the difference between a perfect job and a total failure. Pay attention to the details, keep your knife sharp, and never trust a subfloor that you have not checked with a straightedge.