Why Your Floor Leveler Is Setting Too Fast
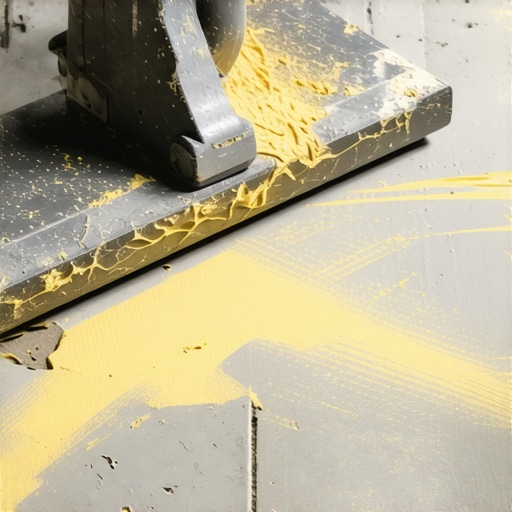
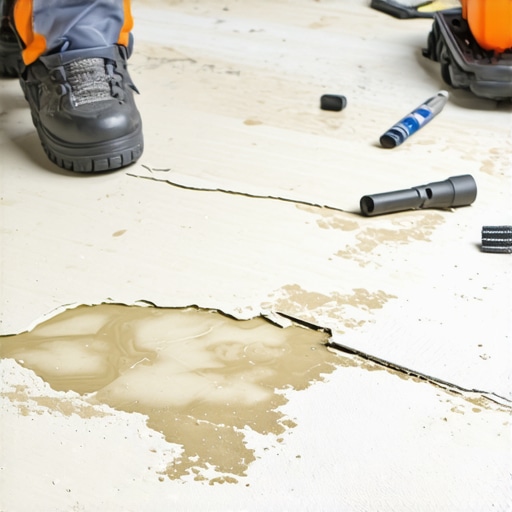
Most guys skip the leveling compound. They think the underlayment will hide the dip. It won’t. I spent three days grinding concrete on a job last month just so the floor wouldn’t click like a castanet. That job was a nightmare because the previous installer tried to pour a self leveling underlayment and it flashed on him in under five minutes. He ended up with a series of hardened ridges that looked like a topographical map of the Rockies instead of a flat surface. I had to go in with a heavy duty grinder and a vacuum system that smelled like burnt minerals and old WD-40 just to get back to a workable baseline. If you have ever seen a bag of leveler turn into a solid block while you are still trying to spread it, you know the panic of a failed pour. It is a expensive mistake that ruins your tools and your schedule.
The tragedy of the flash set
Floor leveler sets too fast because of high substrate temperatures, excessive porousness in the concrete, or improper water-to-powder ratios. When the slab sucks moisture out of the mix or heat accelerates the chemical hydration of the calcium aluminate, the product loses its flowability within minutes. This phenomenon is often called a flash set. It happens when the chemical reaction that transforms the liquid slurry into a solid mass occurs prematurely. You are left with a pile of expensive sludge that refuses to move. In a professional setting, this usually means someone skipped the primer or didn’t check the temperature of the water. Self leveling underlayment is a misnomer. It does not level itself by magic. It requires a specific fluid state to allow gravity to pull it flat. When that state is interrupted by rapid dehydration or thermal acceleration, the floor is essentially ruined before it even begins to cure.
The physics of thirsty concrete
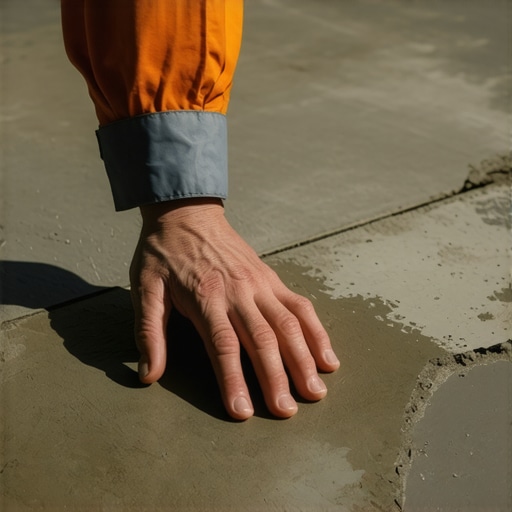
Unprimed concrete acts like a massive sponge that pulls water directly out of your leveling compound the moment it touches the surface. Without a proper primer barrier, the capillary action of the porous slab destroys the water-to-cement ratio needed for the leveler to flow properly. You have to understand the microscopic structure of a concrete slab. It is full of tiny voids and channels. If you pour a wet mix onto that dry, thirsty surface, the water is sucked down into the slab. This leaves the polymer and cement particles on the surface high and dry. They cannot flow because the lubricant, the water, is gone. This is why you see pinholes in a finished pour. Those are air bubbles escaping as the water replaces them in the slab. I always use a high-quality acrylic primer. Sometimes I use two coats if the concrete is particularly old or sandy. You want that slab to look like it has been sealed tight. If the primer is still soaking in, you are not ready to pour. You are just asking for a flash set that will require a jackhammer to fix.
“A floor is only as good as the subfloor beneath it; deflection is the enemy of every joint.” – Master Flooring Axiom
Temperature ruins everything on the job site
High ambient heat and warm mixing water are the primary catalysts for a floor leveler that sets too quickly. Chemical reactions double in speed for every ten degrees Celsius increase in temperature, meaning a hot room can cut your working time in half. I have seen guys leave bags of leveler in the back of a van in July and then wonder why the mix turned to stone in the bucket. The powder itself holds onto that heat. When you add water, you are basically kick-starting a thermal engine. If you want more time, you use cold water. I have even gone as far as putting ice in the mixing barrels to keep the temperature down. You want your mix to stay between 50 and 70 degrees Fahrenheit. Anything higher and you are racing a clock that you cannot win. This is especially true in areas like bathrooms where you might be prepping for showers. The small, enclosed space traps your body heat and the heat from the mixing drill, creating a microclimate that accelerates the cure.
Mechanical failures in the mixing bucket
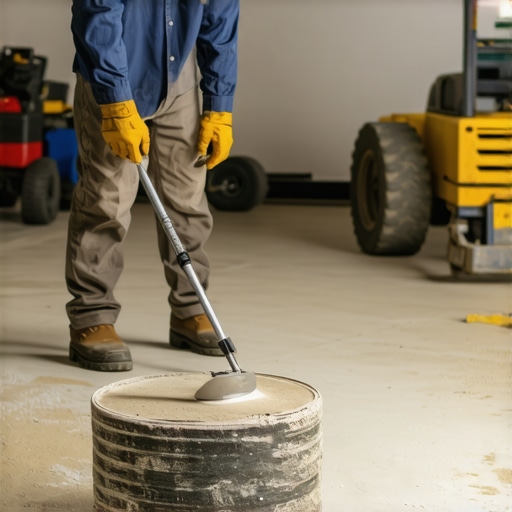
Over-mixing with a high-speed drill creates friction and introduces excessive air, both of which can cause the leveler to set faster than intended. The shear forces of a 1000 RPM drill generate internal heat within the slurry that triggers the polymers. You should be using a low-speed, high-torque drill. If you see smoke or smell something burning, you are going too fast. You want a consistent, creamy texture without a whirlpool of air bubbles. I keep my mixing station in a shaded area. I also make sure the buckets are clean. Any leftover dried leveler from a previous batch will act as a seed crystal. It will jump-start the crystallization process in the new batch. It is like a virus. Once one part of the mix starts to harden, the rest follows suit. This is a common issue during a carpet install where speed is prioritized over precision. Installers rush the mix, use a high-speed paddle, and end up with a lumpy subfloor that shows through the pad.
Technical benchmarks for subfloor preparation
| Factor | Ideal Range | Risk if Exceeded |
|---|---|---|
| Water Temperature | 50F to 65F | Flash setting and rapid cure |
| Substrate Moisture | Below 5 lbs/1000sqft | Adhesion failure and bubbling |
| Mixing Speed | 600 to 800 RPM | Heat generation and air entrainment |
| Ambient Humidity | 40% to 60% | Surface skinning or slow drying |
The ghost in the expansion gap
Floor leveler must be isolated from the walls and vertical surfaces to prevent the mix from bonding to the structure and cracking during the cure. Without foam expansion strips, the leveler will find its way into every crevice and lock the floor tight. Most people think the leveler just sits there. It doesn’t. It expands and contracts as it loses moisture. If it is bonded to the drywall and the studs, it will pull against itself and crack. I have seen cracks that look like spiderwebs across a whole room because someone forgot the perimeter strips. This is vital when you are preparing for laminate or LVP. These floating floors need a flat surface, but they also need the leveler to be stable. If the leveler cracks and heaves, your click-lock joints will snap. It is a domino effect. One mistake at the subfloor level leads to a total floor failure in six months. While most people want the thickest underlayment, too much cushion actually causes the locking mechanisms on LVP to snap under pressure, so getting the leveler perfectly flat is more important than the foam thickness.
The checklist for a level outcome
- Verify substrate temperature with an infrared thermometer before opening any bags.
- Seal all cracks and holes in the subfloor to prevent the leveler from leaking into the basement or crawlspace.
- Apply the recommended primer and wait for it to become tacky or clear depending on the brand instructions.
- Use a calibrated measuring container for water to ensure the exact ratio specified by the manufacturer.
- Plan your pour path to ensure you are always working toward the exit of the room.
- Keep a spiked roller or a gauge rake ready to help move the material and release trapped air.
The 1/8 inch that ruins everything
Precision in floor leveling is measured in fractions, and a discrepancy of just one eighth of an inch over ten feet can cause modern flooring systems to fail. Large format tiles and rigid core vinyl require a subfloor that is virtually perfect. If you have a dip, the leveler needs to fill it. If you have a hump, you need to grind it down before you pour. You cannot just dump leveler and hope it fixes a hill. It will just follow the contour. I use a ten foot straight edge to find the low spots. I mark them with a pencil. I pour exactly what I need and no more. If you over-pour, you are just moving the problem to a different part of the room. I have seen beautiful hardwood floors ruined because the installer didn’t want to spend the time on the subfloor. The wood eventually starts to squeak and move because it is bridging a gap. It sounds like a haunted house every time you walk across the kitchen. That is the sound of a failed installation. It is the sound of a contractor who didn’t respect the chemistry of the leveler.
“A leveler that is mixed too thin is a weak floor; a leveler mixed too thick is a pile of rocks.” – Tile Council of North America Standard
The chemistry of a successful bond
Self leveling compounds rely on a delicate balance of Portland cement or calcium aluminate and specialized polymers that provide flexibility and adhesion. Altering the water content by even a few ounces can compromise the structural integrity of the entire layer. When you add too much water, you get a chalky surface. The heavy aggregates sink to the bottom and the light polymers float to the top. This creates a weak skin that will peel off when you try to glue down a floor. If you use too little water, you get the flash set we talked about. It is a precise science. You are not just making mud. You are creating a high-performance structural layer. In humid regions, the drying time will be extended, but the working time might be shorter if the heat is high. You have to adapt to your environment. In a dry climate, you might need to mist the air to keep the surface from skinning over. It is about controlling the evaporation and the hydration at the same time. If you can master the bucket, you can master the floor.