The ‘Hammer’ Test for Finding Hollow Tiles in Your New Bathroom
Most guys skip the leveling compound. They think the underlayment will hide the dip. It won’t. I spent three days grinding concrete on a job last month just so the floor wouldn’t click like a castanet. That job was a masterclass in why shortcuts are the most expensive way to build a bathroom. I walked into a luxury remodel where the owner had paid top dollar for Italian porcelain. To the untrained eye, it looked perfect. To me, the first step felt hollow. I took a plastic mallet out of my bucket and started tapping. Every third tile sounded like a drum. The installer had used the dot-bonding method, just plopping five spots of mortar on the back of the tile instead of using a notched trowel for full coverage. It was a failure waiting to happen. Within six months, those tiles would have cracked under the simple pressure of a person standing at the sink. This is the reality of the flooring world where the subfloor determines the legacy of the surface.
The ringing truth of a failed bond
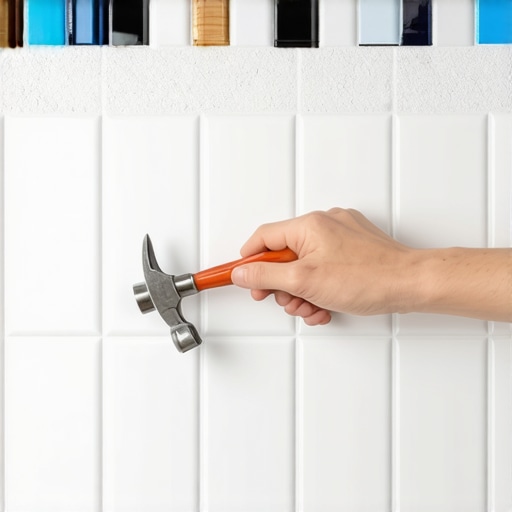
The hammer test identifies hollow tiles by detecting air pockets or voids in the thin-set mortar layer. When you tap a tile, a solid bond produces a high-pitched click while a debonded area results in a low-frequency thud indicating poor coverage or delamination from the subfloor or underlayment. This acoustic feedback is the most reliable way to verify that your installer followed TCNA standards for mortar coverage. A hollow sound means there is a gap where the tile is essentially suspended in mid-air. When you apply weight to that specific spot, the ceramic or porcelain has no support. This leads to hairline fractures and eventually a complete break of the unit. In a bathroom, this is even more dangerous because those voids can collect moisture, leading to mold growth that you cannot see but will certainly smell over time. The physics of sound waves through solid objects dictates that density equals resonance. When the density is interrupted by a pocket of oxygen, the sound wave slows and deepens. That is what you are listening for. It is the sound of a job done too fast.
Why your subfloor is lying to you
Floor leveling is the hidden stage of every successful installation that most contractors want to ignore because it is messy and time-consuming. A subfloor that looks flat is rarely actually level. In my 25 years of experience, I have found that concrete slabs often have a curling effect at the edges or birdbaths in the center. If you ignore these dips, the tile will bridge over the gap. This creates the hollow sound that the hammer test eventually reveals. Whether you are dealing with a laminate installation or a heavy tile layout, the subfloor must be within a tolerance of 1/8 inch over 10 feet. If the floor is out of spec, you are not just installing a floor, you are installing a failure. I have seen guys try to use extra thin-set to build up the low spots. This is a hack move. Mortar is an adhesive, not a structural filler. As the mortar dries, it shrinks. If the layer is too thick, it will shrink unevenly and pull the tile away from the bond, creating the very hollow spots you were trying to avoid. Grinding the high spots and using a high-quality self-leveling underlayment is the only way to ensure the hammer test comes back with a solid ring every time.
“A floor is only as good as the subfloor beneath it; deflection is the enemy of every joint.” – Master Flooring Axiom
The chemistry of the modified thin-set
The bond between your tile and the subfloor is a chemical reaction, not just a physical stick. Modern modified thin-set contains polymers that allow for a slight bit of flexibility and a much stronger grip on non-porous surfaces like porcelain. However, these polymers require a specific environment to cure correctly. If the bathroom is too hot, the water evaporates before the chemical bond is complete, leading to a powdery, weak mortar bed that will sound hollow within weeks. You also have to consider the slake time. You mix the bucket, let it sit for ten minutes to let the chemicals fully hydrate, and then mix it again. Most guys are in such a hurry they skip the slake. They are basically putting mud on the floor that has no structural integrity. When we talk about showers, the stakes are even higher. You need 95 percent coverage in wet areas. Anything less is a violation of building codes and a recipe for a leak. The hammer test in a shower pan is the final exam for any tile setter. If that floor sounds hollow near the drain, you are looking at a full tear-out in your future.
Comparing performance across different materials
The precise geometry of a bathroom floor
Bathrooms are unique because they are small spaces with high moisture and complex transitions. When you are doing a carpet install in a bedroom, you have a lot of room for error. In a bathroom, you are working around toilets, vanity legs, and drains. The floor leveling must be perfect to allow for proper drainage in the shower and a flat surface for the vanity to sit on without shims. One contrarian point I always tell my clients is that a thicker underlayment is not always better. People think a thick, squishy pad under their floor will make it feel more expensive. In reality, too much cushion causes the locking mechanisms on laminate and vinyl to snap under pressure because the floor is flexing too much. For tile, there is no cushion. It is a rigid system. Any movement in the subfloor, known as deflection, will result in a snapped tile or a popped grout line. This is why we use cement backer boards or uncoupling membranes like Schluter-Ditra. These products manage the different expansion rates between the wood subfloor and the stone tile, preventing the bond from shearing off and sounding hollow.
“Thin-set mortar coverage must be a minimum of 80 percent in dry areas and 95 percent in wet areas such as showers.” – TCNA Handbook for Ceramic Tile Installation
The protocol for a successful hammer test
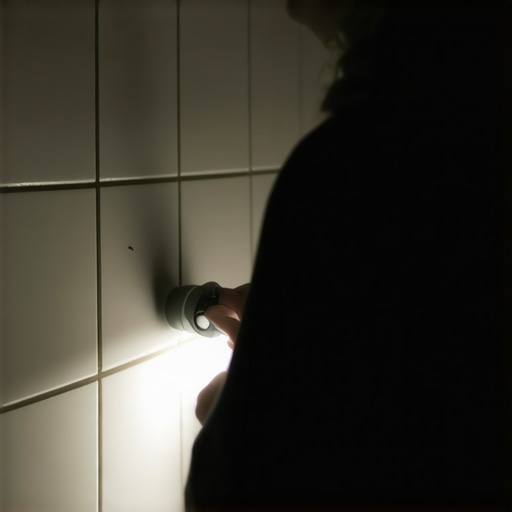
You do not need an actual hammer to do this, and in fact, a metal hammer might chip your new tile. I prefer a wooden dowel, a heavy screwdriver handle, or a specialized sounding rod. You want to move systematically across the room. Do not just hit the middle of the tiles. The edges are where the failures happen most often. If the installer did not back-butter the tiles, the corners will be the first things to sound hollow. Back-buttering is the process of applying a thin layer of mortar to the back of the tile itself before setting it into the combed mortar on the floor. This ensures 100 percent transfer and eliminates the air pockets that the hammer test is designed to find. If you find more than two or three hollow spots in a standard-sized bathroom, the integrity of the entire floor is in question. It is a sign of systemic laziness in the installation process.
- Acquire a plastic mallet or a heavy wooden dowel for testing.
- Ensure the grout has cured for at least 48 hours before tapping.
- Tap each of the four corners and the dead center of every tile.
- Listen for a low, drum-like thud compared to the high click of a solid bond.
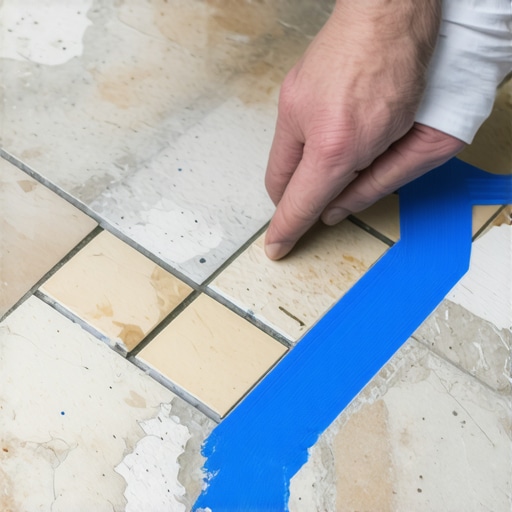
- Mark any hollow sounding tiles with blue painter’s tape for the contractor.
- Check the tiles around the drain and toilet flange with extra care.
The ghost in the expansion gap
Every floor needs room to breathe. This is something that many homeowners do not understand until their floor starts to peak. Whether it is tile, laminate, or hardwood, you must leave a gap at the perimeter of the room. For tile, this gap is usually filled with a color-matched caulk rather than hard grout. If the tile is jammed tight against the wall, the natural expansion of the house will put pressure on the tile field. This pressure has nowhere to go but up. This causes the tiles to tent, which is when they lift off the floor in a V-shape. Long before they tent, they will lose their bond and sound hollow. I have seen entire kitchen floors pop up like a geographic fault line because the installer did not leave a 1/4 inch gap at the baseboards. It is a silent killer of floors. The hammer test can often find these pressure points before the floor actually fails, allowing you to cut back the tile at the edges and save the installation. Professionalism is found in the details that you cannot see once the baseboards are nailed back on.