The ‘Credit Card’ Trick for Checking Subfloor Flatness Before Tile
Most guys skip the leveling compound. They think the underlayment will hide the dip. It won’t. I spent three days grinding concrete on a job last month just so the floor wouldn’t click like a castanet. I have spent twenty five years with a moisture meter and a level. I have seen the same mistake repeated from high end condos to suburban basement remodels. Flooring is not a cosmetic layer. It is a performance surface. If the substrate is trash, the finished floor is trash. I once walked into a project where the homeowner had spent six thousand dollars on Italian porcelain. They were furious that the tiles were cracking at the edges. I took a ten foot straightedge and showed them a half inch valley in the middle of the room. The installer had just buttered the tiles thicker to compensate. That is a recipe for disaster. The air pockets left behind created a structural void. Now that homeowner is paying me twice as much to rip it out and do it right. This is why the credit card trick exists. It is a simple litmus test for reality.
The mechanics of the credit card trick
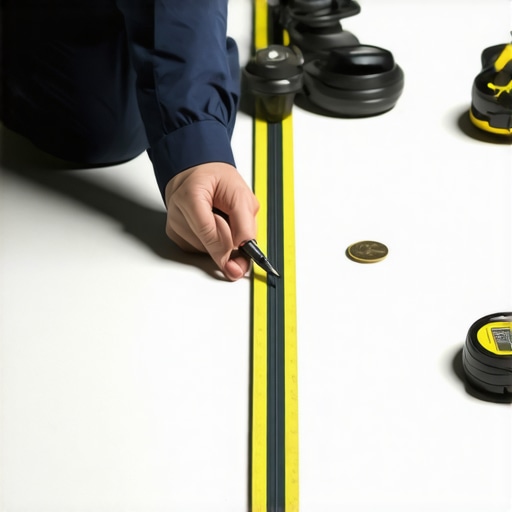
The credit card trick involves using a standard ten foot straightedge and a plastic card to identify high and low spots in a subfloor before installation begins. If a credit card can slide under the straightedge at any point, the floor fails the flatness requirement for large format tile or hardwood. This method provides a tactile and visual reference for the 1/8 inch or 3/16 inch tolerances required by industry standards. It is the fastest way to verify if you need to pull out the floor leveling compound or the concrete grinder before the expensive materials arrive on site. A standard credit card is approximately 0.03 inches thick. If you can stack four of them and slide them under your level, you are at 1/12 of an inch. If you can slide a stack of five, you have hit the 1/8 inch limit that most manufacturers mandate for a ten foot radius. This is not about being picky. This is about the physics of load distribution.
Why your subfloor is lying to you
Plywood and concrete often look flat to the naked eye. This is a dangerous optical illusion. Subfloors are subject to seasonal movement, settling, and poor initial construction. A concrete slab might look like a smooth sea of grey but in reality it is a series of ridges and valleys formed during the curing process. When water leaves the concrete, the slab shrinks. It often curls at the edges or sinks in the center. If you ignore these deviations, your tile will suffer from lippage. Lippage is the technical term for when one edge of a tile is higher than its neighbor. It creates a trip hazard and looks amateur. For a laminate or carpet install, you might get away with slightly more variation, but for tile, the margin for error is zero. The thin-set mortar is not a filler. It is a bonding agent. People assume they can use mortar to level the floor as they go. This leads to shrinkage. As the water evaporates from a thick bed of mortar, the mortar pulls the tile down unevenly. The result is a floor that looks like a topographical map of the Andes. You must address the subfloor flatness before a single drop of water touches the mortar.
“A floor is only as good as the subfloor beneath it; deflection is the enemy of every joint.” – Master Flooring Axiom
The physics of the 1/8 inch limit
Large format tiles are anything with one side longer than fifteen inches. These tiles have almost no flexibility. When you place a rigid tile over a dip, the tile bridges the gap. This creates a hollow spot. When someone walks over that spot or places a heavy piece of furniture on it, the tile is forced to bend. Porcelain does not bend. It snaps. The 1/8 inch in ten feet rule exists to ensure that the tile is fully supported by the substrate. If you are working with natural stone like marble or travertine, the requirements are even stricter. Stone has less tensile strength than porcelain. It will crack under the slightest deflection. I have seen stone floors ruined because the installer thought a thick underlayment would cushion the blow. Underlayment provides a thermal break or sound dampening, but it does not provide structural rigidity. If the subfloor moves, the floor moves. You need to check for deflection by calculating the L/360 or L/720 ratings for your joists. This involves measuring the span and the depth of the wood. If your joists are too bouncy, no amount of leveling compound will save your grout lines from crumbling.
| Material Type | Flatness Tolerance (10 ft) | Acclimation Time | Primary Failure Mode |
|---|---|---|---|
| Large Format Tile | 1/8 inch | None | Edge Cracking |
| Solid Hardwood | 3/16 inch | 7 to 14 Days | Cupping and Gaps |
| Laminate Flooring | 3/16 inch | 48 Hours | Locking Tab Failure |
| Luxury Vinyl Plank | 3/16 inch | 48 Hours | Joint Separation |
| Engineered Wood | 3/16 inch | 3 to 5 Days | Delamination |
Molecular zooming into adhesive chemistry
When you apply a polymer modified thin-set to a concrete slab, you are creating a chemical bridge. The polymers are long chain molecules that increase the bond strength and flexibility of the cement. If the slab is dusty or too dry, it will suck the moisture out of the thin-set before the crystals can grow and lock into the pores of the concrete. This results in a weak bond. I always use a primer. A high quality primer seals the subfloor and ensures the adhesive cures at the correct rate. This is especially vital when using self-leveling underlayment. The underlayment is an exothermic reaction. It generates heat as it hardens. If the subfloor is not primed, the underlayment will develop pinholes as air escapes from the plywood or concrete. These pinholes weaken the integrity of the surface. You want a glass-like finish. You want a surface so flat that you could play billiards on it. This is the difference between a floor that lasts five years and a floor that lasts fifty years.
The ghost in the expansion gap
Every floor needs room to breathe. I see guys jam laminate right against the drywall all the time. They think the baseboard will cover it. It will, but the floor has no place to go when the humidity spikes. In the summer, the air holds more moisture. Wood and even some composite materials expand. If the floor is locked against a wall or a heavy kitchen island, it will buckle. The center of the floor will rise up like a tent. I always leave a minimum of a quarter inch gap around the entire perimeter. For large rooms, you might need a half inch. This is the expansion gap. It is the most ignored rule in the book. If you are doing a carpet install, the tack strips need to be set at the right distance from the wall to allow the carpet to be tucked and stretched properly. If the stretch is not tight enough, you will get ripples within two years. A ripples in a carpet is just a sign of a lazy installer who did not want to use a power stretcher.
Showers and the geometry of drainage
When you move into showers, the rules change from flat to sloped. However, the requirement for a smooth substrate remains. You need a quarter inch per foot slope toward the drain. If the subfloor has humps, your pre-slope will have birdbaths. A birdbath is a spot where water sits and never drains. This leads to mold, mildew, and the eventual failure of the waterproofing membrane. I prefer using a bonded waterproof membrane over a traditional mortar bed. It is more predictable. But even the best membrane will fail if it is stretched over a sharp ridge in the concrete. I treat the shower floor with more respect than any other surface in the house. It is the most technically demanding part of the trade. If you mess up the pitch, you are looking at a ten thousand dollar tear out. Use the straightedge. Check your angles. Do not trust your eyes.
“Deflection is the silent killer of tile; if the joists move, the grout will follow.” – TCNA Handbook Wisdom
- Sweep and vacuum the entire subfloor to remove debris.
- Use a ten foot straightedge to identify high spots.
- Mark low spots with a pencil for leveling compound application.
- Check moisture content in concrete with a calcium chloride test.
- Verify plywood thickness and joist spacing for deflection limits.
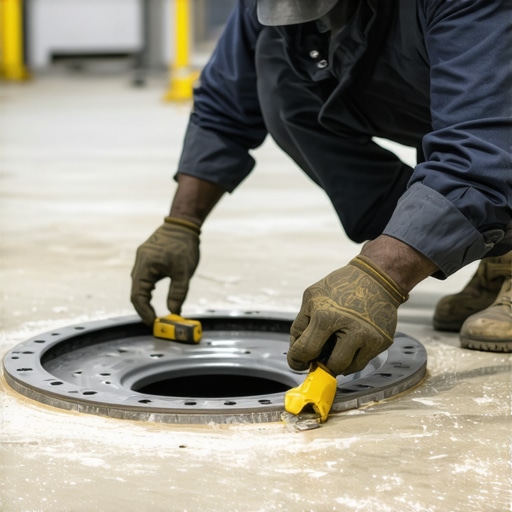
- Grind down high spots in concrete using a diamond cup wheel.
- Apply a high quality primer before using any leveling agents.
The regional climate factor
If you are working in the swampy humidity of Houston, solid wood is a death wish. You need engineered cores that can handle the moisture. In the dry heat of Phoenix, the opposite is true. The heat will shrink your baseboards until they show a gap. You have to acclimate your materials to the specific environment of the home. This means the HVAC system must be running at normal living conditions for at least a week before the wood arrives. Do not store hardwood in a garage or a damp basement. It will soak up moisture like a sponge. When you finally nail it down and turn on the air conditioning, the wood will shrink and leave gaps big enough to lose a nickel in. I have seen it happen a hundred times. Homeowners are in a rush. They want the floor down now. I tell them they can have it now or they can have it right. I do not do it twice.
Final audit of the subfloor
Before the first tile is set, perform a final walkthrough. Walk the floor and listen. If you hear a squeak in the plywood, drive a screw into the joist. If you feel a bounce, add blocking from underneath. Once the tile is down, you cannot fix the structure. The credit card trick is your last line of defense. It is a simple tool for a complex job. It separates the craftsmen from the handymen. A craftsman knows that the beauty of the floor is just a byproduct of the engineering beneath it. Focus on the chemistry of your adhesives and the physics of your subfloor. The rest is just a matter of following the lines. Do not let a 1/8 inch dip ruin your reputation. Level the floor. Grind the concrete. Respect the trade.