How to Fix a Burn Mark in Carpet from a Dropped Match
I once spent four hours on my knees in a high-end penthouse because a homeowner thought they could fix a cigarette burn with a pair of kitchen scissors and a bottle of superglue. They ended up melting a hole the size of a silver dollar into a custom-woven Axminster wool rug that cost more than my first truck. Most guys skip the leveling compound and ignore the subfloor when talking about carpet. They think the cushion hides the sins. It does not. A burn is a structural failure of the fiber, and if you treat it like a simple cosmetic smudge, you will ruin the entire room. I spent three days grinding concrete on a job last month just so the floor would not click like a castanet, and I bring that same level of obsession to a single match head burn. Flooring is not a decoration. It is a performance surface that operates on the laws of chemistry and physics.
Identifying the severity of a scorched fiber
Identifying carpet burn severity involves analyzing the depth of the thermal damage to the synthetic or natural fibers. Superficial singeing affects only the top 10 percent of the carpet pile, while deep burns penetrate the primary backing and compromise the tuft bind strength. Assessment determines if you need a simple trim or a full graft.
When a match hits the floor, the reaction depends entirely on the polymer chain of the material. Nylon 6,6 has a melting point around 500 degrees Fahrenheit, whereas polyester might go sooner. The match flame burns at roughly 1,100 degrees. This is an immediate chemical transformation. The fiber does not just turn black. It undergoes a phase change from a flexible strand to a hard, glass-like globule of carbonized plastic. If you feel the spot and it is crunchy, the molecular structure is toast. You cannot wash that away. You are now looking at a mechanical removal process. If the burn has reached the latex bonding agent in the secondary backing, the structural integrity of that specific grid is gone. Any repair must account for the tension of the surrounding stretch-in installation to prevent the patch from popping out during future vacuuming or steam cleaning.
“A floor is only as good as the subfloor beneath it; deflection is the enemy of every joint.” – Master Flooring Axiom
The surgical extraction of damaged carpet tufts
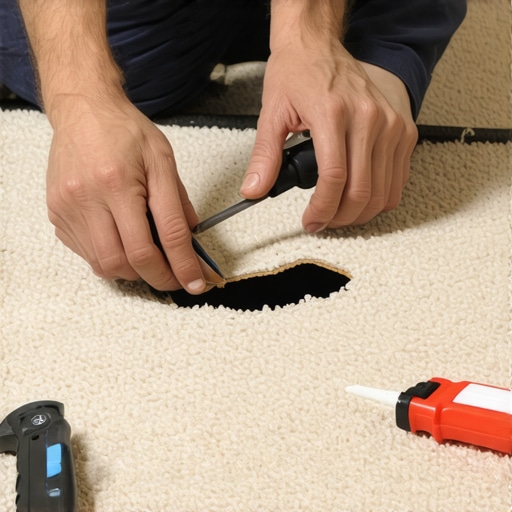
Surgical carpet tuft extraction requires a steady hand and a sharp utility blade or duckbill shears to remove charred material. This process focuses on the interstitial spaces between the loops or cut piles to ensure the carpet backing remains intact. Precision prevents the surrounding fibers from fraying or unraveling further.
You do not just hack at the black spot. You need to use a magnifying glass. Take a pair of fine-tipped curved manicure scissors or professional carpet shears. You want to snip away the charred tips one by one. If the burn is deep, you are going to create a divot. This is where the physics of the nap comes into play. Every carpet has a grain, often called the pile sweep. If you cut against it, the light will hit the repair and scream at anyone walking by. You must work in the direction of the factory shear. If you find that the burn has gone through the backing, stop. You are no longer trimming. You are now performing a sectional replacement. This is where most DIY attempts fail because they do not understand how the primary and secondary backings are laminated together with a carboxylated styrene-butadiene rubber latex. Disrupting that bond without a plan leads to delamination of the entire area.
| Burn Type | Damage Level | Recommended Repair Action | Required Adhesive |
|---|---|---|---|
| Surface Singe | Fiber tips only | Micro-shearing and grooming | None |
| Mid-Level Melt | 50% of pile height | Fiber replacement (burling) | Latex seam sealer |
| Deep Char | Backing compromised | Donor patch (plug) | Hot melt tape or pressure sensitive adhesive |
| Structural Burn | Subfloor scorched | Full section replacement | Full spread carpet adhesive |
The donor piece strategy for invisible repairs
The donor piece strategy involves harvesting a small section of identical carpet pile from a hidden area like a closet or under a baseboard. This ensures a perfect match in dye lot and fiber density. The harvested tufts are then grafted into the damaged zone using a professional grade adhesive to restore the surface.
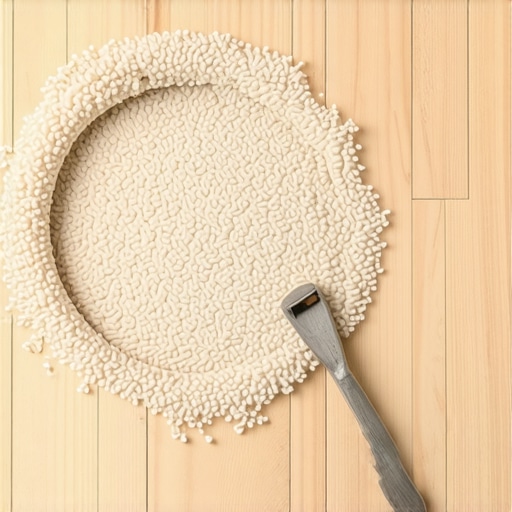
Finding a donor piece is a scavenger hunt. Look in the back of the master closet or under a heavy radiator where the carpet was never walked on. But beware. The carpet in the middle of the room has been crushed by foot traffic and oxidized by UV light. The donor piece will be fluffier and more vibrant. To make the repair invisible, you have to mechanically age the donor piece. I usually rub it between my palms or hit it with a bit of steam to take the factory stiffness out of it. When you cut the patch, use a 2-inch cookie cutter tool or a very sharp scalpel. Do not cut the backing. Part the fibers and cut only the mesh. This is the same logic we use in a carpet install when we are seaming two pieces together. If you cut the face fibers, you create a permanent scar. You want to preserve every single strand of yarn to bridge the gap over the cut line.
Adhesive selection and the science of the bond
Professional carpet adhesives must provide a high-strength permanent bond that remains flexible enough to withstand foot traffic and humidity. Using the wrong glue, like a rigid epoxy or a water-based craft glue, will cause the repair patch to fail or discolor over time. Moisture-resistant latex resins are the industry standard for this application.
I see guys use hot glue guns for this. Do not do that. Hot glue becomes brittle. The moment someone steps on it, the bond snaps. You need a specialized carpet seam sealer or a high-quality contact cement designed for textiles. The chemistry matters because carpets are often treated with fluorochemicals for stain resistance. These chemicals are designed to repel liquids, which means they also repel cheap glues. You need an adhesive that can bite into the polypropylene backing. Apply the glue to the backing of the donor patch, not the fibers. If you get glue on the yarn, you have just created a new, permanent hard spot that will attract dirt like a magnet. Once the patch is in, you need to weight it down for at least 24 hours. I use a heavy toolbox or a stack of floor leveling bags. The pressure ensures the adhesive penetrates the grid of the backing, creating a mechanical lock that will survive a commercial-grade vacuum cleaner.
“The longevity of a textile floor is dictated by the chemical stability of its secondary backing and the environment of the subfloor.” – Master Flooring Axiom
The 1/8 inch that ruins everything
Precision in carpet patching is measured in fractions of an inch to prevent visible seams or height variances. A patch that is even 1/8 inch too large will buckle and hump, creating a trip hazard and an eyesore. Perfect alignment with the original pile direction is the only way to achieve a professional result.
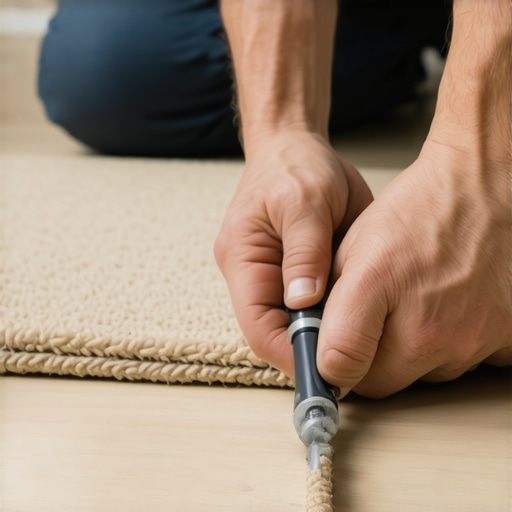
When you are fitting that donor piece, it should feel like a puzzle piece. It should not be forced. If you have to shove it in, it will crown. If it is too loose, you will see a dark ring of shadow around the repair. This is the same precision required for floor leveling or setting tiles in showers. You are managing tolerances. I always cut my patch slightly larger and then trim it down fiber by fiber until it drops in perfectly. Once it is in place, use a carpet awl or even a clean flathead screwdriver to blend the fibers. You are basically weaving the edges of the new piece into the old piece. This is called grooming. If you do it right, you can hide the cut line entirely. If you do it wrong, it looks like a bad toupee. Every single tuft has to be accounted for. This is not about aesthetics. It is about the structural continuity of the floor surface.
- Inspect the burn depth to determine if the backing is melted.
- Locate a donor carpet piece from a hidden closet corner.
- Use a carpet star roller to blend the patch edges after gluing.
- Avoid walking on the repair for a full 24-hour curing cycle.
- Ensure the subfloor is dry to prevent adhesive crystallization.
Comparing carpet resilience to laminate and hardwood
Comparing flooring resilience reveals that while carpet is susceptible to burns, it is often easier to repair locally than laminate or solid hardwood. Laminate requires a full board replacement which may involve dismantling the locking system, whereas carpet allows for localized grafting. Understanding these material properties helps in choosing the right floor for high-risk areas.
If you dropped that match on a laminate floor, you would be looking at a much bigger headache. Laminate is basically a picture of wood glued to a fiberboard core with a melamine wear layer. Once you burn through that melamine, the decorative layer is gone. There is no patching a picture. You have to pull up the baseboards, click out the planks, and replace the whole board. It is a nightmare. This is why I tell people that carpet actually has a maintenance advantage in certain scenarios. It is forgiving. You can perform surgery on it. However, if the room has high humidity, like near showers or in a basement, the carpet backing can become soft, making a burn repair even harder because the foundation is mushy. Always check the moisture levels. A dry subfloor is the only way to get a permanent bond on your repair. If the concrete is sweating, your patch is going to float away within a month.
Mastering the final transition and grooming
Final carpet grooming uses a carpet tractor or nap roller to integrate the new fibers with the existing floor texture. This step eliminates the visual silhouette of the repair by redistributing the pile weight evenly. Proper grooming ensures the light reflects consistently across the entire surface of the room.
The last step is the one everyone rushes. They think once the glue is dry, they are done. No. You need to brush the area. Take a stiff nylon brush and work the pile in a circular motion. This blends the oils and the dust of the old carpet with the fresh donor fibers. It sounds gross, but a clean patch in a dirty room is a visible patch. You want the repair to be as dirty or as worn as the rest of the floor. If the carpet is old, I sometimes take a little bit of the vacuum cleaner bag dust and lightly rub it into the patch to match the patina of the surrounding floor. It is a trick I learned from a guy who did restoration in old mansions. You are not just fixing a hole. You are matching twenty years of history. That is the difference between a handyman and a master floor architect. You respect the material, you respect the chemistry, and you never, ever trust a homeowner with a glue gun.