The Ping Pong Ball Test for Shower Floor High Spots
The Ping Pong Ball Test for Shower Floor High Spots
Most guys skip the leveling compound. They think the underlayment will hide the dip. It won’t. I spent three days grinding concrete on a job last month just so the floor wouldn’t click like a castanet. When you are dealing with a shower floor, those high spots do more than just make a noise. They are the silent killers of a waterproof system. I have seen fifteen thousand dollar bathroom renovations fail within six months because the installer assumed the thin-set would make up for a wavy subfloor. It never does. Water is a relentless detective. It finds the lowest point and stays there until it rots your structure or breeds a colony of black mold. This is why I carry a ping pong ball in my truck next to my moisture meter. It is the cheapest and most effective diagnostic tool for detecting subfloor high spots before a single tile is set. If the ball stops or rolls away from the drain, you have a structural engineering problem that a fancy aesthetic cannot fix.
The physics of the standing pool
Shower floor high spots create localized drainage failures where water cannot overcome gravity to reach the drain. These elevations cause pooling, also known as birdbaths, which lead to stagnant water beneath the tile surface. In a properly sloped shower, gravity acts as the primary mechanical force for water evacuation. When a high spot exists, it acts as a dam. This forces water to saturate the grout and thin-set for extended periods. Eventually, the hydrostatic pressure forces moisture through the waterproofing membrane if any pinhole exists. You cannot simply build up more mud to fix a high spot. You must address the substrate. Whether it is a concrete slab or a plywood subfloor, the surface must be within one eighth of an inch of flat over a ten foot span. Without this, your shower is a ticking time bomb of structural decay.
“A floor is only as good as the subfloor beneath it; deflection is the enemy of every joint.” – Master Flooring Axiom
Why the ping pong ball never lies
The ping pong ball test involves placing a lightweight ball on the dry shower pan to identify surface irregularities. Because a ping pong ball has almost zero mass and a perfectly spherical shape, it reacts to the slightest grade changes. If you place the ball on the perimeter of the shower, it should roll directly toward the drain without hesitation. If the ball stops mid way, you have found a low spot or a flat zone. If the ball rolls toward the wall, you have a high spot near the drain or a reverse pitch. This test is far more sensitive than a standard level because it accounts for the entire surface area rather than just the points where the level touches the ground. It is the gold standard for verifying that the compound slope is consistent. I have used this on every shower build since 1998. It has saved me from thousands of dollars in callbacks.
How high spots destroy the bond
High spots on a shower floor create uneven thin-set distribution which leads to air pockets and tile lippage. When you trowel over a hump, the ridges of the mortar are compressed more than the surrounding areas. This results in a thin, weak bond at the highest point and excessive thickness in the valleys. As the tile cures, the different depths of thin-set shrink at different rates. This differential shrinkage pulls on the tile and can cause the grout to crack within weeks. In a carpet install, a minor high spot might just cause a bit of premature wear. In a shower, that same high spot causes the tile to bridge over a void. When a person steps on that tile, the pressure causes it to flex. Since tile is rigid, it will eventually snap or delaminate from the substrate. You need a flat plane to ensure one hundred percent mortar coverage which is the requirement for all wet areas according to industry standards.
The math of a quarter inch per foot
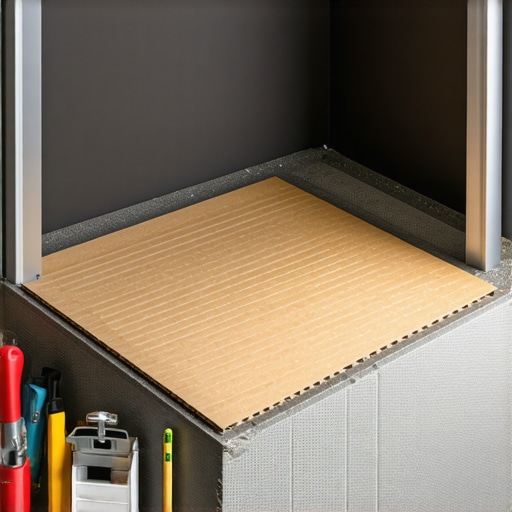
Industry standards require a slope of one quarter inch per foot from the furthest wall to the drain. This ensures that water moves quickly enough to prevent sediment buildup but not so fast that it creates a slip hazard. If your subfloor is not level to begin with, achieving this precise math becomes impossible. This is where many installers fail. They try to adjust the slope using the tile itself rather than the mud bed. If you are working with a pre-pitched foam tray, any high spot in the concrete beneath that tray will telegraph through the foam. You will end up with a wobble in the center of the shower. I have seen installers try to shim these trays with scrap pieces of laminate or cardboard. That is a recipe for disaster. The foam must be fully supported by a flat, rigid substrate to maintain its structural integrity under the weight of the user.
| Material Type | Required Slope | Tolerance (Flatness) | Acclimation Time |
|---|---|---|---|
| Poured Concrete | 1/4 inch per foot | 1/8 inch in 10 feet | 28 Days |
| Pre-Pitch Mortar | 1/4 inch per foot | 1/16 inch in 2 feet | 24 Hours |
| Foam Trays | Built-in Pitch | Zero Tolerance | None |
| Laminate (Buffer Area) | N/A | 3/16 inch in 10 feet | 48 Hours |
Thinset chemistry and the failure of cheap mud
The chemical bond of polymer modified thin-set is compromised when it is used as a leveling agent. Thin-set is designed to be a thin layer of adhesive, not a thick structural filler. When you try to bury a high spot under a mountain of mortar, the polymer chains cannot cross link properly. The center of the mass remains wet for too long while the edges dry out. This creates internal tension. For shower floors, you need a high performance, large and heavy tile mortar (LHT) if you are using large format stones. But even then, the chemistry has limits. If you have a half inch high spot, you need to grind it down using a shroud-equipped angle grinder with a turbo cup wheel. The dust is toxic, so you must use a HEPA vacuum. This is the difference between a mechanic who knows his chemistry and a handyman who just wants to finish the job before Friday.
“Substrate preparation is ninety percent of the installation; the tile is merely the cosmetic skin.” – TCNA Guidelines Reference
Leveling the playing field before the tile goes down
Correcting a high spot requires either mechanical grinding or the application of a high quality self leveling underlayment. If you are on a concrete slab, grinding is often the fastest route. If you are on a wood subfloor, you may need to sister the joists to remove a crown in the timber. Many people ask if they can just use a thick underlayment like they do in a laminate or carpet install. The answer is no. Underlayment for dry areas is designed to provide cushion or sound dampening. In a shower, you need zero cushion. You need a rock solid, unyielding foundation. If there is any movement, the waterproof seal will eventually shear. I always tell my clients that they are paying for what they don’t see. The grinding, the leveling, and the slope are what make the shower last for thirty years.
Checklist for a Perfect Shower Subfloor
- Perform the ping pong ball test to map all high and low spots.
- Grind down any concrete humps until the floor is within 1/8 inch of flat.
- Check the moisture content of the subfloor using a calibrated meter.
- Verify that the drain flange is set at the correct height for the planned slope.
- Ensure the subfloor has no deflection or bounce when weight is applied.
- Vacuum all dust and debris to ensure a proper chemical bond for the primer.
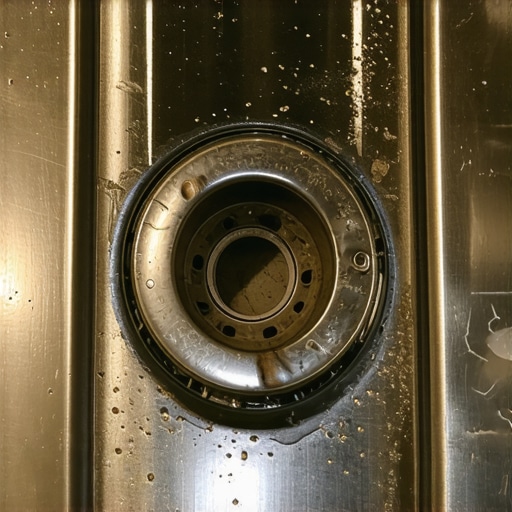
The 1/8 inch that ruins everything is usually found right where the tile meets the drain. If the drain is set too high, the ping pong ball will circle the drain like a plane that cannot land. This indicates a reverse pitch. In this scenario, you must either raise the entire floor with more mud or lower the drain assembly. There are no shortcuts. A floor is a performance surface. It has to handle thousands of gallons of water and thousands of pounds of foot traffic over its lifespan. If you treat it like a decoration, it will fail you. If you treat it like a structural engineering project, it will stand the test of time. Never trust your eyes alone. Trust the ball. Trust the level. Trust the chemistry of the products you are using. That is the only way to ensure a leak free installation that you can stand behind for the rest of your career.