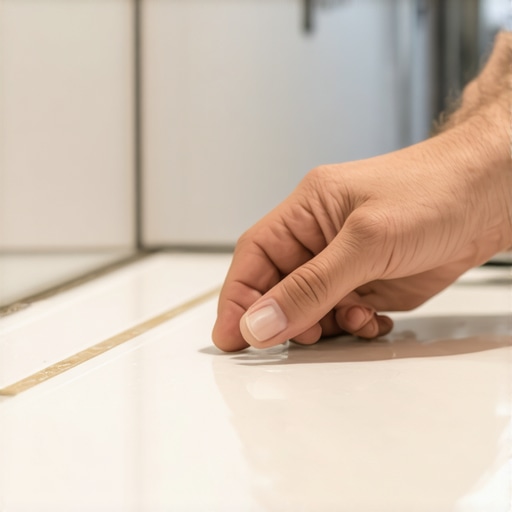
The ‘Wet Finger’ Trick for Getting Professional Shower Silicone Lines
Most guys skip the leveling compound. They think the underlayment will hide the dip. It won’t. I spent three days grinding concrete on a job last month just so the floor wouldn’t click like a castanet. That is the reality of professional flooring. If the foundation is trash, the finish is trash. You can buy the most expensive wide-plank white oak in the world, but if your subfloor has a 3/16 inch deviation over 10 feet, those tongues and grooves will snap. It is a mathematical certainty. People see a shiny floor and think beauty. I see a structural assembly that is fighting gravity and moisture every single second. When we talk about the ‘wet finger’ trick for silicone or the chemistry of floor leveling, we are talking about preventing failure. Flooring is not an art. It is an engineering discipline where the tolerances are measured in thirty-seconds of an inch.
The myth of the flat surface
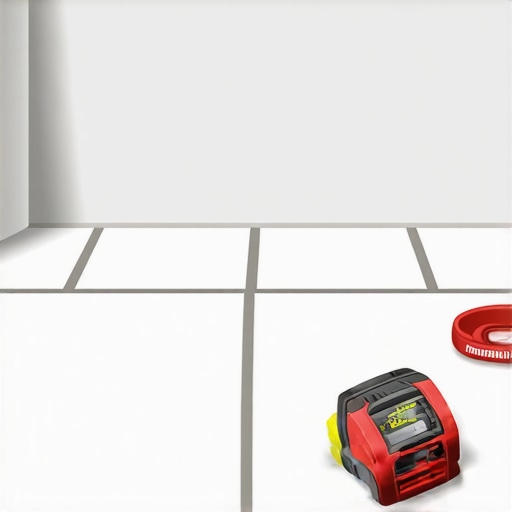
Floor leveling requires a subfloor that meets the L/360 deflection standard to ensure that laminate or tile installations do not fail under dynamic loads. Achieving a perfectly level surface involves using self-leveling underlayment and grinding high spots in the concrete slab or plywood base. You walk into a room and it looks flat. It is not. You need a 10-foot straightedge to see the truth. Concrete is a liquid that someone tried to make stand still. It humps at the joints and dips in the center. If you ignore these variations, your floor will have ‘hollow spots’ that sound like a drum every time you step. I use a 60-grit diamond cup wheel to chew down those ridges. The dust is brutal. It gets into your pores. But if you don’t do it, the laminate locking systems will fatigue. The plastic molecules in the click-lock mechanism can only bend so many times before they crystallize and break. That is when you get those annoying gaps that collect dirt and dog hair. I tell my apprentices that we are not here to lay boards. We are here to create a plane. If the plane is true, the boards take care of themselves. We look at the calcium chloride test results before we even think about opening a box of material. If the moisture vapor emission rate is too high, that leveler will pop right off the slab like a scab. You have to prime the substrate with a high-solids acrylic primer to seal the pores. Otherwise, the concrete drinks the water out of your leveler too fast and the whole batch loses its structural integrity. It becomes brittle. It turns to powder under the weight of the furniture.
“A floor is only as good as the subfloor beneath it; deflection is the enemy of every joint.” – Master Flooring Axiom
The science of the silicone bead
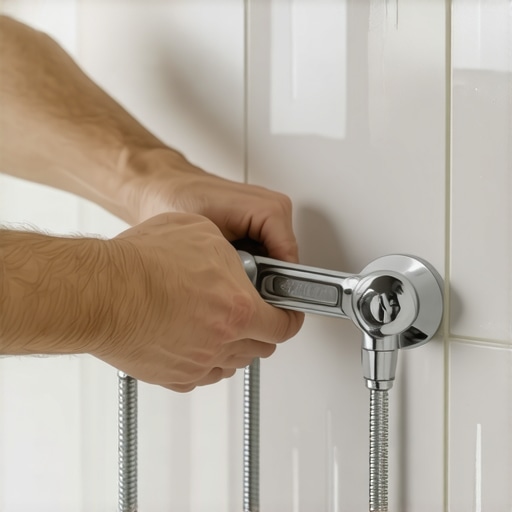
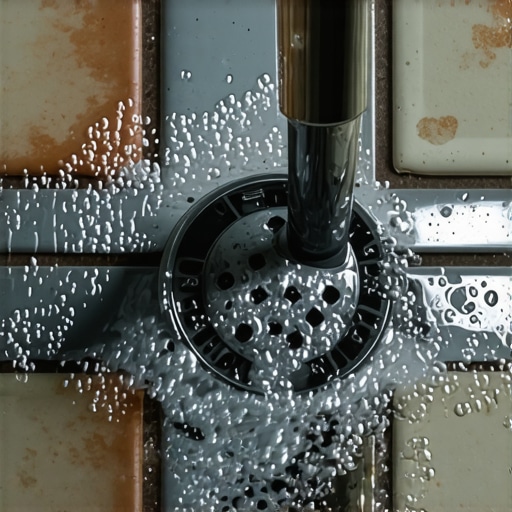
The wet finger trick for showers involves using a surfactant solution to tool 100 percent silicone sealant into a concave profile that ensures watertight adhesion. This technique prevents capillary action and mold growth by creating a smooth finish that sheds water away from the grout lines and tile joints. People think you just squirt some goop in a corner and walk away. That is how you get leaks. Professional silicone work is about surface tension. I use a spray bottle with a heavy concentration of dish soap. You lay your bead, spray it down, and then use your finger to profile it. The soap keeps the silicone from sticking to your skin or the face of the tile where it doesn’t belong. It stays in the joint. But you have to use the right silicone. Most of those big-box store ‘kitchen and bath’ tubes are filled with fillers. I use neutral-cure silicone for natural stone because acetic acid will etch the surface of marble or limestone. You can smell the vinegar in the cheap stuff. That’s the acid. It’s fine for ceramic, but it’s a disaster for expensive stone. When you tool that bead, you are forcing the material into the microscopic crevices of the tile edge. It creates a mechanical bond. If you just lay a bead on top, it’s a ‘bridge’ that will eventually peel away when the house settles. Every house moves. Seasonal expansion and contraction will rip a weak bead apart. That’s why we leave a 1/8 inch gap at the bottom of the wall tile. It’s a movement joint. You fill that with high-modulus silicone, and it acts like a shock absorber for your bathroom floor.
[image_placeholder_1]
The structural failure of laminate in wet zones
Laminate flooring in showers or bathrooms is prone to hydrostatic pressure damage where moisture penetrates the HDF core and causes edge peaking or delamination. To prevent this, installers must use perimeter sealing and water-resistant underlayment to protect the cellulose fibers from capillary wicking. I have seen countless ‘waterproof’ laminate floors ruined because the installer didn’t seal the edges. The marketing says waterproof, but the core is still high-density fiberboard. That is essentially compressed sawdust and glue. If water sits on the surface, it’s fine. But if it gets into the expansion gap at the baseboard, the core drinks it up. It swells. The edges lift. Suddenly, your floor looks like a topographical map of the Andes. We call it peaking. Once it happens, the floor is toast. You can’t sand laminate. You can’t ‘fix’ a swollen core. You have to rip it out. This is why I insist on a full bead of silicone around the entire perimeter in any room with a floor drain or a water source. You are creating a bathtub. If the toilet overflows, the water stays on top of the wear layer instead of diving under it. The wear layer is usually a melamine resin with aluminum oxide. It is incredibly hard, often higher on the Mohs scale than the wood it is imitating. But that hardness makes it brittle. If the subfloor has a hump, the laminate will flex, the locking joint will rub, and eventually, the melamine will chip at the seam. It’s a chain reaction of failure that starts with a single low spot in the plywood.
| Material Property | Laminate (HDF) | Engineered Wood | Solid Hardwood |
|---|---|---|---|
| Janka Hardness | Varies (High) | 1200 – 1400 | 1300+ |
| Acclimation Time | 48 Hours | 72 Hours | 7 – 14 Days |
| Moisture Tolerance | Moderate | High | Low |
| Installation Method | Floating | Glue/Staple | Nail/Staple |
Why carpet install remains a tension game
A carpet install requires power stretching to ensure the secondary backing is under mechanical tension, preventing wrinkles and delamination over time. Proper tack strip placement and seam sealing with thermoplastic tape are vital for maintaining the structural integrity of the pile yarns and latex binder. Most guys today just use a knee kicker. That’s lazy. A knee kicker is for positioning, not stretching. If you don’t use a power stretcher, that carpet will be rippling in two years. I’ve been on my knees for twenty-five years, and my joints feel every single ‘kick’ I took in my youth. You have to hook the stretcher against the opposite wall and pull that backing until it’s tight as a drum. We are looking for a one percent stretch in both directions. If you don’t get that tension, the latex that holds the tufts together will break down as people walk on the loose fabric. It creates a ‘puckering’ effect. And don’t even get me started on cheap padding. People spend five grand on carpet and then buy the recycled rebond padding that feels like walking on a bag of potato chips. You need a high-density frothed urethane or a heavy rubber pad to support the backing. If the pad collapses, the carpet fibers have no support. They get crushed. They ‘ugly out’ long before the yarn actually wears out. It’s a waste of money. I tell clients to spend less on the carpet and more on the pad. The pad is the foundation. Just like the subfloor. Everything in this business comes back to what you can’t see.
“Deflection is the silent killer of the modern flooring system; if you feel movement, you have already failed.” – TCNA Technical Manual
The 1/8 inch that ruins everything
Expansion gaps are the critical failure point in floating floors where thermal expansion and hygroscopic growth require a perimeter void to prevent buckling. Without a half-inch gap around fixed vertical objects, the flooring planks will bind and warp as relative humidity fluctuations occur. I have walked into jobs where the homeowner complained their floor was ‘lifting’ in the middle of the room. I pull the baseboard and find the boards tight against the drywall. There is nowhere for the floor to go. Wood and laminate are hygroscopic. They breathe. When the humidity hits seventy percent in the summer, those boards grow. If they hit a wall, they have to go up. That is physics. I leave a minimum of a half-inch gap. Yes, it looks ugly during the install. That’s why we use baseboards and shoe molding to cover it. But that gap is the lifeblood of the floor. I once saw a $15,000 walnut floor cup like a potato chip because the installer pinned it under a heavy kitchen island. You can’t trap a floating floor. It needs to move as a single unit. If you put a 1,000-pound granite-topped island on top of a floating floor, you have effectively nailed it to the subfloor. When it tries to expand, it will snap the tongues right off. You have to install the floor *around* the island, or use a specific transition bridge. It is these small details that separate a guy with a truck from a master installer.
- Check subfloor moisture with a pin-less meter before every install.
- Ensure the concrete is flat within 1/8 inch over a 10-foot radius.
- Always use a surfactant when tooling silicone in wet areas.
- Acclimate wood flooring in the room where it will be installed for at least 72 hours.
- Never skip the power stretcher during a carpet installation.