Why Your Self-Leveling Pour Stopped Short of the Corner
Why Your Self-Leveling Pour Stopped Short of the Corner
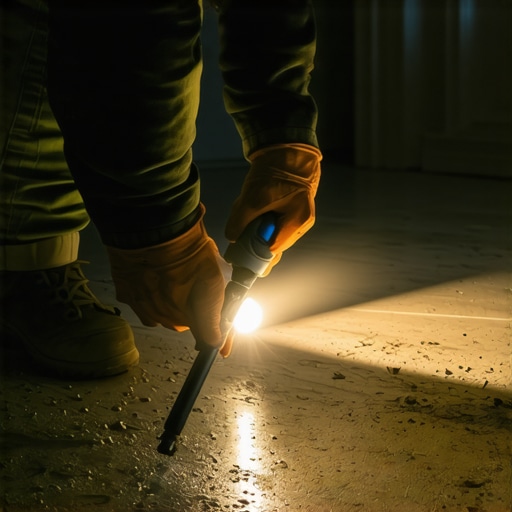
Most guys skip the leveling compound. They think the underlayment will hide the dip. It won’t. I spent three days grinding concrete on a job last month just so the floor wouldn’t click like a castanet. That is the reality of subfloor work. It is back-breaking and unglamorous. It smells like WD-40, oak dust, and the sharp, alkaline tang of wet cement. If you think a self-leveling pour is as easy as pouring syrup on a pancake, you are in for a expensive surprise. I have seen fifteen thousand dollar wide-plank floors ruined because an installer thought the leveler would just find its way to the corners by magic. It doesn’t work that way. Gravity is a factor, but surface tension and substrate preparation are the real masters of the pour.
The liquid dynamics of a failed pour
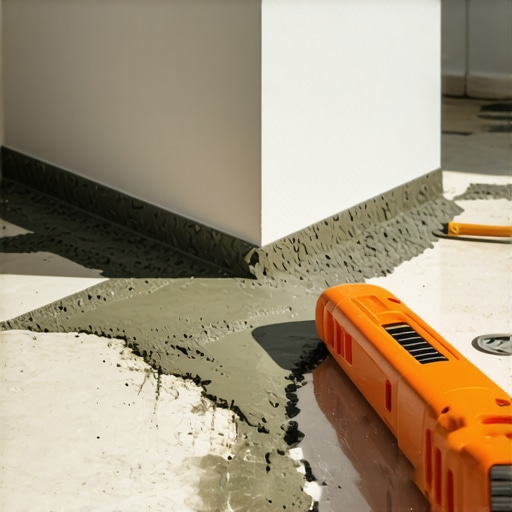
Self-leveling underlayment fails to reach corners when the viscosity is too high or the substrate is too porous. High surface tension prevents the liquid from breaking its own edge. This often happens because the installer didn’t use a primer or mixed the powder with too little water. When you dump a bucket of calcium aluminate cement onto a floor, you are initiating a complex chemical and physical race against time. The material wants to seek a level plane, but it is fighting friction. In the flooring industry, we call this the flow-rate. If your slab is dry and thirsty, it will suck the moisture out of the bottom of your pour before the liquid can travel the final six inches to the wall. This creates a damming effect. The material stops moving and starts setting. You end up with a mound that is thick in the middle and nonexistent at the edges. This is a disaster for a carpet install or a laminate floor because it creates a fulcrum point. Every time someone walks over that spot, the floor flexes. Eventually, the locking mechanism on your laminate will snap like a dry twig.
Primers and the invisible suction of dry concrete
Primer is the most overlooked component of a successful floor leveling project. A high-quality acrylic primer seals the pores of the concrete substrate to prevent air bubbles from escaping and moisture from being absorbed. This keeps the leveling compound fluid for a longer duration so it can reach the corners. I see it every week. A DIYer or a lazy contractor sweeps the floor once and starts pouring. That concrete slab is a giant sponge. On a molecular level, it is full of tiny capillaries. When that wet, heavy leveler hits the dry concrete, the concrete immediately begins to extract the water. This is called flash-drying. Without the lubrication of that water, the polymers in the leveler cannot slide over each other. The pour loses its flow. You need to use a primer that is specifically matched to your leveling compound. Some require a neat application, while others need a one-to-one dilution with water. If you skip this, your self-leveling pour will stop short of the corner every single time. It is not a suggestion. It is a structural requirement.
“A floor is only as good as the subfloor beneath it; deflection is the enemy of every joint.” – Master Flooring Axiom
The role of temperature in polymer chain reactions
Ambient and substrate temperatures dictate the working time of self-leveling compounds. High temperatures accelerate the hydration process of the cement, causing the material to stiffen before it can flow to the perimeter. Ideally, the room and the slab should be between 65 and 75 degrees Fahrenheit. I once worked a job in a house where the AC was out in the middle of a July heatwave. We tried to pour the kitchen and the leveler was setting up in the bucket before we could even get it to the floor. When it’s too hot, the chemical chain reaction inside the bag happens at double speed. You lose your wet edge. A wet edge is the fluid boundary of the pour that allows new material to blend with the old. If that edge dries, the new pour will just sit on top of it, creating a visible ridge. This is a nightmare for showers where you need a precise slope or a perfectly flat base for large-format tile. To combat this, you can use cold water to mix your bags. This slows down the molecular movement and gives you a few extra minutes to work the material into those stubborn corners with a spiked roller.
Mechanical bonds and the chemical interface
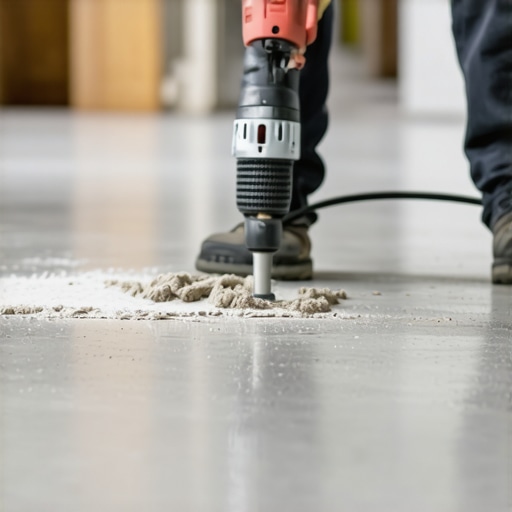
Achieving a successful leveler pour requires a combination of mechanical and chemical bonds. Mechanical bonding is achieved by roughening the surface of the substrate, while chemical bonding occurs through the use of specialized primers. Without both, the leveler will delaminate and crack under the weight of the finished floor. You cannot pour leveler over a sealed or polished surface and expect it to stay. It would be like trying to glue two pieces of glass together with school glue. You need to achieve a Concrete Surface Profile (CSP) of at least 1 or 2. This usually means grinding the slab or using a shot-blaster. If the leveler cannot ‘grab’ the concrete, it will shrink as it cures and pull away from the corners. I have seen entire sections of leveler pop up like a potato chip because the installer didn’t remove the old drywall mud or paint from the floor first. You have to get down to the raw structure. Use a diamond cup wheel on an angle grinder. It’s dusty, it’s loud, and it’s the only way to do it right. If you want your floor to last thirty years, you don’t take shortcuts on the interface.
Measuring the flatness for laminate and tile
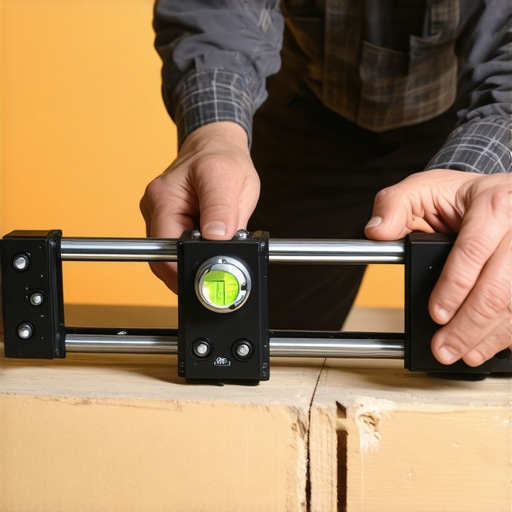
The industry standard for floor flatness is typically one-eighth of an inch over a ten-foot span. For large format tile or laminate flooring, exceeding this tolerance leads to lippage or hollow spots. Using a straightedge is the only way to verify if your pour actually reached the corners. After the pour is dry, you need to get back on your knees. Take a ten-foot straightedge and sweep the room. If you see light under the bar, you have a dip. If the bar rocks, you have a hump. People think floor leveling is about making things level with the earth, but it is actually about making things flat. You can have a floor that is slightly out of level that is perfectly flat, and your laminate will lay down just fine. But if you have a dip in the corner where the pour stopped short, that laminate will bounce. That bounce is the sound of a failing floor. It is the sound of a contractor who didn’t want to spend the extra thirty minutes to properly prep the perimeter.
| Material Type | Typical Working Time | Primary Failure Mode | Required Primer |
|---|---|---|---|
| Portland Based | 15-20 Minutes | Shrinkage Cracks | Acrylic Latex |
| Calcium Aluminate | 20-30 Minutes | Surface Crusting | High-Solids Acrylic |
| Gypsum Based | 30-40 Minutes | Low Compressive Strength | Specialized Gypsum Primer |
“Proper substrate preparation is eighty percent of the labor but one hundred percent of the success.” – NWFA Installation Guidelines
The checklist for a perfect perimeter pour
Before you open a single bag of compound, you must verify every item on this list. Failure to do so will result in a floor that is uneven and a waste of money.
- Vacuum the entire floor with a HEPA filter to remove microscopic dust.
- Apply two coats of primer if the concrete is exceptionally porous.
- Seal the perimeter gaps with spray foam or silicone to prevent the leveler from leaking into the walls.
- Use a heavy-duty mixing paddle to ensure there are no ‘dry balls’ of flour in the mix.
- Measure the water to the exact milliliter using a graduated cylinder.
- Verify that the subfloor is structurally sound with no deflection.
If you follow these steps, you won’t be the guy standing in the middle of a room wondering why his leveler is a foot away from the wall. You will have a surface that is ready for any finish, from a plush carpet install to a high-end engineered hardwood. Flooring is a science of millimeters. If you respect the chemistry and the physics, the floor will respect you back. If you try to cheat the subfloor, it will always win in the end. Do the work. Grind the slab. Prime the surface. Pour it right. That is how a master does it.