The ‘Shadow Test’ for Spotting High Spots in Your Subfloor Prep
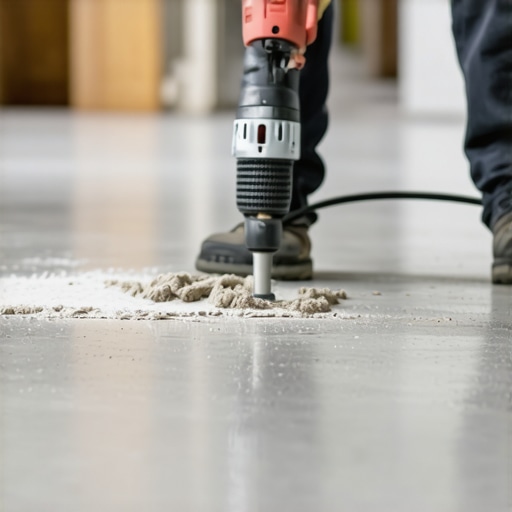
Most guys skip the leveling compound. They think the underlayment will hide the dip. It won’t. I spent three days grinding concrete on a job last month just so the floor wouldn’t click like a castanet. I walked onto that site and the homeowner was proud of the new slab. It looked flat to the naked eye, but my knees knew better. I pulled out my high-output LED work light, placed it flat against the surface, and the shadows told the real story. It looked like a topographic map of the moon. This is the reality of subfloor prep that most big-box retailers won’t tell you. They want to sell you boxes of laminate and get you out the door. They do not care if your locking mechanisms snap in six months because your subfloor had a 1/4 inch hump in the middle of the hallway. I do. My reputation is built on the 100 square feet you never see, the part that stays hidden beneath the finish material. Flooring is not a cosmetic layer. It is a structural interface. If that interface fails, the most expensive Italian tile or premium wide-plank oak is just expensive trash.
The flashlight trick that reveals every flaw
The Shadow Test involves placing a high-intensity light source parallel to the subfloor surface to reveal high spots and depressions through elongated shadows. This method identifies undulations that a standard straightedge might miss by using the physics of light refraction to exaggerate every 1/16 inch deviation in the substrate levelness.
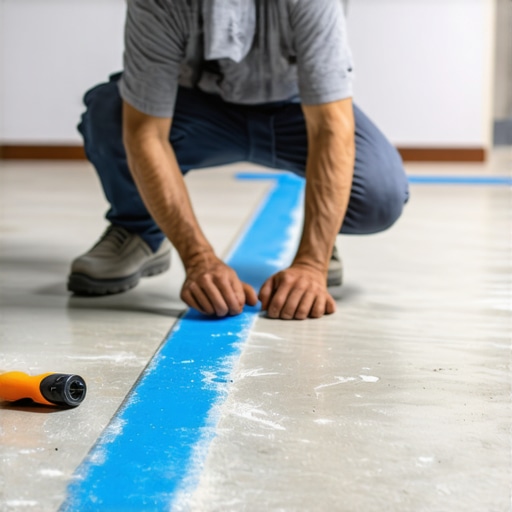
When you are prepping for a laminate or LVP install, your tolerances are razor thin. Most manufacturers demand a floor that is flat within 3/16 of an inch over a 10 foot radius. If you just lay a 6 foot level down, you might miss the gradual swell of a joist that was crowned too high. The Shadow Test is my go-to diagnostic tool. I shut off the overhead lights, get down on the floor, and slide a 1,000 lumen light across the room. A high spot will cast a dark shadow behind it. A dip will create a pool of darkness. I circle these areas with a wax pencil. Red for grinding, blue for filling. This is the only way to ensure the tongue and groove joints of your floating floor do not undergo cyclical fatigue. Every time you walk over a hollow spot, the plastic or wood joint flexes. Over thousands of footfalls, that joint will crack. You will hear a clicking sound. That is the sound of your investment dying. The Shadow Test prevents this by forcing you to see the microscopic hills and valleys of your plywood or concrete. We are looking for flatness, not necessarily levelness. A floor can be slightly out of level and still function, but if it is not flat, it is a ticking time bomb.
The brutal reality of subfloor prep
Floor leveling requires a deep understanding of the chemical bond between the substrate and the underlayment materials used to fix imperfections. Using a high-quality primer and the correct Portland cement based or gypsum based self-leveling compound ensures that the new surface does not delaminate or crack under pressure.
“A floor is only as good as the subfloor beneath it; deflection is the enemy of every joint.” – Master Flooring Axiom
If you are working with concrete, you have to respect the moisture. I never pour a bag of leveler until I have checked the calcium chloride levels or used an in-situ probe. Concrete is a sponge. It breathes moisture vapor. If you seal that moisture under a non-porous laminate, it will build up pressure. The alkalinity of the concrete will then eat the adhesive or the backing of your floor. When we talk about floor leveling, we are talking about chemistry. You need a primer that acts as a bridge. For plywood, I use a latex-modified primer that allows for a bit of flex. For concrete, I want something that penetrates the pores. I once saw an entire carpet install ruined because the installer didn’t realize the subfloor had an old adhesive residue that reacted with the new padding. It turned into a sticky, stinking mess. You have to scrape it down to the bone. You have to be a surgeon. If you are doing showers, the stakes are even higher. The Tile Council of North America is very clear about deflection. If your subfloor bounces, your grout will crack. If your grout cracks, water gets in. If water gets in, your house rots. There is no middle ground here. You either do the prep, or you do the job twice.
| Substrate Type | Max Deviation (10ft) | Preferred Leveler | Acclimation Time |
|---|---|---|---|
| Plywood / OSB | 3/16 inch | Fiber-reinforced Gypsum | 48-72 Hours |
| Cured Concrete | 1/8 inch | Portland Cement Based | 24 Hours |
| Radiant Heat Slabs | 1/8 inch | High-flow Polymer | 72 Hours |
The molecular structure of self-leveling compounds is fascinating. These are not just thin buckets of concrete. They contain superplasticizers that reduce the water-to-cement ratio while maintaining a high flow rate. This allows the material to find its own level using gravity. However, you cannot just pour it and walk away. You have to use a spike roller to release the air bubbles. If you leave those bubbles, you create tiny craters that weaken the surface. For a laminate install, those craters are fine. For a thin-spread vinyl, they will show through like pimples. This is called telegraphing. It is the curse of the lazy installer. You think you can hide a grain of sand under a sheet of vinyl? Think again. The light hitting that floor at 4 PM will make that sand grain look like a mountain.
The 1/8 inch that ruins everything
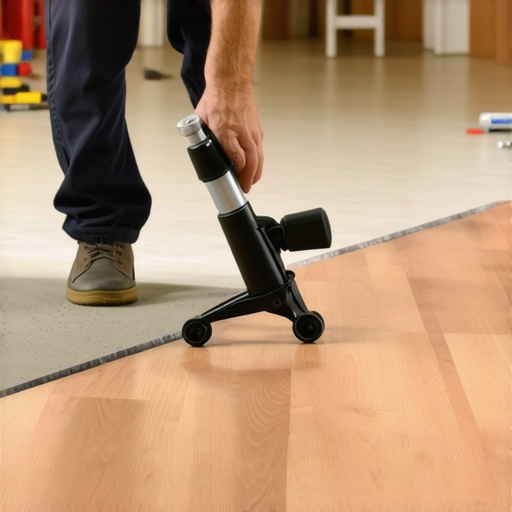
Laminate and luxury vinyl plank installations require a substrate that prevents vertical movement of the locking mechanisms to avoid structural failure. Subfloor prep for these materials focuses on eliminating voids where the planks could sag or bounce, which causes the brittle click-lock systems to shear off over time.
- Check moisture content of wood subfloors with a pin-type meter.
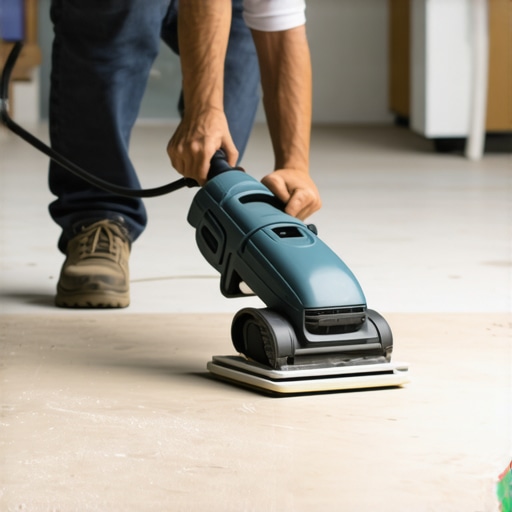
- Grind down high spots in concrete using a diamond cup wheel.
- Fill low spots with a high-compressive strength patching compound.
- Sweep and vacuum the floor three times to remove all particulates.
- Verify the 1/8 inch expansion gap around the entire perimeter.
When you move to carpet install, you can be a bit more forgiving, but not much. A big hump in a bedroom floor will still cause the carpet to wear unevenly. The nap will burn off the high spot while the low spot stays pristine. It looks terrible after two years. For showers, I always check the pre-slope. People think the waterproof membrane does the work, but if the subfloor under the pan isn’t sloped correctly, water will sit in the corners of your joists forever. I use a 2 foot level inside the shower stall to make sure I have at least a 1/4 inch per foot slope toward the drain. Anything less is a recipe for mold. The chemistry of the thin-set also matters. I use a highly modified mortar for large format tiles. These tiles are heavy. If the subfloor has any dip, the tile will lippage. You will stub your toe on the edge of the tile every time you walk into the bathroom. It is amateur hour. To avoid this, I use a mechanical leveling system, but those systems are only a crutch. They cannot fix a subfloor that is a disaster. You have to start with the slab.
“Standard subfloor flatness tolerances of 3/16 inch in 10 feet are mandatory for the long-term performance of engineered wood products.” – NWFA Technical Manual
In humid regions like the Gulf Coast, your subfloor is a living thing. It expands and contracts with the seasons. If you nail down a solid oak floor to a wet subfloor in July, that floor will cup by December. The edges of the boards will rise up because the bottom of the board is still saturated while the top is drying out in the heater. I tell my clients they have to wait. We acclimate the wood for two weeks. We run the HVAC. We check the moisture every day. If the subfloor is at 12 percent and the hardwood is at 6 percent, we do not install. We wait until they are within 2 percent of each other. That is the difference between a floor that lasts 100 years and a floor that needs to be ripped out in six months. It is about patience and the physics of wood fibers. I have seen guys try to use a thick, cushy underlayment to hide a bad subfloor. They think the foam will absorb the bumps. What actually happens is the foam allows the floor to bounce too much. The locking joints on the laminate are not designed for that much travel. They snap. The floor starts to separate. You get gaps. Then the dirt gets in the gaps. Then the floor is ruined. Use a high-density underlayment, but only after you have fixed the subfloor with the Shadow Test and a grinder. There are no shortcuts in this business. Just a lot of dust and the truth that the light reveals.