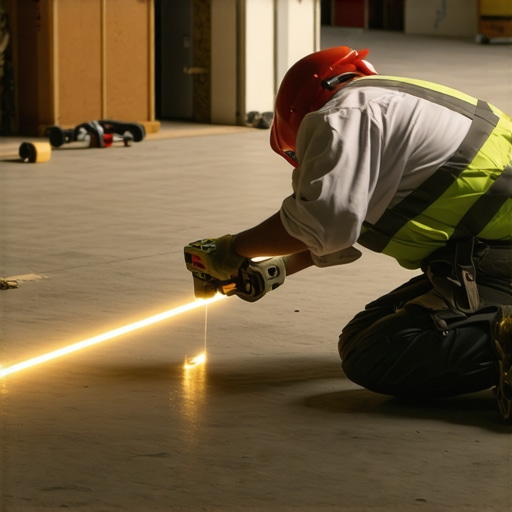
The ‘Laser Level’ Secret for a Perfectly Flat Floor
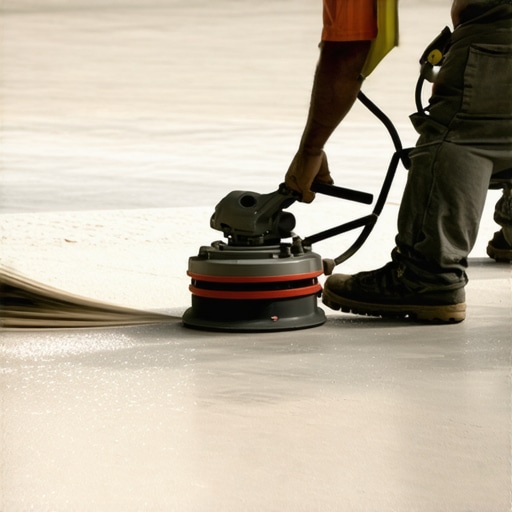
I spent three days grinding concrete on a job last month just so the floor wouldn’t click like a castanet. Most guys skip the leveling compound. They think the underlayment will hide the dip. It won’t. I have seen countless homeowners lose thousands of dollars because they trusted a contractor who said a little bit of a slope is fine. It is never fine. The physics of flooring do not care about your schedule or your budget. If that subfloor has a dip greater than three sixteenths of an inch over a ten foot radius, your locking mechanisms will eventually snap. I smell like WD-40 and oak dust most days, and I have learned that the only honest tool in the room is a high quality self leveling rotary laser. Without it, you are just guessing with your eyes and a prayer.
The physics of the flat subfloor
A flat subfloor is the absolute foundation of any successful flooring installation including laminate, hardwood, or tile. Achieving a tolerance of three sixteenths of an inch over ten feet prevents joint fatigue and ensures the structural integrity of the click-lock system or the mortar bond. When you ignore a dip, you create a void. Every time you step on that spot, the flooring flexes into the void. This constant movement acts like a hammer on the tongue and groove. In laminate or luxury vinyl plank, this leads to separation and eventual breakage of the core. In tile, it leads to cracked grout lines and popped stones. You cannot fix a structural void with a thicker pad. A soft pad just allows more movement, accelerating the failure of the mechanical lock. We look at the subfloor as a performance stage. It must be rigid, dry, and perfectly planed.
Why your subfloor is lying to you
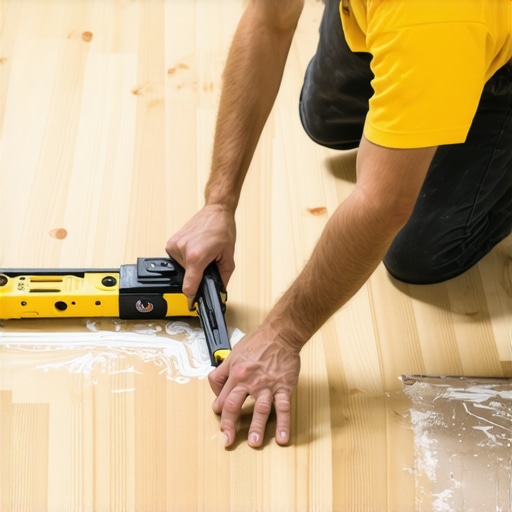
Subfloors often appear flat to the naked eye but contain subtle waves and troughs caused by joist shrinkage or concrete settling. A laser level reveals these discrepancies by projecting a perfectly level reference line across the entire room, exposing every high spot and low valley. You might think a six foot level is enough. It is not. A six foot level only tells you what is happening in six feet. A laser level tells you how the kitchen floor relates to the dining room floor twenty feet away. This is vital for zero threshold transitions. If you want a floor that flows from room to room without those ugly T-moldings, the entire footprint must be on the same plane. Concrete slabs are notorious for perimeter curling where the edges of the slab dry faster than the center, causing a slight upward lift. Without a laser, you will install right over that hump, and your laminate will feel like a seesaw.
“A floor is only as good as the subfloor beneath it; deflection is the enemy of every joint.” – Master Flooring Axiom
The microscopic failure of self leveling compounds
Self leveling underlayments are not truly self leveling and require manual agitation to reach the desired height and smoothness. The chemical bond depends on the porosity of the substrate and the use of a specific acrylic primer to prevent the concrete from sucking moisture out too fast. If you just pour the bag and walk away, the surface tension of the liquid will cause it to mound. You need to use a spiked roller to release trapped air bubbles. Those bubbles, if left alone, create tiny craters that weaken the compression strength of the patch. We measure the water to powder ratio down to the ounce. Too much water and the polymers separate, leaving a chalky surface that will never hold an adhesive. Too little water and the product dries before it can flow into the deep troughs. This is where the chemistry of the installation meets the physics of the level.
| Subfloor Type | Max Deviation (10ft) | Recommended Solution | Acclimation Time |
|---|---|---|---|
| Concrete Slab | 3/16 inch | Self Leveling Cement | 72 Hours |
| Plywood Subfloor | 1/8 inch | Sanding / Shimming | 48 Hours |
| Radiant Heat | 1/8 inch | Thermal Mass Pour | 7 Days |
How laminate and LVP respond to structural dips
Laminate and luxury vinyl plank are floating floors that require a flat surface to maintain their locking integrity. When these floors encounter a dip, the downward pressure of foot traffic causes the joints to rub together, creating friction that leads to squeaking and eventual board separation. Most people think the mil thickness of the wear layer is the most important spec. It is not. The density of the core material matters more when dealing with subfloor imperfections. A high density fiberboard core in laminate is stiff. If it hangs over a void, it stays stiff until the pressure exceeds its breaking point. LVP is more flexible, which some think is a benefit. It is actually a curse. Flexible LVP will telegraph every single grain of sand or dip in the concrete. Within six months, you will see the ghost of the subfloor imperfections appearing on the surface of your beautiful new floor. It looks cheap and it feels worse.
Carpet installation and the myth of hiding floor flaws
Carpet installation is often used to mask poor subfloor conditions, but significant dips can still be felt underfoot and lead to premature wear of the carpet backing. High traffic areas over a subfloor valley will stretch the carpet unevenly, leading to ripples that require restretching. If you are installing a high end patterned carpet, a dip in the floor will distort the pattern. It looks like a funhouse mirror. The pad also takes a beating. In a low spot, the pad is compressed more aggressively because the carpet has more room to travel before it hits bottom. This breaks down the cellular structure of the polyurethane foam or the rubber rebond. I have seen three year old carpet look like ten year old carpet simply because the installer was too lazy to patch a hole in the plywood. Flatness is not just for hard surfaces. It is a requirement for longevity in every textile.
Shower pans and the geometry of drainage
Shower floor installations require the opposite of a flat surface; they need a precise slope of one quarter inch per foot toward the drain. Achieving this geometry while maintaining a flat perimeter for the wall tile is the most difficult technical challenge in flooring. If your subfloor is not level to begin with, your pre-slope will be off. This leads to standing water in the corners of the shower. Standing water leads to mold growth and the eventual failure of the waterproofing membrane. We use a laser to mark the high water line on the studs before the first scoop of mud hits the floor. This ensures that the transition from the bathroom floor to the shower entry is a perfect 90 degree angle. Any deviation here makes the glass door installation a nightmare. The installers will have to use shims that look terrible just to get the door to swing without hitting the curb.
“Deflection and moisture are the two horsemen of flooring apocalypse; ignore them at your peril.” – TCNA Technical Bulletin
- Check moisture content with a calcium chloride test for concrete.
- Verify plywood thickness meets the 16 inch on center joist requirement.
- Sand down high spots in wood subfloors using a 40 grit orbital paper.
- Vacuum every square inch of the floor to ensure adhesive bond.
- Use a laser level to map the entire room before purchasing materials.
The chemical bond of modified thin-set
Modified thin-set mortars use liquid latex or powdered polymers to increase bond strength and allow for slight movement without fracturing. The effectiveness of these polymers is negated if the substrate is dusty or if the temperature of the slab is below fifty degrees. When we talk about