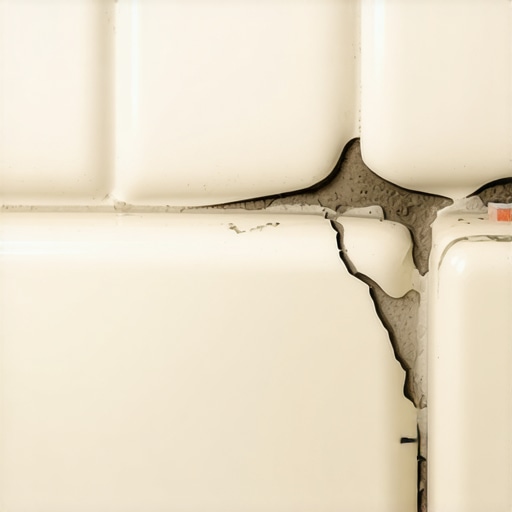
Why your grout is cracking only around the bathtub
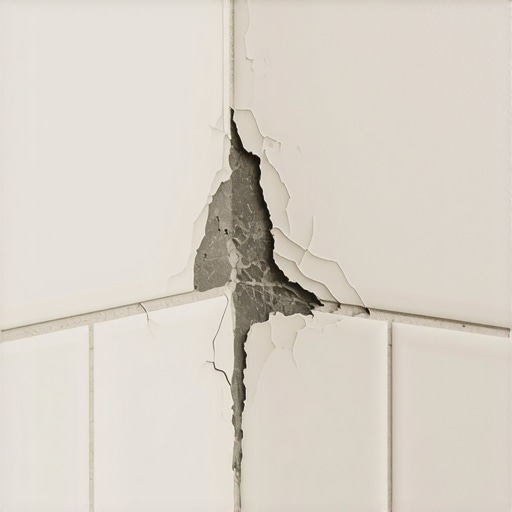
I spent three days grinding concrete on a job last month just so the floor wouldn’t click like a castanet. Most guys skip the leveling compound. They think the underlayment will hide the dip. It won’t. I have seen the same negligence play out in bathrooms across the country. When you see those hairline fractures or crumbling chunks of grout specifically where your floor meets the tub, you are not looking at a cleaning issue. You are looking at a mechanical failure of the assembly. I smell the wet dust and the polymer modified thin-set every morning, and it tells a story of structural deflection that most homeowners ignore until the subfloor rots. A bathtub is a dynamic weight load. It is not like a wall. It changes weight by hundreds of pounds every time you turn the tap. That movement is the enemy of rigid materials.
The physics of bathtub deflection
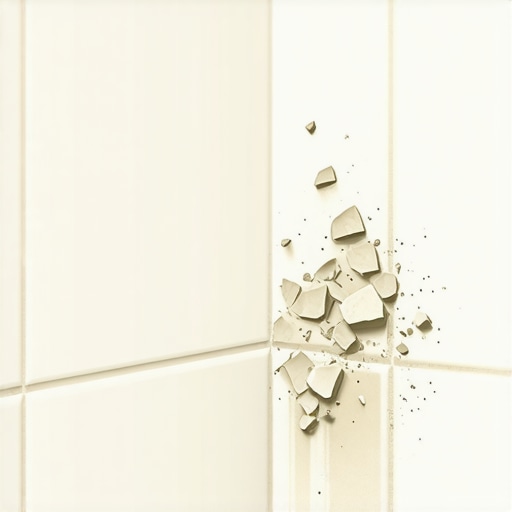
Grout cracks around a bathtub because of vertical movement and the lack of an expansion joint at the change of plane. Standard cementitious grout is rigid and cannot handle the 500 pound weight fluctuations of a filled tub. Replacing grout with 100 percent silicone sealant is the only industry approved method for these high movement junctions. Most installers forget that a bathtub is essentially a giant bucket that expands and sinks under load. When you fill that tub with forty gallons of water and climb in, the floor joists flex. If you have used rigid grout to bridge the gap between the vibrating, heavy tub and the tiled floor, that grout has no choice but to shatter. It is basic physics. You cannot expect a brittle ceramic bond to hold together two different materials moving at different rates.
“A floor is only as good as the subfloor beneath it; deflection is the enemy of every joint.” – Master Flooring Axiom
The 1/8 inch that ruins everything
Small gaps in the subfloor or a lack of proper floor leveling near the tub perimeter create a void where the floor can bounce. This bounce is known as deflection. If your joists are spaced too far apart or if the plywood is too thin, the tile will stay still while the tub sinks. I have walked into showers where the grout was turned to powder because the installer used 1/2 inch OSB instead of a proper 3/4 inch tongue and groove subfloor. You have to understand the L over 360 standard. This means the floor should not bend more than the total span divided by 360. If you are over that limit, your grout is toast before it even dries. No amount of fancy sealer will save a floor that is bouncing like a trampoline. You need a rock solid foundation before the first bag of thin-set is even opened.
| Material Property | Cementitious Grout | Silicone Sealant | Epoxy Grout |
|---|---|---|---|
| Flexibility | Zero | High | Low |
| Water Resistance | Porous | Waterproof | Waterproof |
| Movement Capacity | 1 percent | 25 percent | 5 percent |
| Best Use Case | Flat floor joints | Changes of plane | Commercial floors |
Why your subfloor is lying to you
A subfloor might look flat to the naked eye but a ten foot straight edge often reveals dips that lead to grout failure. If you did not use a self leveling underlayment before the tile went down, you have created a hollow spot. When you step near the tub, the tile presses into that hollow. This shear stress rips the grout away from the tub flange. I see people trying to fix this with more grout. That is like putting a band-aid on a broken leg. You are just adding more brittle material to a moving target. In a proper carpet install, you can hide a lot of sins with a thick pad. In a laminate project, you have some foam to take up the slack. But with tile and showers, there is no hiding. The chemistry of the bond is all you have. If the substrate moves, the bond breaks. It is a binary reality.
The hidden danger of moisture cycles
Water seeps through those tiny cracks and begins to rot the wooden framing beneath the tub. This creates a feedback loop of destruction. The wood gets wet, it softens, it sags more, and the crack gets wider. This is why we use liquid waterproofing membranes. If you do not have a continuous barrier, that moisture is traveling. I have pulled up floors where the laminate was warped three rooms away because a bathtub grout line failed and let water travel along the sleepers. You have to treat the tub to floor transition as a moving joint. The TCNA is very clear on this. Any change of plane or change of material requires a flexible sealant. Not grout. Not caulk-grout mix. Pure silicone. It smells like vinegar while it cures but it will actually hold when the tub is full of water and a grown adult.
“Movement joints are not optional; they are the pressure release valves of a ceramic installation.” – TCNA Handbook Standards
- Check the subfloor for a deflection rating of L/360 or better.
- Ensure the bathtub is properly shimmed and supported on a mortar bed.
- Clean all old grout from the tub to floor gap using a multi-tool.
- Apply a high quality 100 percent silicone sealant that matches the grout color.
- Allow the silicone to cure for 24 hours before using the shower.
The ghost in the expansion gap
Proper tiling requires an expansion gap of at least 1/8 inch around the entire perimeter of the room. If your tile is butt-up against the tub, there is no room for the house to breathe. Houses expand in the summer and shrink in the winter. If your tile is locked tight against the tub, the pressure builds up until something snaps. Usually, it is the grout line. I have spent years explaining to homeowners that a tight fit is actually a bad fit. You want that gap. You need that gap. Then you cover that gap with a flexible bead. That bead acts as a shock absorber. Without it, your floor is a ticking time bomb of cracked ceramic and popping joints. Do not let a hack installer tell you that grout is enough. It never is.
Final structural assessment
If you are staring at a crack, do not just scrape and smear. Look at the tub. Does it creak when you step in. If so, it was not set in a mortar bed. That movement will kill any repair you try. You might need to access the plumbing from below to sister the joists or add blocking. Flooring is not about the pretty colors on top. It is about the engineering underneath. Whether it is a complex carpet install or a high end stone shower, the rules of gravity and moisture remain the same. Address the movement, use the right sealant, and stop treating your floor like a static object. It is a living part of the house structure. Treat it with the respect it deserves or keep your hammer ready for the next repair.
{“@context”:”https://schema.org”,”@type”:”Article”,”headline”:”Why your grout is cracking only around the bathtub”,”author”:{“@type”:”Person”,”name”:”Master Floor Installer”},”description”:”Expert analysis of why bathtub grout cracks, focusing on subfloor deflection, weight loads, and the necessity of silicone expansion joints.”,”articleSection”:”Flooring Engineering”}