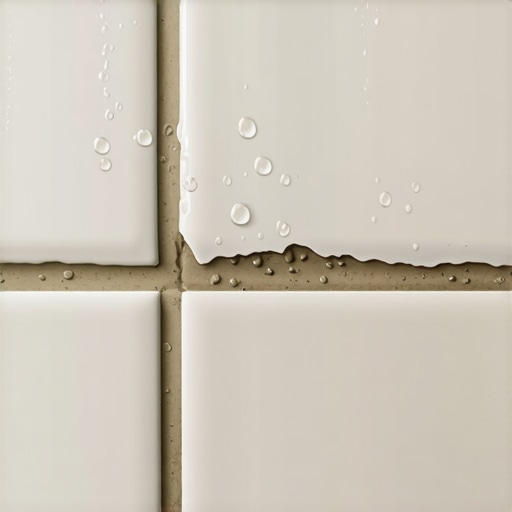
Why Your Shower Grout Is Cracking in the Corners After Just One Month
I spent three days grinding concrete on a job last month just so the floor wouldn’t click like a castanet. Most guys skip the leveling compound because they think the underlayment or the tile backer will hide the dip. It won’t. I walked into a master bathroom last week where the homeowner was frantic because their brand new subway tile was spitting out grout in the corners like a broken Pez dispenser. It had been thirty days. The contractor told them the house was just settling. That is a lie. Houses do settle, but your grout should not be the sacrificial lamb of structural movement. The reality is that the installer ignored the physics of the change of plane and the chemistry of the curing process. When you see a crack in a corner, you are not looking at a grout problem. You are looking at a movement problem that the grout was never designed to handle.
The structural lie of a flexible house
Shower grout cracks in corners because the house moves and the grout is a rigid ceramic bridge that cannot flex. This phenomenon occurs at every change of plane, meaning any spot where a floor meets a wall or two walls meet. When these surfaces shift independently, the brittle grout snaps. This is often the result of improper floor leveling or a failure to account for subfloor deflection. If the joists underneath that shower pan move more than 1/360th of the span, the rigid tile assembly above it will fail. It is not a matter of if, but when. Most installers treat a shower like a static box. It is not. It is a vibrating, expanding, and contracting vessel subjected to massive thermal shocks every time you turn on the hot water.
Why your plane change requires a sealant not a slurry
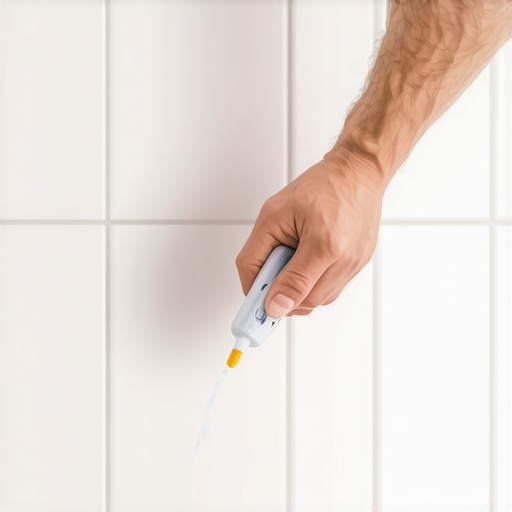
A movement joint is the only way to prevent corner cracking in wet environments. According to the Tile Council of North America (TCNA) handbook, specifically detail EJ171, every change of plane must be treated as a movement joint. This means you do not put grout in the corners. You leave a gap. You fill that gap with 100 percent silicone sealant that matches the color of your grout. Grout is essentially a mixture of Portland cement, aggregate, and pigments. Once it cures, it has the flexibility of a sidewalk. Silicone is an elastomer. It can stretch and compress. When the wall studs behind your tile swell from humidity, the silicone moves with them. When the grout is there instead, it simply crushes itself into dust.
“A floor is only as good as the subfloor beneath it; deflection is the enemy of every joint.” – Master Flooring Axiom
The physics of deflection and substrate movement
Deflection is the distance a floor system bends under a load. If you are installing heavy tile, your subfloor needs to be rock solid. I see guys trying to do a carpet install one day and a shower the next without changing their mindset. Carpet is forgiving. Tile is a snitch. It tells on every mistake you made in the framing. If your floor leveling is off by even an eighth of an inch over ten feet, your tile backer board will have a microscopic void underneath it. When you step on that tile, the board pushes down into the void. That vertical movement translates into a shear force at the corner grout line. The grout cannot handle shear. It breaks. You need to ensure the subfloor meets L/360 for ceramic and L/720 for natural stone to prevent this mechanical failure.
[IMAGE_PLACEHOLDER]
How poor floor leveling dooms the wet area
Leveling the substrate before the shower pan goes in is the most ignored step in modern construction. If the slab or the wood subfloor is not flat, the entire shower assembly sits on an uneven foundation. This creates stress points. Imagine a glass bottle sitting on a pebble. It might be fine until you put pressure on it. Then it shatters. In a shower, the pebble is a high spot in the concrete. The pressure is the weight of the water and the person. As the assembly shifts to accommodate the uneven floor, the corners are the first place to show the stress. If you are doing a laminate install in the bedroom next door, you might get away with a slight dip. In a shower, that dip is a death sentence for your grout integrity.
| Grout Type | Flexibility Rating | Best Use Case | Cure Time |
|---|---|---|---|
| Sanded Grout | Very Low | Large joints on floors | 72 hours |
| Unsanded Grout | Very Low | Thin wall joints | 72 hours |
| Epoxy Grout | Moderate | Stain resistance and strength | 24 hours |
| 100% Silicone | Very High | Corners and plane changes | 24 hours |
The myth of the rigid corner
Contractors love to say that if they use a high polymer modified grout, it will hold in the corners. They are selling you a fantasy. While polymers do increase the bond strength, they do not turn cement into rubber. The molecular structure of Portland cement is a crystalline lattice. It is designed to be strong in compression but weak in tension. When the house moves, the corner joint is pulled apart. This is tension. The lattice snaps. No amount of latex additive will stop the physics of a house shifting on its foundation. You must use a material designed for elongation. This is why the pros always carry a tube of color matched caulk. It is not a shortcut. It is the correct engineering choice.
The 1/8 inch that ruins everything
Precision in the gap width is what determines the longevity of the silicone joint in the shower. If you jam the tiles together in the corner with no gap, there is no room for the sealant to bond to the edges. You need a consistent 1/8 inch gap at every corner. This allows a sufficient bead of silicone to sit in the joint. This bead acts like a rubber gasket. If the gap is too thin, the silicone is just a surface smear. It will peel off within months. I see this all the time with guys who want the tile to look seamless. There is no such thing as a seamless shower. There are only showers that are properly engineered and showers that leak. If you want the floor to last as long as the mortgage, you respect the gap.
“Movement joints are not optional; they are a functional requirement of a successful tile installation.” – TCNA Handbook
- Check subfloor deflection before any tile is laid.
- Level the floor to within 1/8 inch over 10 feet.
- Leave a 1/16 to 1/8 inch gap at all wall and floor transitions.
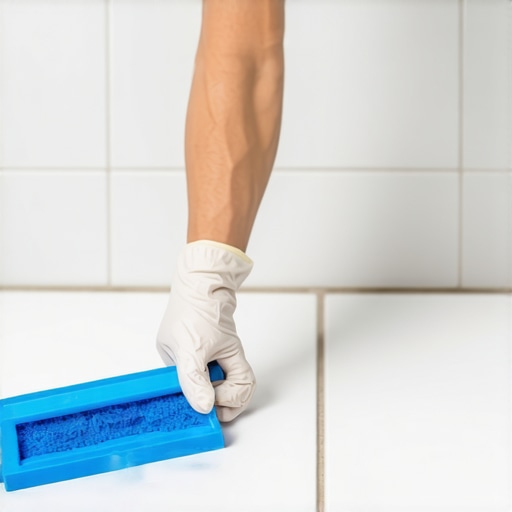
- Clean all grout residue from the corner gaps before sealing.
- Apply a 100 percent silicone sealant that meets ASTM C920.
- Ensure the shower is completely dry for 24 hours before caulking.
The ghost in the expansion gap
Waterproofing is another culprit. If you use a topical membrane like Kerdi or RedGard, you have to be careful about how much thin-set you build up in the corners. Excessive thin-set creates a localized hard point. This makes the corner even more rigid. When the house experiences thermal expansion, that hard point resists the movement until the grout gives way. It is a ghost in the system. You think everything is fine because the waterproofing is solid, but the grout is telling a different story. You have to think about the entire assembly as a layered system where every layer has a specific job. The thin-set holds the tile, the membrane stops the water, and the silicone handles the movement. If you ask the grout to handle the movement, you have failed the engineering test. This is why I always tell homeowners to look at the corners first. If there is grout there, the job was done by an amateur who does not understand the chemistry of his own materials.