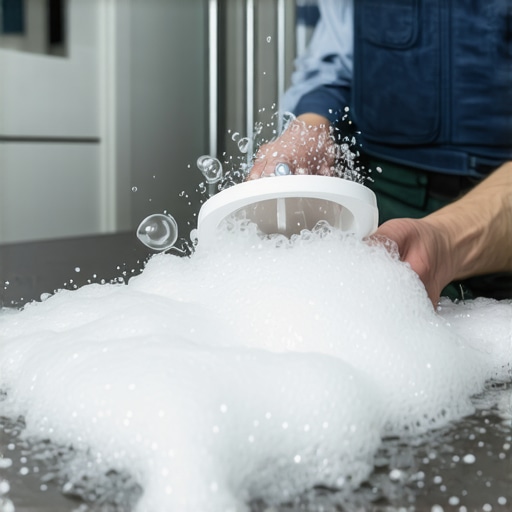
The ‘Soap Bubbles’ trick for finding shower pan leaks
The soap bubble method for identifying shower pan leaks and protecting subfloors
Most guys skip the leveling compound. They think the underlayment will hide the dip. It won’t. I spent three days grinding concrete on a job last month just so the floor wouldn’t click like a castanet. That job was a nightmare because the client had a previous installer who ignored a leaking shower pan in the master suite. By the time I arrived, the 3/4 inch tongue and groove subfloor was a sponge. The water had wicked twenty feet into the hallway, ruining a brand new carpet install and swelling the edges of every laminate plank in its path. You cannot build a house on a swamp, and you cannot lay a high-end floor over a compromised substrate. This is why the soap bubble trick is a mandatory skill for any serious mechanic. It is the difference between a lifetime warranty and a callback that costs you five figures. If you ignore the physics of water migration, the physics will eventually ignore your bank account.
The ghost in the shower drain
Finding a leak in a shower pan requires a non-destructive test using a surfactant solution and air pressure. This method identifies pinhole leaks in the waterproof membrane or compression drain assembly without needing expensive infrared thermal imaging or moisture mapping tools immediately. When you are dealing with a shower, you are dealing with a hydraulic system. Any failure in the membrane, usually a chlorinated polyethylene or polyvinyl chloride liner, will allow water to escape through the floor joists. Gravity is the ultimate inspector. It will find the smallest gap in your PVC cement or the tiniest tear where you tucked the liner into the corner. A soap bubble test uses the property of surface tension to make the invisible visible. It is a simple mechanic’s trick that reveals the exact location of air escaping a pressurized system, which in this case, correlates directly to where water will exit under load.
“A floor is only as good as the subfloor beneath it; deflection is the enemy of every joint.” – Master Flooring Axiom
Why your subfloor is lying to you
Subfloor deflection and moisture content are the two primary reasons for flooring failure in residential bathrooms. When a shower pan leaks, the water does not just sit there, it penetrates the plywood layers and causes delamination. You might look at the surface of your laminate and think things are fine, but underneath, the structural integrity of the home is rotting. Plywood is an organic material. It is a series of wood veneers glued together. When moisture enters, the fibers expand. The glue fails. The subfloor loses its ability to carry a load. If you are installing laminate or carpet over a subfloor that has been exposed to a slow shower leak, you are essentially laying your product over a ticking time bomb. The soap bubble trick allows you to verify the integrity of the plumbing and the pan before you commit to the finish flooring. It is the only way to be sure that the 1/8 inch gap you left for expansion is the only movement your floor will see.
The physics of surfactants and surface tension
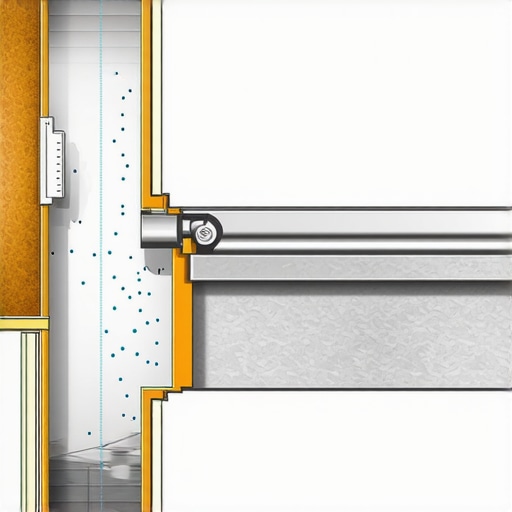
The soap bubble trick relies on surfactants like sodium lauryl sulfate to lower the surface tension of water. When air is forced through a leak, it creates a spherical bubble because the soap molecules align to trap the air. This is a molecular level interaction. You apply a concentrated solution of dish soap and water to the suspect areas, specifically around the clamping ring of the drain and the pre-sloped mortar bed corners. If you have access from below, you use a small blower or even a shop vac on the exhaust setting to create positive pressure. Even a tiny amount of air pressure will cause a visible bubble to form at the site of the leak. This is far more effective than a standard flood test because a flood test only tells you that water is escaping, not exactly where the failure is occurring. You need to know if the leak is at the weep holes or the liner fold.
Why waterproof laminate fails when the pan leaks
Most waterproof laminate is only waterproof from the top down and does not protect against hydrostatic pressure from the subfloor. When a shower pan fails, water accumulates between the vapor barrier and the laminate core. This creates a micro-climate of high humidity. The high-density fiberboard core of the laminate will absorb this moisture through the unsealed locking mechanisms. Even if the top surface is plastic, the bottom and sides are vulnerable. The edges will begin to peak or cup. You will see a milky residue or mold growth in the joints. No amount of floor leveling can fix a floor that is being pushed up by expanding wood fibers. If you had performed the soap bubble test during the bathroom renovation, you would have seen the bubbles forming at the drain flange, indicating a failure in the sealant or the clamping pressure.
| Material Type | Deflection Limit | Moisture Resistance | Typical Failure Point |
|---|---|---|---|
| Solid Hardwood | L/360 | Low | Cupping and Crowning |
| Engineered Wood | L/360 | Medium | Delamination |
| LVP Click-Lock | L/480 | High | Locking Tab Breakage |
| Laminate HDF | L/480 | Medium | Edge Swelling |
| Carpet Padding | N/A | Low | Fungal Growth |
The 1/8 inch that ruins everything
Precision in flooring installation is measured in fractions of an inch because structural movement is inevitable. When an installer ignores the expansion gap at the perimeter, the floor has nowhere to go when the ambient humidity changes. If a shower pan is leaking, that humidity is not just ambient, it is localized and extreme. The floor will buckle or tent. I have seen laminate floors rise four inches off the subfloor because they were pinned against a baseboard and then soaked from a leaking shower. The soap bubble method ensures that the waterproofing envelope is intact. Without that certainty, your 1/8 inch gap is a joke. You are fighting a losing battle against thermodynamics. Water expands things. Wood moves. The drain must be sealed perfectly to the liner using a bead of 100 percent silicone or a proprietary sealant recommended by the manufacturer. If you see a bubble, you have a gap. If you have a gap, you have a disaster.
“A floor is only as good as the subfloor beneath it; deflection is the enemy of every joint.” – Master Flooring Axiom
The mechanics of a perfect leak test
To execute the soap bubble trick properly, you must first plug the drain with a mechanical test plug. Do not use a rag or tape. You need a watertight seal. Once the drain is plugged, you apply the soapy solution to the clamping ring. Use a high-quality dish soap with high viscosity. If you are testing the pre-pan, you are looking for air escaping from the subfloor cavity. This is why floor leveling is mandatory before the pan goes in. A flat subfloor ensures the mortar bed has a uniform thickness and does not crack. Cracks in the mortar bed lead to membrane stress. Membrane stress leads to tears. Tears lead to bubbles during your test. It is a chain reaction of engineering failures that starts with a lazy approach to the substrate. You must be a stickler for the TCNA standards which dictate exactly how these assemblies should be constructed.
Checklist for a leak free shower and floor
- Verify subfloor levelness to within 1/8 inch over 10 feet.
- Check joist spacing to ensure the floor meets L/360 deflection standards.
- Install a pre-slope using modified thin-set or a dedicated mortar bed.
- Apply the waterproofing membrane according to ANSI A118.10 specifications.
- Use a mechanical test plug to seal the 2-inch waste line.
- Apply a surfactant solution to all seams and transitions.
- Introduce positive air pressure from the crawlspace or ceiling below.
- Inspect for bubble formation around the drain flange.
- Perform a 24-hour flood test after the bubble test confirms no air leaks.
- Maintain expansion gaps of at least 1/4 inch around the entire bathroom perimeter.
The bottom line
The flooring industry is full of people who want to talk about aesthetics and color palettes. They want to talk about wear layers and mil thickness. None of that matters if the structural engineering of the wet area is compromised. The soap bubble trick is a diagnostic tool that separates the professionals from the handymen. It requires you to look at the floor as a performance surface. You are managing moisture vapor transmission rates and hydrostatic pressure. If you find a leak early, you save the carpet install in the bedroom. You save the laminate in the hallway. You save your reputation. Do not trust a visual inspection alone. Physics does not care about what you think you see. It only cares about the integrity of the seal. Use the soap, find the bubbles, and fix the problem before it becomes a structural failure. Your knees and your wallet will thank you.