Why Your Shower Curb is Rotting from the Inside Out
Why Your Shower Curb Is Rotting From The Inside Out
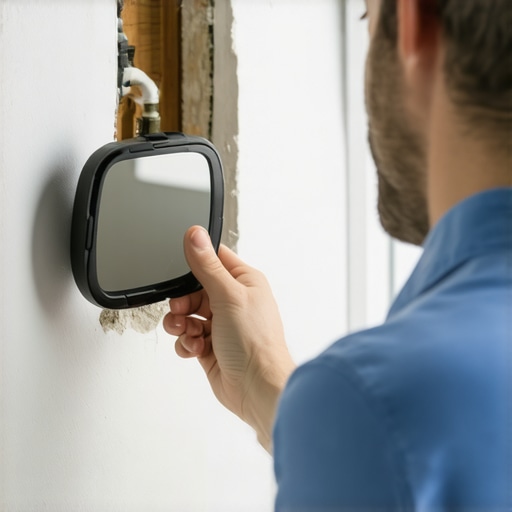
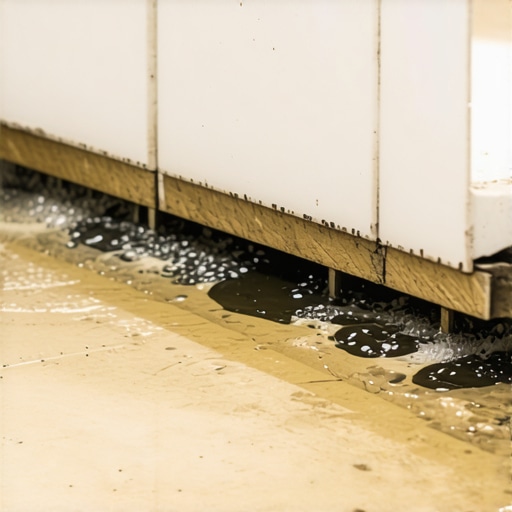
Most guys skip the leveling compound. They think the underlayment will hide the dip. It won’t. I spent three days grinding concrete on a job last month just so the floor wouldn’t click like a castanet. That same job had a shower curb that looked fine from the outside. But when I pulled the first tile, the smell of damp rot and wet sawdust hit me like a physical wall. The installer used a standard 2×4 wood stack for the curb and wrapped it in plastic thinking he was safe. He was wrong. The moisture had wicked up through the screw holes and the curb was nothing more than black mush inside a tile shell.
The physics of the wicking curb
Shower curbs fail because of capillary action and hydrostatic pressure which forces moisture into the wooden core through microscopic punctures in the waterproofing membrane. High density wood such as pressure treated pine or standard 2×4 lumber absorbs liquid through its cellular structure once the protective barrier is breached. This failure is often caused by the installer nailing the cement board or the lath through the top of the curb. Every single puncture is a highway for water to travel into the framing. Over time, the moisture cannot escape because it is trapped behind the tile and the plastic liner. This creates a stagnant, anaerobic environment where rot thrives and structural integrity dissolves. A curb must be built from non organic materials like high density polystyrene or solid mortar to avoid this inevitable decay.
The 1/8 inch that ruins everything
Floor leveling is a mandatory prerequisite for any successful flooring installation because a subfloor variance exceeding 1/8 inch over a 10 foot radius causes mechanical stress on locking joints. When you are dealing with showers and adjacent flooring like laminate or carpet, the transition is where the war is won or lost. If the subfloor is not perfectly flat, the shower curb will not sit level. This creates a gap where water pools instead of shedding back toward the drain. I have seen thousands of dollars of laminate flooring ruined because the installer didn’t account for a 1/4 inch dip in the concrete slab. That dip allowed water to migrate from the shower exit into the core of the laminate planks. Once that HDF core absorbs moisture, it expands and the floor is garbage. You cannot sand out a hump in laminate. You have to tear it out and start over with a self leveling underlayment that has a minimum compressive strength of 3,000 psi.
“A floor is only as good as the subfloor beneath it; deflection is the enemy of every joint.” – Master Flooring Axiom
The chemistry of the bond
Modified thin set mortar uses liquid latex polymers to create a chemical bond that resists water penetration and provides the flexibility needed for thermal expansion. When you are setting tile on a curb, the adhesive chemistry is more important than the tile itself. Unmodified mortar is just cement and sand. It is rigid and porous. If the house shifts by even a fraction of a millimeter, unmodified mortar will crack. Those cracks are invisible to the eye but are massive to a water molecule. By using a polymer modified mortar, you are creating a rubberized bridge between the tile and the waterproofing. This bridge prevents the efflorescence of salts from the concrete from reaching the surface of your grout. It also ensures that the bond remains intact even when the floor leveling compound underneath undergoes minor settling. Without the right chemistry, your shower is just a ticking time bomb of mold and loose tiles.
| Material Type | Moisture Resistance | Structural Density | Recommended Use |
|---|---|---|---|
| Solid Mortar Curb | Excellent | High | Primary Bathrooms |
| High Density Foam | Excellent | Medium | Fast Installations |
| Wood 2×4 Stack | Poor | Low | Never Use in Wet Areas |
| Laminate Core | Very Poor | Low | Dry Areas Only |
Why your subfloor is lying to you
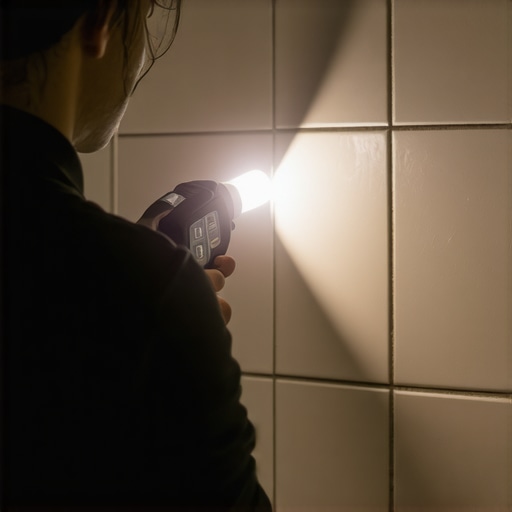
Subfloor moisture levels must be measured with a calibrated pinless meter to detect deep saturation that is not visible on the surface of the plywood or concrete. Just because a slab looks dry doesn’t mean it is. Concrete is a sponge. If you install a moisture barrier over a slab that is still off-gassing, the vapor pressure will eventually blow the bond of your adhesive. This is especially true when transitioning from a wet area to a carpet install. Carpet acts as a filter for all the mold spores growing in the damp subfloor. If the subfloor near the shower is not properly leveled and sealed, the carpet pad will soak up the overflow like a wick. This leads to that musty basement smell that no amount of steam cleaning can remove. The only fix is to strip the floor down to the joists, check for deflection, and apply a high quality primer before pouring a gypsum based leveler.
Steps for a bulletproof shower curb installation
- Remove all organic wood framing from the curb area.
- Build the curb using solid concrete bricks or a pre-fabricated waterproof foam block.
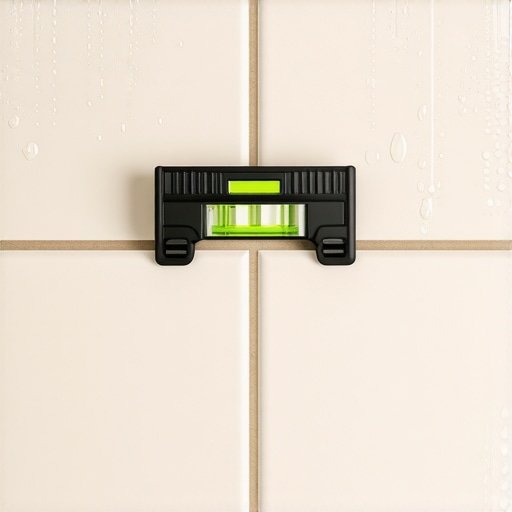
- Ensure the curb has a 1/8 to 1/4 inch slope toward the shower drain.
- Apply a liquid waterproofing membrane in three thick coats, allowing for full cure time between each.
- Never drive a screw or nail into the top or inside face of the curb.
- Use a high quality floor leveling compound on the bathroom floor to ensure the transition is flat.
- Seal the transition between the bathroom floor and the shower curb with 100 percent silicone caulk.
The ghost in the expansion gap
Expansion gaps are required for all floating floors to allow for the natural movement caused by changes in temperature and relative humidity within the home. Most people think they can run their laminate tight against the shower curb for a clean look. This is a recipe for disaster. When the humidity rises, that floor is going to expand. If it has nowhere to go, it will peak at the seams. You need a minimum 1/4 inch gap. This gap is then covered by a transition strip or a bead of flexible sealant. If you are doing a carpet install, the tack strip must be set back far enough so the transition doesn’t create a trip hazard or a place for water to collect. Flooring is a living thing. It breathes. If you choke it by ignoring the expansion rules, it will fight back by buckling. You have to respect the physics of the material. A professional installation is not about what you see on the surface. It is about the hidden layers and the math that keeps them stable over decades of use.
“The shower pan liner must be sloped toward the drain at a minimum of 1/4 inch per foot.” – TCNA Handbook