Why Your Floor Leveler Has Hundreds of Tiny Pinholes
Why Your Floor Leveler Has Hundreds of Tiny Pinholes
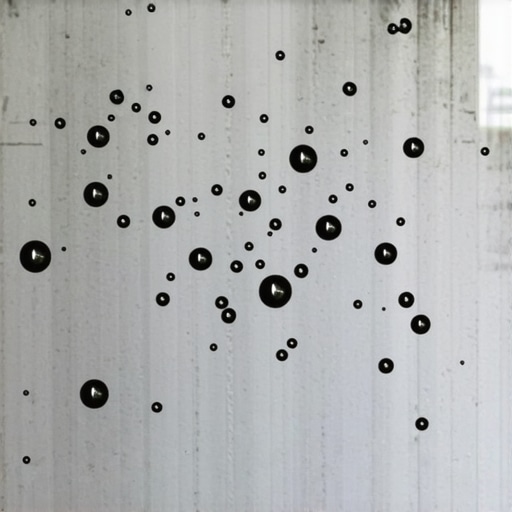
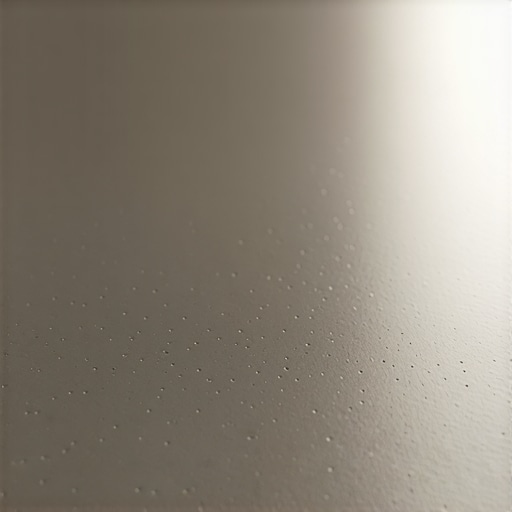
I spent three days grinding concrete on a job last month just so the floor wouldn’t click like a castanet. I walked into the room and saw the self-leveling underlayment looking like the surface of the moon. Craters everywhere. Hundreds of tiny pinholes pockmarked the entire surface. The homeowner thought it was just a cosmetic glitch. They were wrong. Those holes are the calling card of a failed substrate preparation that will eventually lead to a delaminated floor or a snapped locking mechanism on a high end laminate. Most guys skip the leveling compound or they rush the prep. They think the underlayment will hide the dip. It won’t. If you do not respect the physics of outgassing, the floor will fail before the furniture is moved back in.
The microscopic cause of surface craters
Self leveling underlayment pinholes occur when air displacement from the porous concrete substrate migrates upward through the liquid polymer during the hydration process. This outgassing phenomenon happens because the air trapped in the capillary structure of the slab is lighter than the heavy cementitious compound being poured over it.
Concrete is a sponge. It is not a solid, impervious block. When you pour a wet, heavy material over a dry, porous one, the laws of physics take over. The wet material wants to go down into the pores. The air inside those pores has nowhere to go but up. As the air escapes, it creates a bubble. If the leveler is still very fluid, the bubble pops and the liquid fills the hole. If the leveler has started to set or has high surface tension, the bubble pops but the liquid is too thick to flow back into the void. This leaves a permanent crater. These craters are not just ugly. They are structural weaknesses. They indicate that the bond between the leveler and the slab is compromised by air pockets. In a shower installation, these voids can become reservoirs for moisture if the waterproofing membrane above them is not perfectly applied. For a carpet install, these holes might not matter much, but for thin vinyl or laminate, they are a disaster waiting to happen.
Why your primer choice makes or breaks the pour
Acrylic primer acts as the sealing agent that closes the microscopic pores of the concrete slab to prevent outgassing. Using the correct dilution ratio and application method ensures that surface tension is managed and the chemical bond between layers is optimized for structural integrity.
I see it every week. A guy buys the expensive leveler but uses a cheap, generic primer or, worse, none at all. The primer is not just glue. Its primary job is to seal the slab. If the primer is too thin or if the installer only does one coat on a particularly thirsty slab, the air will still escape. You need to watch the primer as it dries. If the primer itself starts to bubble or disappears into the concrete instantly, you need a second coat. I have worked on old warehouse floors where I had to prime three times before the slab stopped drinking. The primer needs to form a film. This film is the barrier that keeps the air in the concrete and the leveler on top. Without that film, you are just pouring money into a bottomless pit of air pockets. It is the difference between a floor that lasts forty years and one that cracks in four months.
“A floor is only as good as the subfloor beneath it; deflection is the enemy of every joint.” – Master Flooring Axiom
The mechanical failure of overwatering the mix
Excess water in the self leveling mix causes aggregate segregation and polymer migration which weakens the compressive strength. This improper water ratio increases the evaporation rate and leads to pinhole formation as the excess moisture tries to escape the curing matrix.
Mixing leveler is a science, not a suggestion. I use a calibrated measuring bucket for every single bag. Most installers just use a five gallon pail and guess. If you add even a half pint too much water, you ruin the chemistry. The water helps the material flow, but too much water makes the mix weak. It allows the heavy sand to sink to the bottom while the water and light polymers rise to the top. This creates a weak, chalky surface that will eventually crumble. The excess water also creates more opportunities for bubbles. As that extra water evaporates, it leaves behind voids. You end up with a floor that looks like Swiss cheese. When you walk on it, you can hear it crunch. That is the sound of your subfloor failing. You want the material to be thick enough to hold its own weight but fluid enough to find level. It is a delicate balance that requires precision.
Substrate porosity and the air displacement war
Substrate porosity determines the volume of air that will be displaced during a leveling pour. High Moisture Vapor Emission Rates (MVER) and alkalinity levels in the concrete can exacerbate outgassing if the osmotic pressure is not neutralized by a vapor barrier or high solids primer.
I have seen slabs that were so porous they practically breathed. In regions with high humidity like the coast, the moisture in the air gets trapped in the slab. When the sun hits the building and the slab warms up, that air wants to expand. If you pour your leveler in the heat of the day, you are asking for trouble. I always try to pour in the evening or early morning when the slab temperature is stable. This reduces the thermal expansion of the air inside the concrete. It is about controlling the environment. You cannot just show up and dump bags. You have to understand the slab. Is it old? Is it new? Was it power troweled to a slick finish or is it open and rough? A rough slab has more surface area and more pores. It needs more primer. A slick slab needs mechanical abrasion to even take the primer. It is a war against the air, and the air usually wins if you are lazy.
| Substrate Type | Porosity Level | Required Prep | Acclimation Time |
|---|---|---|---|
| New Concrete | Low to Medium | Mechanical Abrasion | 28 Days Minimum |
| Old Concrete | High | Multiple Primer Coats | 24 Hours |
| Plywood Subfloor | Medium | Seam Sealing | 48 Hours |
| Existing Tile | None | Bonding Primer | 12 Hours |
Impacts on showers and sensitive flooring materials
Showers and wet areas require a void free subfloor to ensure that liquid applied membranes adhere correctly without pinhole defects. In laminate and LVP installs, a cratered surface creates point load stress that leads to locking system failure and floor bounce.
Think about a thin piece of vinyl flooring. It is only a few millimeters thick. If that vinyl sits over a pinhole, that hole is an empty space. When you step on that spot with a high heel or a heavy chair leg, the vinyl has no support. It stretches into the hole. Eventually, it punctures or creases. If you have a thousand pinholes, you have a thousand potential failure points. In a shower, those pinholes in the leveler can telegraph through the waterproofing. If you apply a roll on membrane over a cratered floor, the membrane might not fill the hole. It spans across it like a bridge. That bridge is weak. It can pop. Then you have a leak. A leak in a shower is a five thousand dollar mistake. All because you didn’t want to spend an extra hour priming the floor correctly. I don’t take those chances.
“Substrate preparation is the only insurance policy that matters in the flooring industry.” – NWFA Technical Manual
The proper way to remediate a moonscape floor
Remediating pinholes involves mechanical sanding of the cured leveler followed by a skim coat of patching compound. This process fills the surface voids and creates a flat substrate suitable for thin gauge flooring or waterproofing membranes.
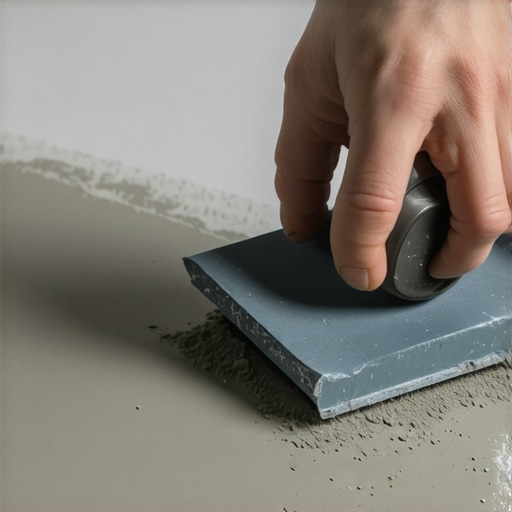
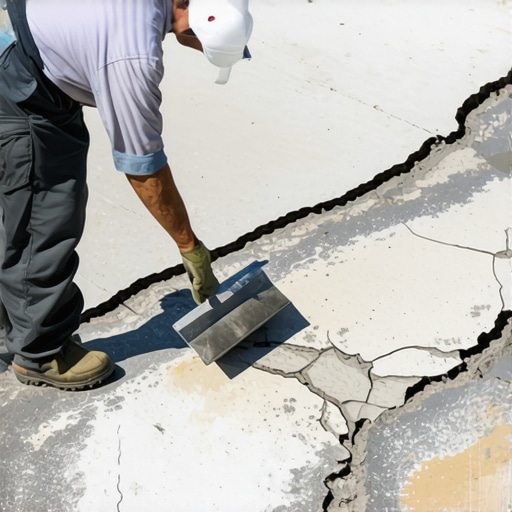
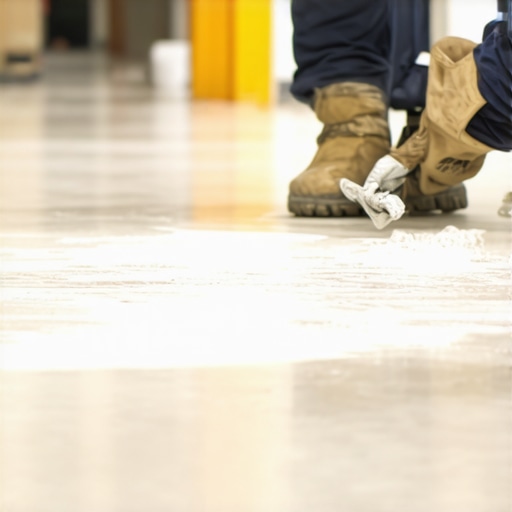
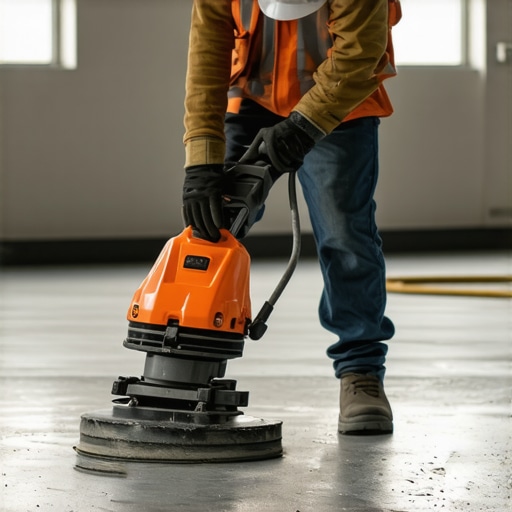
If you already have pinholes, do not try to pour more leveler over it immediately. The new leveler will just get more bubbles from the air trapped in the first layer of holes. You have to break the surface. I use a floor maintainer with a 60 grit screen to knock down the ridges of the craters. Vacuum everything. If you leave dust in those holes, the patch won’t stick. Then, use a high quality feather finish or a cementitious patch. Spread it tight with a flat trowel. You are essentially grouting the floor. You want to force the patch into those pinholes to fill them solid. It is tedious work. It is backbreaking work. But it is the only way to save the job. Once that patch is dry, you can sand it lightly and you finally have the surface you should have had the first time. It is always faster to do it right once than to do it twice.
- Vacuum the slab twice to remove every grain of dust.
- Dilute the primer exactly according to the manufacturer specifications.
- Use a soft bristle broom to work the primer into the concrete pores.
- Wait for the primer to become translucent and tacky before pouring.
- Mix the leveler at a low RPM to avoid whipping air into the bucket.
- Use a spike roller to help release any bubbles that form during the pour.
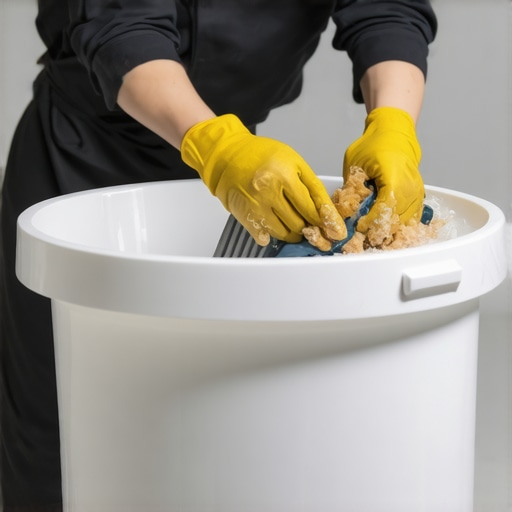
It will buckle. If you ignore the moisture levels or the air in that slab, the floor will buckle. I have seen it happen with laminate that costs ten dollars a square foot. The price of the material does not matter if the prep is garbage. You have to be a chemist and a physicist. You have to care about the things people will never see. That is the mark of a pro. The pinholes are telling you something. They are telling you that you missed a step. Listen to them before you cover them up. A smooth, glass like finish is not an accident. It is the result of a disciplined process that respects the material. Clean your tools. Watch your water. Seal the slab. That is the only way to build a floor that stands the test of time.