How to Fix Frayed Carpet Edges Where They Meet the Bathroom Tile
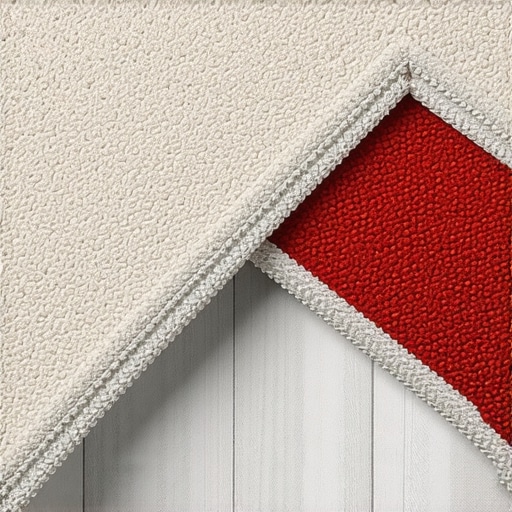
Most guys skip the leveling compound. They think the underlayment will hide the dip. It won’t. I spent three days grinding concrete on a job last month just so the floor wouldn’t click like a castanet. That specific job involved a master suite where the carpet met a new walk-in shower. The transition was a disaster because the previous installer ignored a quarter-inch drop in the slab. The carpet was just flapping in the wind, catching on every footfall until the pile was shredded. If you want a floor that lasts, you have to respect the subfloor first. A frayed edge where carpet meets tile is not just an eyesore. It is a sign of mechanical failure at the threshold. I have seen thousand-dollar carpet installs ruined in months because the installer did not understand the chemistry of latex adhesive or the physics of a proper tuck.
The structural reality of bathroom transitions
Carpet transitions require a solid subfloor and a mechanical anchor like a tack strip or transition bar to prevent fraying and delamination. When moisture from showers penetrates the carpet fibers, it weakens the secondary backing, leading to fiber loss and tripping hazards. Addressing the floor leveling before the carpet install ensures a flush threshold with the bathroom tile.
The junction between a soft surface and a hard surface is a high-stress zone. In a bathroom doorway, you have the added variable of moisture. Every time someone steps out of a shower, they are transporting water into the carpet transition. This is not just a surface issue. The water moves through the primary backing and hits the styrene-butadiene rubber latex that holds the whole thing together. Once that latex starts to hydrolyze, the carpet loses its tension. A loose carpet is a dead carpet. It starts to move. It rubs against the edge of the tile. That friction is what creates the fraying you see. You are looking at the literal disintegration of the textile underfoot.
Why moisture from showers destroys carpet backing
Secondary backing failure occurs when alkaline moisture from bathroom cleaning agents reacts with the carpet adhesive. This process, known as hydrolysis, causes the polypropylene layers to separate, resulting in frayed edges at the tile transition. Using a moisture-resistant seam sealer is the only way to prevent capillary action from pulling water into the carpet pile.
When you look at a piece of carpet under a microscope, you see a complex architecture. You have the face fibers, the primary backing, the bonding latex, and the secondary backing. The tile in your bathroom is likely installed with a modified thin-set that has its own chemical profile. If the transition is not sealed, moisture sits in that gap. It creates a micro-climate that is perfect for mold but terrible for adhesives. I have pulled up frayed transitions where the tack strip was completely rotted out because the homeowner thought a little water wouldn’t hurt. You need to understand that the carpet is a sponge. Without a proper Z-bar or a heavy-duty transition strip, you are just waiting for the fibers to pull away from the backing.
“A floor is only as good as the subfloor beneath it; deflection is the enemy of every joint.” – Master Flooring Axiom
The truth about floor leveling near the threshold
Floor leveling is a mandatory prerequisite for any carpet install involving laminate or tile transitions. A subfloor dip of even one-eighth inch will cause the carpet edge to pull out of the tack strip, leading to premature fraying. Using a self-leveling underlayment creates the flat surface necessary for a flush transition that resists mechanical wear.
I see it every day. An installer tries to use a thick pad to hide a bad subfloor. It is a hack move. When you have a height difference between your bathroom tile and your bedroom carpet, you cannot just ramp it with padding. The padding compresses. The carpet then has to stretch over a void every time someone walks on it. That stretching pulls the edge away from the transition strip. If your subfloor is not level, your transition will fail. I use a straight edge to check every doorway. If I see a gap, I am mixing up a bag of leveler. I do not care if it takes an extra day to dry. It is the only way to ensure the carpet stays tucked. If you are dealing with a concrete slab, the moisture levels in that concrete can also affect how the leveler bonds. It is all connected.
| Transition Type | Best Use Case | Durability Rating | Moisture Resistance |
|---|---|---|---|
| Z-Bar | Carpet to Tile | High | Moderate |
| T-Molding | Carpet to Laminate | Medium | Low |
| Reducer Strip | Height Differences | High | High |
| Tackless Strip | Low Traffic Areas | Low | None |
Tools for a permanent carpet repair
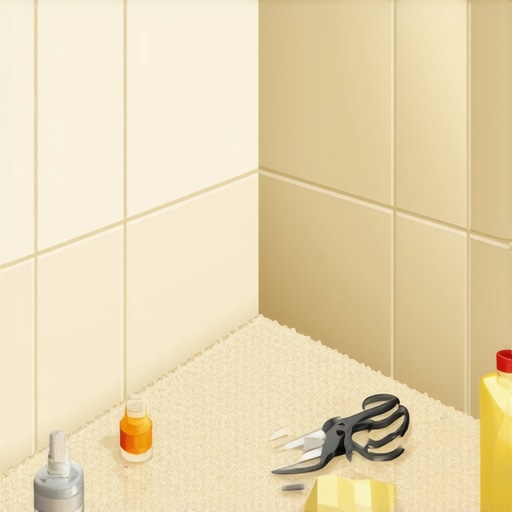
Professional carpet repair requires a power stretcher, a knee kicker, and high-quality latex seam sealer to fix frayed edges. A row finder and carpet shears are used to trim damaged fibers without compromising the structural integrity of the weave. Ensuring the tack strip is placed exactly one-quarter inch from the tile edge is the industry standard for a clean tuck.
Do not go to a big-box store and buy a cheap plastic transition strip. They are garbage. You need a metal Z-bar or a solid wood reducer if you want the repair to last more than a week. You also need a real seam sealer. I am talking about the professional-grade stuff that smells like a chemistry lab. When you apply that to the cut edge of the carpet, you are essentially cauterizing the fibers. You are creating a plasticized edge that cannot fray. I also keep a stash of various tack strips in my truck. Not all tack strips are the same. For a bathroom transition, I want the ones with the galvanized nails because they will not rust when they get hit with shower steam. It is these small details that separate a master from a handyman.
How to execute the perfect tuck
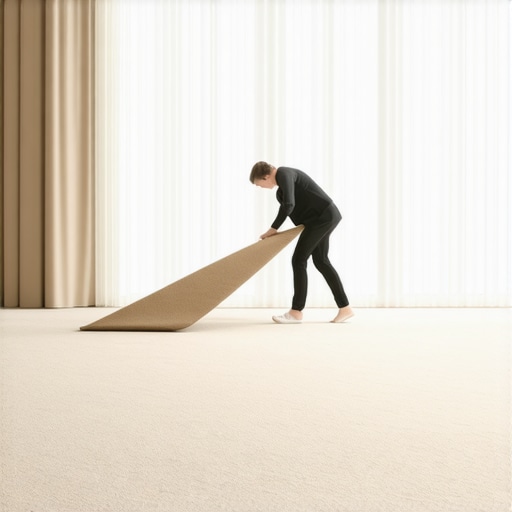
Tucking the carpet involves using a stair tool to force the carpet edge into the gulley between the tack strip and the bathroom tile. This mechanical lock prevents the pile from unraveling and creates a clean aesthetic line. Applying pressure-sensitive adhesive to the subfloor can provide extra security for high-traffic thresholds.
First, you have to trim back the frayed mess. Do not be afraid to cut. You need to get back to healthy, stable backing. Once you have a clean edge, apply your seam sealer. Let it get tacky. If you have a gap between the carpet and the tile, you might need to stretch the carpet. This is where the knee kicker comes in. You are not just pushing it. You are using the tension of the entire room to lock that edge into place. Drive those fibers down into the gulley. The gulley is that tiny space between the tack strip and the tile. If that space is too wide, the carpet will pop out. If it is too tight, you will never get it tucked. It has to be precise. I use a wide-blade bolster to finish the tuck. It gives me more control and prevents me from chipping the edge of a porcelain tile.
“Deflection in the subfloor is the primary cause of transition failure in residential flooring applications.” – TCNA Handbook Extract
- Inspect the subfloor for moisture and levelness before starting the repair.
- Remove all old staples and rusted tack strips from the transition area.
- Apply a generous bead of latex seam sealer to the freshly cut carpet edge.
- Use a power stretcher if the carpet has become loose or wavy over time.
- Secure the transition with a Z-bar for a professional, flush finish.
- Check the door clearance to ensure it does not rub against the new transition.
The ghost in the expansion gap
Every hard surface needs room to breathe. Your bathroom tile and your bedroom laminate are constantly expanding and contracting. When people install carpet right up against these materials without a proper gap, they are asking for trouble. The carpet edge gets crushed when the hard floor expands. This crushing force breaks the bond between the fibers and the backing. I always leave a small gap that is covered by the transition. This allows the building to move without tearing the floor apart. People think a house is static. It is not. It is a living, moving thing. The humidity from the shower makes the wood joists under your floor swell. If you do not account for that movement, your carpet transition will be the first thing to fail. It is simple physics. You cannot fight the house. You have to work with it.
Why your subfloor is lying to you
You might look at your floor and think it is flat. It probably isn’t. Most subfloors have subtle humps and dips that are invisible until you try to install a transition. If you are fixing a frayed carpet edge, take a minute to check the subfloor with a long level. If the subfloor drops away right at the bathroom door, that is why your carpet is fraying. The carpet is floating over a void. Every time you step there, you are pulling the carpet away from the tile. You have to fill that void. I use a high-strength floor patch that dries in twenty minutes. It is a small step that makes a huge difference. I have seen guys try to fix this by putting extra padding underneath. That is a mistake. Padding is for comfort, not for structural support. You need a solid, flat surface if you want that carpet edge to stay put for the next twenty years.