How to Mix Floor Leveler Without Creating Clumps or Bubbles
The ghost in the expansion gap
To mix floor leveler without clumps or bubbles, you must use a high-torque drill at low RPMs, maintain a precise 100 percent water-to-powder ratio as specified by the manufacturer, and employ a specialized spiked roller to release entrapped air immediately after the pour. These steps ensure the polymer chains within the self-leveling underlayment bond correctly to the substrate. Most guys skip the leveling compound. They think the underlayment will hide the dip. It won’t. I spent three days grinding concrete on a job last month just so the floor wouldn’t click like a castanet. The homeowner had bought a high-end laminate, but the slab looked like the surface of the moon. If I hadn’t spent that time with the diamond shroud and the vacuum, those locking joints would have snapped within six months. I still have the oak dust in my lungs from the transitions, and the smell of WD-40 on my hands is a permanent fixture. A flat floor isn’t a luxury. It is a structural necessity that determines whether your finish material lives or dies. When you walk across a floor and hear that hollow ‘thwack,’ you are hearing the sound of an installer who didn’t respect the physics of the subfloor. Subfloor preparation is the most overlooked phase of any renovation. Whether you are prepping for showers, laminate, or a heavy carpet install, the levelness of your slab dictates the longevity of the entire system.
The 1/8 inch that ruins everything
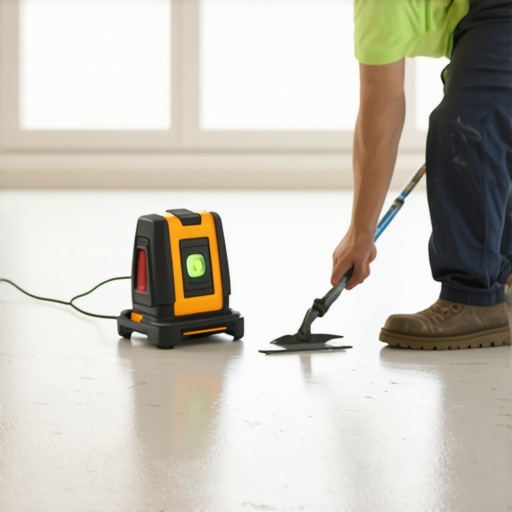
A subfloor must be flat within 1/8 of an inch over a 10-foot radius to meet most manufacturer warranties for laminate and hardwood. This standard is not a suggestion. When a floor is not flat, the finish material must bridge the gaps. This creates vertical movement. Every step you take forces the tongue and groove to flex. Eventually, the friction causes the laminate to separate or the tile to crack. In the context of showers, an unlevel base leads to pooling water and the eventual failure of the waterproofing membrane. Precision starts with the straightedge. Do not trust your eyes. Use a 10-foot magnesium screed. If you see light under that bar, you have work to do. Many people confuse level with flat. A floor can be out of level, meaning it slopes slightly, and still be flat enough for flooring. However, a floor that is level but not flat will still fail. The goal is a plane that lacks dips or humps. High spots are handled with a grinder. Low spots require the chemical precision of self-leveling underlayment. This material is a blend of Portland cement, polymers, and graded aggregates designed to flow like water and set like rock. But if you mix it wrong, you end up with a lumpy mess that is harder to fix than the original dip.
“A floor is only as good as the subfloor beneath it; deflection is the enemy of every joint.” – Master Flooring Axiom
The chemistry of the perfect pour
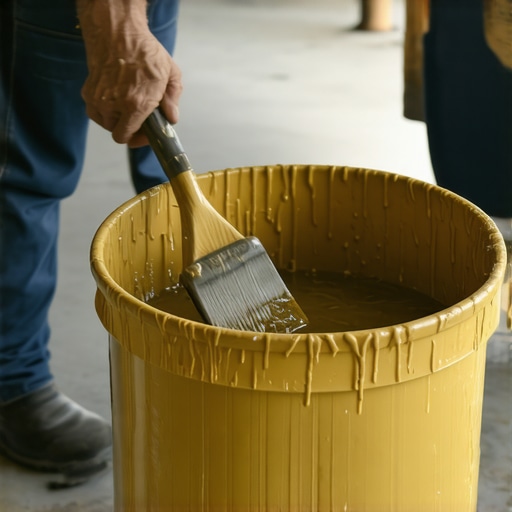
Successful self-leveling underlayment depends on the temperature of the water and the speed of the mixing paddle to prevent flash-setting and air entrainment. Warm water is the enemy. It accelerates the chemical reaction, causing the leveler to stiffen before it can flatten out. Use cold, potable water. The bucket must be clean. Any residue from a previous mix will act as a catalyst and ruin the batch. You need a heavy-duty 1/2-inch drill. A standard cordless drill will burn out. The mixing paddle should be a birdcage style or a specialized collateral mixer designed to pull the powder down into the water without whipping air into the slurry. Start the drill at a slow speed. Slowly add the powder to the water. Never add water to the powder. This is the primary cause of the dreaded clumps. When you add water to powder, you create dry pockets encased in wet shells. By adding powder to water, you ensure every grain of cement is hydrated. Continue mixing for exactly the amount of time listed on the bag. Usually, this is two to three minutes. Stop and let the mix ‘slake’ for a minute if the manufacturer requires it. This allows the polymers to fully activate. Then, give it a final 30-second stir. If you see bubbles on the surface, you are mixing too fast. Those bubbles will turn into pinholes once the floor dries, weakening the surface integrity.
Why your subfloor is lying to you
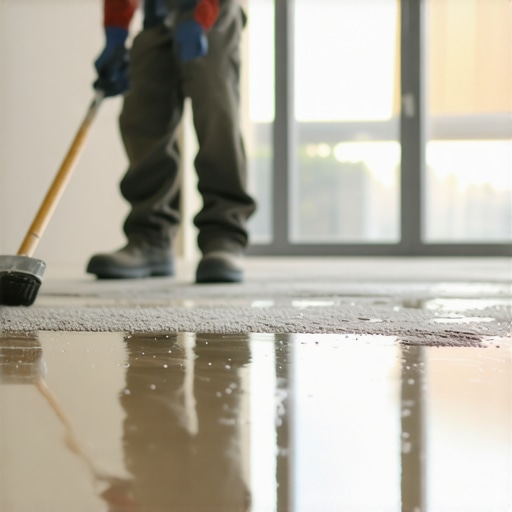
Concrete slabs often hide high moisture vapor emission rates that can cause self-leveling underlayment to delaminate or sprout mold beneath laminate flooring. You must test for moisture before you even think about mixing a bag. A simple calcium chloride test or a pinless moisture meter will tell you the story the slab is trying to hide. If the slab is too wet, the leveler won’t bond. It will sit on top like a loose skin. This is especially dangerous in showers or basement laminate installs. You also need to consider the porosity of the concrete. A ‘tight’ slab won’t absorb the primer. If the primer doesn’t soak in, the leveler won’t grab. I always perform a water drop test. If the water beads up, the concrete is contaminated with sealers or oils. You have to grind it open. This is the grit of the job. It is loud, it is messy, and it is the only way to ensure the floor stays put. Once the slab is open and primed, the floor leveling process becomes a race against the clock. Most levelers have a working time of 15 to 20 minutes. You need a team. One person mixes. One person pours. One person spreads with a gauge rake. If you try to do it alone, you will end up with cold joints where one pour has started to set before the next one hits it.
| Material Type | Janka Rating (Approx) | Ideal Subfloor Prep | Acclimation Time |
|---|---|---|---|
| Solid White Oak | 1360 | Plywood / OSB | 7 to 14 Days |
| Engineered Maple | 1450 | Concrete / Wood | 3 to 5 Days |
| Luxury Vinyl Plank | N/A | Self-Leveler Required | 48 Hours |
| Laminate Flooring | N/A | Ultra-Flat Concrete | 48 Hours |
The tool kit for a flat finish
- High-torque 1/2-inch mixing drill with cord.
- Birdcage mixing paddle.
- Calibrated water measuring pitcher.
- Gauge rake with adjustable depth settings.
- Spiked roller with splash guard.
- Cleated shoes for walking in the wet mix.
- Magnesium 10-foot straightedge.
- Industrial vacuum with HEPA filtration.
Why thick underlayment is a trap
While most people want the thickest underlayment to hide imperfections, too much cushion actually causes the locking mechanisms on LVP and laminate to snap under pressure. This is a common mistake. Homeowners think a thick, squishy pad will make the floor feel softer. In reality, it creates a trampoline effect. Every time you step, the joint deflects. These plastic locking systems are brittle. They cannot handle repeated bending. If your subfloor is uneven, a thicker pad will not fix it. It only masks the problem until the warranty expires. The only solution is floor leveling. You want a thin, high-density underlayment that provides sound dampening without allowing vertical movement. This is why the floor leveling stage is so vital for laminate. It provides the rigid, flat base that the locking system requires to stay together. In carpet install scenarios, the rules are slightly different. Carpet is more forgiving of minor dips, but a major trough will still be visible as a shadow in the light. For showers, the leveling must be combined with proper pitch toward the drain. It is a game of millimeters. One wrong move and you have a puddle that never dries, leading to slime and failure of the tile bond.
“Substrate preparation is 90 percent of the labor and 100 percent of the success.” – TCNA Handbook Wisdom
The molecular reality of air bubbles
Air bubbles in floor leveler are caused by the outgassing of the substrate or over-agitation during the mixing phase. When you pour cold liquid onto a porous concrete slab, the air inside the concrete is displaced and rises. If the leveler is already starting to set, that air gets trapped. This creates a honeycomb structure that is incredibly weak. To prevent this, the primer is your best friend. A good primer seals the pores of the concrete. It acts as a barrier. But even with a perfect prime, you must use a spiked roller. As you move the roller through the wet leveler, the spikes break the surface tension and allow the air to escape. It also helps to blend the different pours into a single, monolithic slab. If you see pinholes the next day, you know the slab outgassed through the leveler. You might need a second, thinner coat. This is the difference between a floor that lasts fifty years and one that fails in five. You have to respect the chemistry. You have to respect the air. This isn’t just about making it look pretty. It is about building a foundation that can handle the weight of a family and the movement of a home. No amount of fancy baseboard can hide a floor that is structurally unsound. Do the work on the slab. The rest is easy.