Why Your New Carpet Has a Visible Line Every Three Feet
Why Your New Carpet Has a Visible Line Every Three Feet
I spent three days grinding concrete on a job last month just so the floor wouldn’t click like a castanet. Most guys skip the leveling compound. They think the underlayment will hide the dip. It won’t. I was there with my knee pads on, smelling like oak dust and WD-40, because the homeowner thought carpet would just mask the mess underneath. It never does. When you see a line every three feet, you aren’t looking at a mistake in the padding. You are looking at a failure of structural physics and manufacturing geometry. Flooring isn’t a cosmetic choice. It is an engineering challenge that starts at the subfloor and ends with the molecular bond of your adhesive.
The geometry of factory seams and roll width
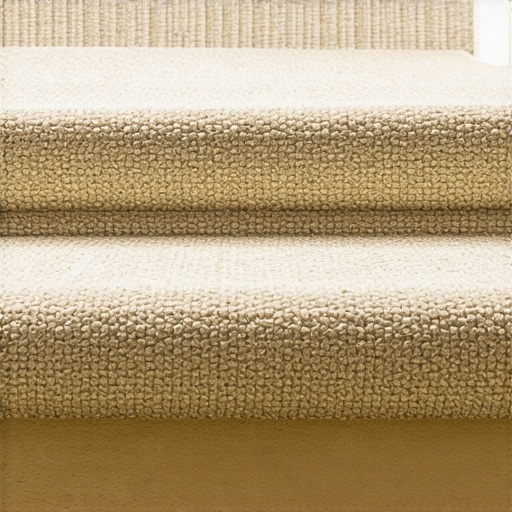
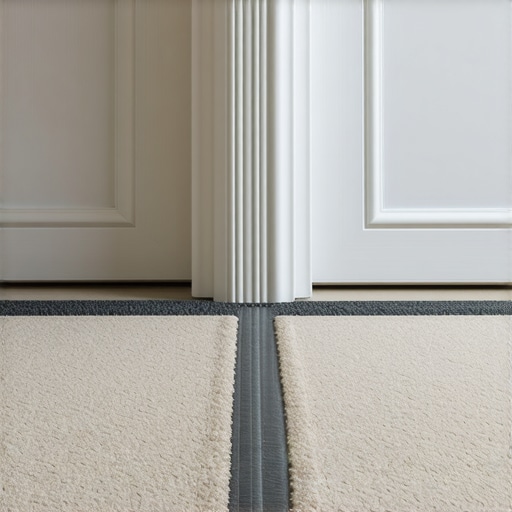
Visible lines in new carpet every few feet typically indicate a manufacturing defect known as a side-match error or a physical phenomenon called seam peaking. These lines are often the result of the carpet tufting machine having a slight tension variance in one specific needle bar. When the rolls are cut and joined, that variance creates a shadow line that repeats across the room. I have seen guys try to steam these lines out. It is a waste of time. If the yarn is bent at the root, it stays bent. Most residential carpet comes in twelve-foot or fifteen-foot rolls. If you see a line every three feet, it is often a repeat in the pattern or a structural defect in the primary backing where the latex was applied unevenly at the mill.
The hidden danger of improper carpet install techniques
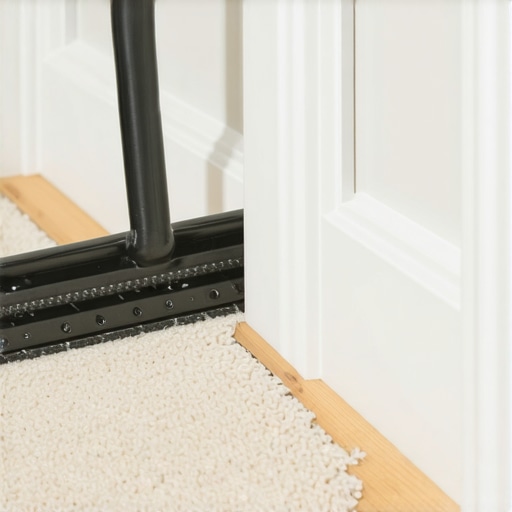
A professional carpet install requires a power stretcher to ensure the textile reaches its maximum dimensional stability without overstressing the seams. If an installer uses a knee kicker alone, the tension is localized. This creates waves. Those waves look like lines. You might think it is just a wrinkle. It is actually the carpet backing delaminating because it was pulled unevenly. I always tell my clients that a carpet is a living thing. It expands and contracts with the humidity in the room. If the subfloor has any moisture, that moisture travels through the pad and hits the carpet backing. This can cause the latex to swell, making every seam stand up like a ridge. We call this peaking. It is the curse of the industry.
“A floor is only as good as the subfloor beneath it; deflection is the enemy of every joint.” – Master Flooring Axiom
The absolute necessity of floor leveling for all surfaces
Floor leveling is the process of using a cementitious compound to create a flat plane within a tolerance of one-eighth of an inch over a ten-foot radius. Most homeowners think floor leveling is only for tile or laminate. They are wrong. If your subfloor has a trough or a hump, the carpet will bridge that gap. Every time you walk over it, the carpet flexes. Over time, that flexing creates a wear pattern. That wear pattern looks like a dark line. I have pulled up twenty-year-old carpets where you could see exactly where the plywood seams were because the installer didn’t sand them down. You have to be a stickler for the details. If you ignore the subfloor, the subfloor will haunt you for the life of the house.
Comparing flooring performance and structural stability
When we look at materials like laminate or LVP compared to carpet, the physics change but the rules stay the same. Here is how different materials handle subfloor imperfections.
| Material Type | Subfloor Tolerance | Primary Failure Point | Acclimation Time |
|---|---|---|---|
| Broadloom Carpet | 1/4 inch per 10 feet | Seam Peaking | 24 Hours |
| Laminate Flooring | 1/8 inch per 6 feet | Locking Tab Snap | 48 Hours |
| Hardwood Plank | 1/8 inch per 10 feet | Cupping and Creaking | 7 to 14 Days |
| Luxury Vinyl Plank | 3/16 inch per 10 feet | Telegraphing | 24 Hours |
The chemical reality of adhesives and moisture barriers
Adhesive chemistry determines the longevity of a floor bond by managing the vapor emission rate from the concrete slab or wood subfloor. If you are installing in a basement, the moisture is your enemy. I have seen guys glue down carpet in a basement with standard multi-purpose adhesive. Six months later, the floor smells like a swamp and the seams are lifting. You need a moisture-cured urethane or a high-solids pressure-sensitive adhesive. The molecules in these glues are designed to cross-link. This creates a waterproof barrier that prevents the carpet backing from absorbing ground moisture. If you skip this, the lines you see every three feet might actually be mold growth starting at the tack strip. It is a grim reality that most big-box stores won’t tell you.
A checklist for a successful flooring installation
- Verify the subfloor moisture content using a calcium chloride test or a pin-less moisture meter.
- Ensure the room temperature stays between 65 and 85 degrees Fahrenheit for 48 hours before install.
- Inspect the carpet for side-match defects by rolling out two sections side-by-side in natural light.
- Use a power stretcher for all carpet installs to meet the manufacturer warranty requirements.
- Seal all seams with a high-quality thermoplastic or cold-seam sealer to prevent fraying.
The optical illusion of light refraction on floor surfaces
Light refraction occurs when yarn fibers are tilted at different angles, causing the eye to perceive a color difference even when the yarn is identical. This is often called shading or pile reversal. In the flooring world, we call it watermarking. If your carpet rolls were stored on their side in a warehouse, the weight of the roll crushes the fibers. This creates a permanent line every few feet where the roll was touching the ground. You can’t vacuum that out. It is a structural crush. This is why I always insist on vertical storage for my rolls. If a supplier sends me a roll with flat spots, I send it back. My reputation is built on the flat finish of a room, not the cheapness of the material. Whether you are doing showers or a full living room carpet install, you have to respect the material geometry.
The physics of the expansion gap and structural movement
Expansion gaps are the intentional spaces left at the perimeter of a room to allow the floor to move without buckling or peaking. For laminate and LVP, this is usually a quarter of an inch. For carpet, it is the space between the tack strip and the baseboard. If an installer jams the carpet too tight into the corner, the tension has nowhere to go. It travels back into the room and creates a ripple. That ripple looks like a line. I have spent decades watching guys cut corners. They think the baseboard will hide the lack of a gap. But the house moves. The wood expands in the summer and shrinks in the winter. If your floor is locked in, it will fail. It is a matter of when, not if.
“Every installation is a battle against gravity and humidity; the one who prepares the subfloor best wins.” – Master Flooring Axiom
The long term impact of high traffic on seam integrity
High traffic areas cause the localized compression of carpet fibers, which can make even a perfect seam become visible over several months. This is why the layout of your carpet is so important. A good installer will never put a seam in a doorway or right in front of a sofa. We look at the foot traffic patterns before we ever pull a knife. If you see a line every three feet in a hallway, it might be the way the light hits the seams from a nearby window. This is called tracking. It is a common issue with plush carpets. If you want a floor that hides lines, you go with a low-pile berber or a commercial-grade loop. But even then, if your floor leveling wasn’t done right, the seams will eventually show. The floor is a performance surface. It requires respect. If you treat it like a rug, you will be disappointed. If you treat it like a structural component of your home, it will last thirty years.