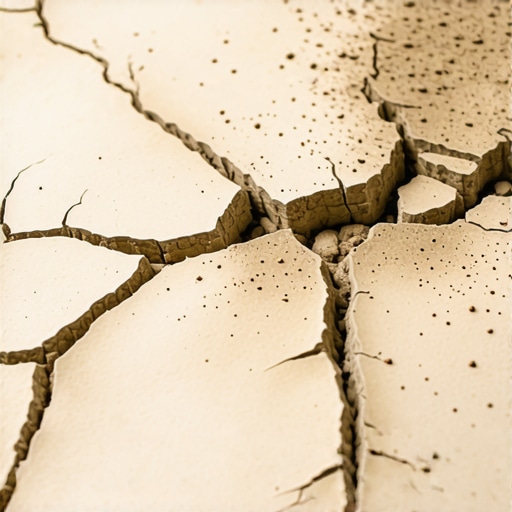
Why Your Floor Leveler Is Turning into Chalky Dust
Most guys skip the leveling compound. They think the underlayment will hide the dip. It won’t. I spent three days grinding concrete on a job last month just so the floor wouldn’t click like a castanet. I walked into that house and the homeowner was nearly in tears. She had hired a hack who poured six bags of self-leveling underlayment across her living room. By the time I got there, you could scrape the surface away with a fingernail. It looked like a desert floor. It felt like chalk. It was a twenty thousand dollar disaster waiting to happen. If you lay laminate or hardwood over a substrate that is literally disintegrating, your floor will fail. It is not a matter of if, but when. The locking mechanisms on that luxury vinyl plank will snap. The nails in your oak will pull. The whole thing will sound like you are walking on potato chips. You cannot build a skyscraper on a swamp, and you cannot build a performance floor on dust.
The chemical failure of over-watered polymers
Floor leveler turns to chalky dust because the water-to-powder ratio was exceeded during the mixing process. When you add too much water to a cementitious underlayment, you cause a phenomenon called segregation. The heavy aggregates sink to the bottom while the polymers and binders float to the top. This prevents the chemical hydration needed to form a solid crystalline structure. The resulting surface is a weak, unbonded layer of dried silt that has zero compression strength. This is the most common mistake made by DIYers and fast-moving contractors. They want the mix to flow like water, so they over-water it. But this is a chemical compound, not a soup. If you exceed the manufacturer guidelines by even a few ounces of water, you kill the integrity of the pour. You are left with a surface that cannot handle the PSI of a person walking, let alone the weight of a refrigerator.
“A floor is only as good as the subfloor beneath it; deflection is the enemy of every joint.” – Master Flooring Axiom
Why your primer choice dictated the outcome
Failure to use the specific manufacturer primer leads to the subfloor sucking the moisture out of the leveler too quickly. A concrete slab is a giant, thirsty sponge. If you pour a wet leveler over a dry, unprimed slab, the concrete will rob the leveler of the water it needs for hydration. This is called a flash dry. When the leveler dries before the chemical reaction is complete, it turns into dust. You need a primer to seal the pores of the concrete. It creates a bridge between the old slab and the new material. Some guys think they can just splash some water on the floor or use a cheap hardware store primer. They are wrong. You need a primer that matches the chemistry of your leveler. If you are working in a bathroom for a shower install, this is even more vital. The moisture levels in a shower environment will find any weakness in your substrate and exploit it until your tiles are popping off the thin-set.
The physics of the flash dry in dry climates
Rapid evaporation caused by high heat or low humidity prevents the floor leveler from curing into a hardened surface. In places like Phoenix or Las Vegas, the air is so dry it acts like a vacuum. If you have the windows open or the HVAC blasting while you pour, the surface of the leveler will dry while the bottom is still wet. This creates a crust that cracks and eventually turns to powder. This is why professional installers monitor the ambient temperature and the slab temperature. We look at the dew point. We look at the airflow. If the water evaporates before it can bind with the Portland cement and the polymers, the structural matrix never forms. You are left with a brittle, friable mess that will never support a carpet install or a floating laminate floor.
Porous reality and the laitance problem
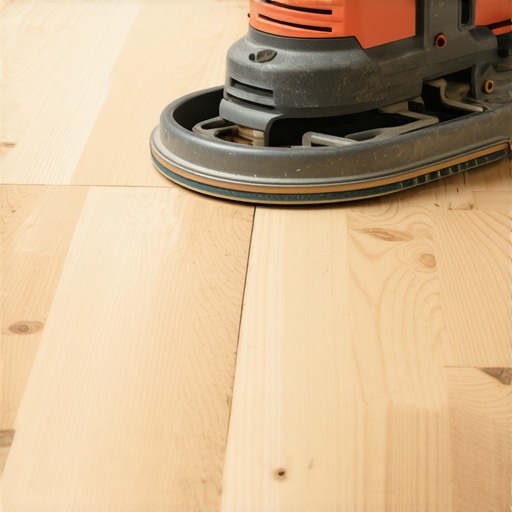
Laitance is a weak layer of cement dust on the surface of a slab that prevents leveler from bonding properly. Even if you mix the leveler perfectly, if the slab itself is dirty or has a layer of laitance, the leveler will just sit on top of the dust. Eventually, the movement of the house will cause that bond to break. You will hear a hollow sound when you walk over it. I always use a diamond grinder to open the pores of the concrete. I want that slab to look like 60-grit sandpaper before I even think about opening a bag of leveler. If you don’t prep the surface, you are just pouring money down the drain. You need a mechanical bond. You need the leveler to bite into the concrete.
| Leveler Type | Compression Strength (PSI) | Recommended Use |
|---|---|---|
| Standard Cementitious | 3,500 – 4,000 | Laminate and Carpet Subfloors |
| High-Flow Polymer | 4,500 – 5,500 | Direct-to-Slab Hardwood |
| Fiber Reinforced | 5,000+ | Wood Subfloors and Showers |
The 1/8 inch that ruins everything
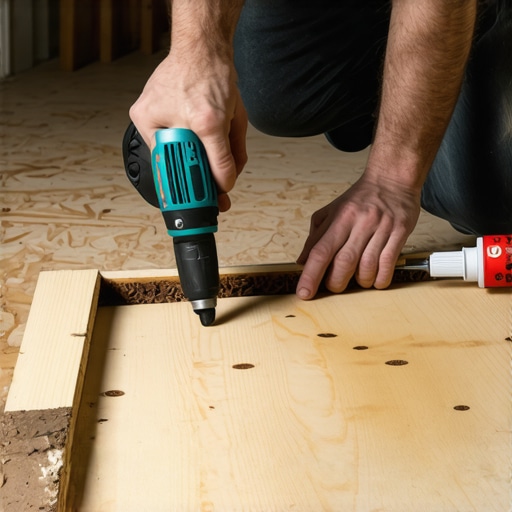
Deflection and subfloor movement are the primary causes of leveler cracking and turning into grit over time. If you are pouring over a wood subfloor, you must ensure that the plywood is thick enough to prevent bouncing. Most levelers are brittle. They do not like to bend. If your joists are spaced too far apart, the floor will flex every time you walk across it. That flex creates micro-fractures in the leveler. Over a few months, those fractures turn the solid leveler back into dust and grit. This is why the TCNA has strict rules about deflection. For natural stone, you need a floor that is twice as stiff as what you need for ceramic tile. If you skip the lath or the proper underlayment, you are guaranteeing a failure. I have seen guys pour leveler over old linoleum. It is a hack move. The leveler won’t stick, the linoleum will flex, and the whole thing will turn into a bag of gravel under your feet.
“Substrate preparation is 90 percent of the labor; the finish floor is just the victory lap.” – Master Flooring Axiom
The checklist for a rock-solid substrate
- Test the concrete moisture using a calcium chloride test or an in-situ probe.
- Vacuum the entire floor with a HEPA filter to remove all micro-dust.
- Apply the manufacturer-specific primer with a soft-bristle brush to avoid puddling.
- Use a specialized mixing paddle to avoid introducing air bubbles into the slurry.
- Measure water using a graduated cylinder to the exact milliliter required.
- Plug all holes and gaps in the subfloor where leveler might leak out.
- Protect the pour from direct sunlight and drafts for at least 24 hours.
How to recover from a failed chalky pour
If your floor leveler is already chalky, the only real solution is to remove it and start over. Some people will tell you that you can just pour more primer over the top to soak it in and harden it. That is a band-aid on a bullet wound. The dust is a sign that the structural matrix of the cement has failed. It has no strength. If you put another layer of leveler on top of it, the new layer will eventually peel off because the chalky layer acts like a release agent. You need to get a floor scraper or a grinder and take it back down to the original slab. It is a dirty, miserable job. It will fill your house with dust if you don’t have a good vacuum attachment. But it is the only way to do it right. Once you are back to the clean slab, you follow the protocols. You prime. You measure your water. You respect the chemistry. If you don’t have the stomach for the grind, you shouldn’t be in the flooring game. A floor is a performance surface. It has to be perfect. Anything less is just a waste of time and lumber.