The ‘Penny Gap’ Rule for Laminate Expansion at Door Frames
The hidden mechanics of successful laminate installation
I spent three days grinding concrete on a job last month just so the floor wouldn’t click like a castanet. Most guys skip the leveling compound. They think the underlayment will hide the dip. It won’t. I was in a high-rise downtown where the subfloor had a three-quarter inch trough right in the middle of the living room. The previous installer just threw down some cheap foam and clicked the boards together. Within six months, the locking tongues had snapped off because the floor was bouncing every time someone walked to the kitchen. My hands were vibrating for a week after I finished with the diamond cup wheel, but that floor is now dead flat and silent. This is the difference between a floor that lasts thirty years and one that fails before the first season changes.
The penny gap rule explained
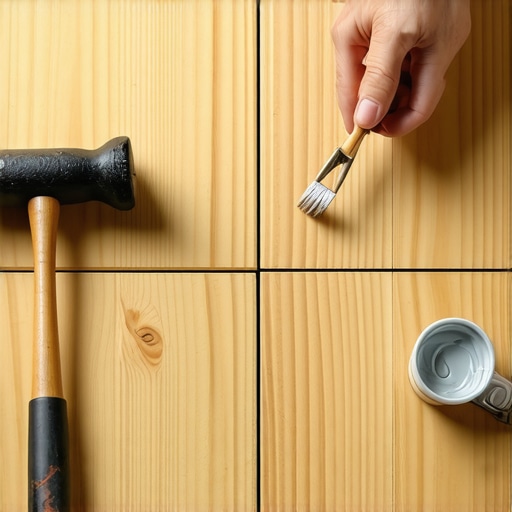
The penny gap rule requires a 1/8 inch expansion space at all vertical obstructions including door frames and trim. This space allows the laminate core to expand and contract with humidity changes without peaking or buckling. A standard United States penny is approximately 1.5 millimeters thick, serving as a perfect gauge. Underestimating this gap is the primary reason floating floors fail. Laminate is not just plastic. It is a high-density fiberboard core made of wood fibers compressed with resin. These fibers are hygroscopic, meaning they absorb moisture from the air. When the humidity rises in the summer, those fibers swell. If the floor is tight against a door frame, the energy of that expansion has nowhere to go but up. This creates a hump in the middle of your room that no amount of heavy furniture can hold down. It is a physical certainty. You must treat the floor as a living, moving plate that needs room to breathe at the edges.
Why your subfloor is lying to you
Subfloor leveling is the process of ensuring a surface has no more than 3/16 inch of deviation over a ten foot radius. Ignoring high spots or valleys leads to mechanical failure of the laminate locking system. You must use a straightedge to identify these areas before any planks hit the ground. Most people look at a subfloor and think it looks fine. Your eyes are not a precision instrument. A subfloor can look smooth but still have a gradual slope that puts immense stress on the click-lock joints. When a plank spans a valley, it creates a bridge. Every time you step on that bridge, the tongue and groove rub together. This creates the ‘click’ sound that drives homeowners crazy. Eventually, the friction wears down the micro-ridges of the locking mechanism and the planks separate. I have seen gaps wide enough to lose a credit card in because the installer ignored a 1/4 inch dip in the plywood. You must use a self-leveling underlayment or a high-compression floor patch to fill these voids. It is not an option. It is a structural requirement.
“A floor is only as good as the subfloor beneath it; deflection is the enemy of every joint.” – Master Flooring Axiom
The molecular behavior of high density fiberboard
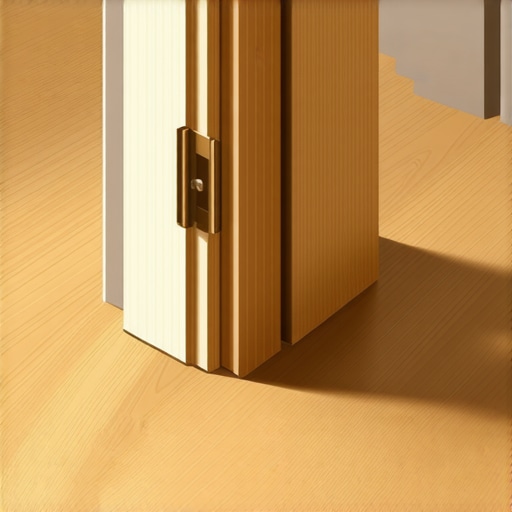
At the microscopic level, laminate flooring is a matrix of cellulose and melamine. The HDF core is engineered for stability, but it cannot override the laws of physics. Each plank is a bundle of thirsty fibers. When the relative humidity in a home jumps from thirty percent in the winter to sixty percent in the summer, the cumulative expansion across a twenty foot room can be as much as half an inch. If you have not left the required penny gap at the door frames, the floor will bind. Door frames are particularly dangerous because they are often the most complex cuts in the room. Installers get lazy and try to scribe the floor tight to the wood. You must undercut the door jamb so the floor can slide underneath it. This hides the expansion gap while still allowing the floor to move. If you pin the floor under the jamb, you have created a dead-stop that will cause the floor to buckle at the nearest weak point.
Expansion requirements by material type
| Material Type | Expansion Gap Requirement | Max Run Without T-Mold | Acclimation Time |
|---|---|---|---|
| Standard Laminate | 1/8 to 1/4 Inch | 30 Feet | 48 Hours |
| Waterproof Laminate | 3/8 Inch | 40 Feet | 72 Hours |
| Engineered Hardwood | 1/2 Inch | 50 Feet | 5 Days |
| LVP Rigid Core | 1/4 Inch | 60 Feet | Not Required |
The chemistry of moisture barriers
A moisture barrier is a 6-mil polyethylene film designed to block water vapor from rising out of a concrete slab and into the flooring core. Concrete is a sponge that holds moisture for years, and without this barrier, the laminate core will swell from the bottom up. Even if a slab feels dry to the touch, it is constantly off-gassing water vapor. This is known as the Moisture Vapor Emission Rate or MVER. If you trap this vapor under laminate without a barrier, the bottom of the HDF core will expand faster than the top. This results in cupping, where the edges of the planks rise up. You need to use a calcium chloride test to measure the pounds of moisture being released per one thousand square feet. If the number is over three pounds, a standard 6-mil poly is your only defense against a total floor failure. Do not trust the ‘pre-attached’ pads on the back of the planks to be a vapor barrier unless the manufacturer explicitly states it. Most of the time, those pads are for sound, not moisture.
Essential installation checklist
- Verify subfloor flatness using a 10-foot straightedge with no more than 3/16 inch variance.
- Acclimate the flooring in the room of installation for at least 48 hours at living conditions.
- Undercut all door jambs using a flush-cut saw to allow for hidden expansion gaps.
- Install a 6-mil vapor barrier over all concrete substrates with overlapped and taped seams.
- Maintain a minimum 1/8 inch gap at all vertical surfaces using a penny or specialized spacers.
- Use a tapping block and pull bar to ensure joints are fully seated without damaging the tongues.
How door frames become the enemy
The geometry of a doorway is the most restrictive point in any flooring layout. When a floating floor passes through a door, it is usually being squeezed by two jambs. If the gap is too tight on either side, the floor becomes anchored. This is why many manufacturers require a T-molding in doorways. A T-molding breaks the floor into two separate floating sections. While homeowners often hate the look of a transition strip, it is a safety valve. If you decide to run the floor through the door without a transition, your penny gap precision becomes the only thing saving you. You must ensure the flooring can move freely under the undercut jamb. If a single nail from the baseboard or a tight cut at the door casing hits that floor, the entire system is compromised. The floor will find the path of least resistance, which usually means a massive peak in the hallway.
“Failure to provide adequate expansion space is the single most common cause of laminate floor claims globally.” – NWFA Technical Guidelines
The danger of over-padding
Information gain is found in the counter-intuitive reality of underlayment. While most people want the thickest underlayment to make the floor feel soft, too much cushion actually causes the locking mechanisms on LVP and laminate to snap under pressure. This is called vertical deflection. If the pad is too thick or too soft, the joint will bend every time you step on it. These joints are not designed for repeated vertical movement. They are designed for lateral stability. You want a high-density, low-thickness underlayment. Anything over 3 millimeters is asking for trouble. I have seen entire floors unclick themselves because the homeowner thought putting two layers of foam would make it warmer. It just made the floor a trampoline that eventually broke. You want a firm base that supports the joint while providing a thermal break and sound dampening. If the floor feels ‘squishy’, you have already failed.
Transitioning to wet areas like showers
When the laminate reaches a bathroom or a shower area, the rules change from expansion to sealing. You still need your expansion gap, but you cannot leave it open to water. In these areas, you must use a 100 percent silicone sealant in the gap. The silicone is flexible enough to allow the floor to move, but it prevents water from the shower or a leaking toilet from getting under the floor. If water hits the cut edge of a laminate plank, the HDF core will soak it up like a sponge and the floor will ‘volcano’ at the seams. This is irreversible damage. You must be meticulous. Fill the 1/8 inch gap with a backer rod and then top it with a bead of high-quality silicone. This creates a waterproof gasket that maintains the integrity of the floating system. It is the only way to install laminate near water without a ticking time bomb in your subfloor.
The final word on the penny gap
Precision in flooring is measured in fractions of an inch. The penny gap is not a suggestion. It is a technical specification. If you are a minimalist curator who wants zero-threshold transitions and tight seams, you are fighting against the nature of the materials. You must respect the expansion requirements of the high-density fiberboard. From the moisture vapor emission rate of the concrete to the PSI strength of the locking tongue, every element of the floor is a calculation. Do not let a simple door frame be the downfall of your project. Cut the jambs, leave the gap, and trust the physics. A floor that can move is a floor that will stay flat. Skip the shortcuts, get on your knees with a level, and do the work the right way the first time. Your subfloor is the foundation of your home’s comfort. Treat it with the respect it deserves.