Why Your Kitchen Floor Is Suddenly Spongy Around the Refrigerator
I spent three days grinding concrete on a job last month just so the floor wouldn’t click like a castanet. Most guys skip the leveling compound. They think the underlayment will hide the dip. It won’t. I have seen it a thousand times where a homeowner calls me out because their expensive floor feels like walking on a marshmallow right in front of the fridge. They expect a simple fix, but when I pull back that first plank, the smell of damp OSB and the sight of black mold tells a different story. That spongy sensation is the physical manifestation of structural failure. It is rarely a problem with the surface material itself. It is almost always a betrayal by the subfloor caused by a slow, invisible moisture intrusion that has compromised the integrity of the wood fibers at a molecular level.
The physics of the invisible refrigerator leak
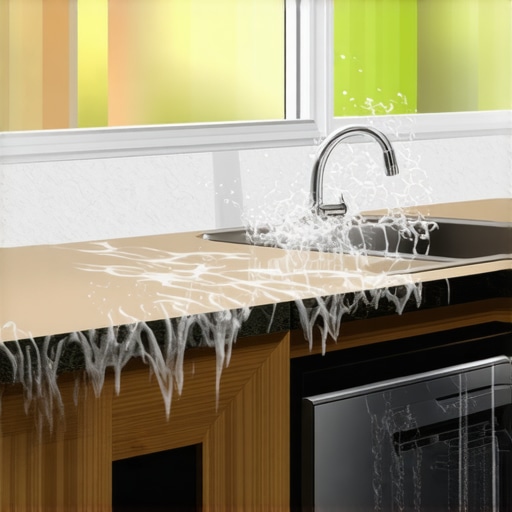
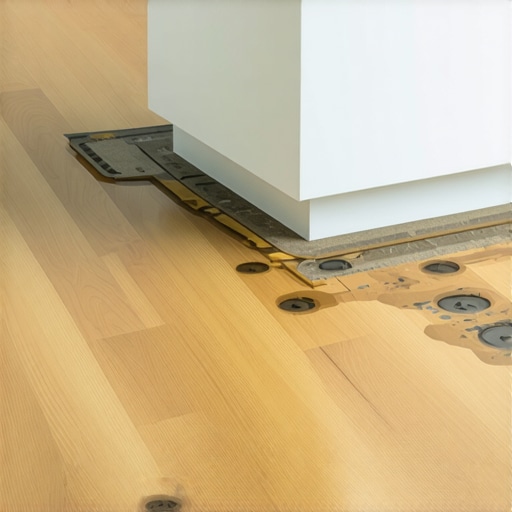
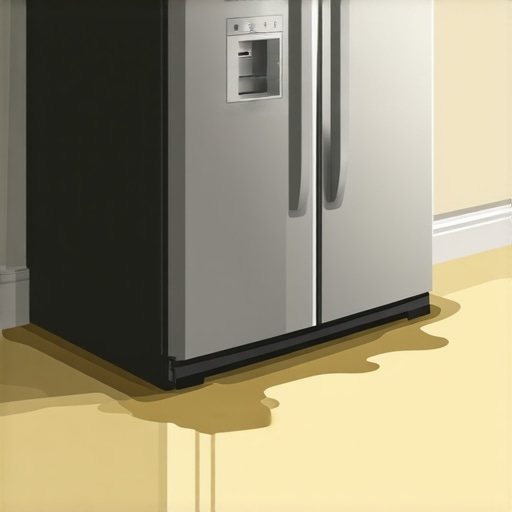
A spongy kitchen floor near a refrigerator usually indicates a slow leak from the ice maker line or a compromised condensate pan. This moisture migrates into the subfloor, causing the wood fibers to swell, delaminate, and lose their structural load-bearing capacity. When you step on the area, the compressed wood fibers shift, creating a soft or bouncy feel underfoot. It is the result of the adhesive resins in the subfloor breaking down under constant hydraulic pressure and fungal activity. You are no longer walking on a solid panel but rather a collection of wet wood chips held together by gravity and hope.
The refrigerator is a heavy beast. A standard French door model can easily weigh 300 pounds. When you add the weight of a person standing in front of it, you are putting massive PSI on a very small area. If the subfloor is wet, that weight acts like a hydraulic press. It forces water deeper into the pores of the plywood or OSB. This is why the floor feels spongy there but solid three feet away. The water has nowhere to go but into the grain. I have seen ice maker lines that have been pinhole leaking for six months. The homeowner never saw a puddle because the water followed the supply line down through the floorboard and into the subfloor. It was a silent killer for the structural integrity of that kitchen.
“A floor is only as good as the subfloor beneath it; deflection is the enemy of every joint.” – Master Flooring Axiom
The chemical breakdown of subfloor adhesives
Most modern homes use OSB which stands for Oriented Strand Board. It is made of wood chips and wax and glue. When OSB gets wet, it undergoes a process called edge swelling. The edges of the board can expand up to 15 percent more than the center of the board. This creates a permanent ridge under your laminate or vinyl. Even if the floor dries out, the OSB does not return to its original thickness. The resins that bond those chips together are not designed for submersion. Once they fail, the board turns back into a pile of chips. This is the source of your sponge. You are feeling the vertical displacement of the wood strands as they slide past one another because the glue is gone.
If you have an older home with plywood, the failure is different but equally catastrophic. Plywood is made of thin layers of wood glued together with the grain running in opposite directions. Moisture causes the layers to delaminate. The glue line fails and the layers separate. This creates a hollow space within the board. When you step on it, the layers collapse against each other. It creates a spring-like effect that feels like the floor is giving way. If the moisture is coming from an adjacent area like a shower, the water can travel along the joists and pool under the fridge where the floor is already under heavy load. The structural engineering of the floor depends on those layers staying bonded. Without that bond, the floor is just a stack of loose veneer.
The data behind the decay
| Material Type | Moisture Tolerance | Recovery Potential | Primary Failure Mode |
|---|---|---|---|
| Plywood | Moderate | High (if dried fast) | Delamination of layers |
| OSB (Standard) | Low | Low | Permanent edge swelling |
| Self-Leveling Compound | High | N/A | Cracking from deflection |
| Solid Hardwood | Low | Moderate | Cupping and crowning |
The myth of the waterproof floor
People love the word waterproof. They buy luxury vinyl plank or high-end laminate thinking it protects them from everything. It is a lie. While the plank itself might not rot, the water still finds the perimeter. It goes under the baseboards and into the expansion gap. Every floor needs an expansion gap of at least 1/4 inch. That gap is an open highway for water. Once the water gets under your laminate, it is trapped. The waterproof floor acts like a plastic bag, sealing the moisture against the subfloor. It cannot evaporate. This accelerates the rot. This is why I tell people that their floor leveling must be perfect before they lay down a single plank. If there is a dip, water will pool there and stay there until the joists start to grow mushrooms.
The same thing happens during a bad carpet install. People think carpet is fine because it breathes. But if you have a leak under the fridge, the carpet pad acts like a sponge. It holds the water against the subfloor and prevents the air from drying it out. By the time you feel the carpet getting squishy, the subfloor is already ruined. The moisture content of a subfloor should be between 6 and 12 percent. I have walked into kitchens where my moisture meter pegged at 35 percent. At that level, the wood is essentially compost. You are not just looking at a flooring repair at that point. You are looking at a structural joist replacement.
The 1/8 inch that ruins everything
Floor leveling is the most underrated part of the job. The NWFA and TCNA both state that a floor must be flat within 1/8 inch over a 10-foot radius. Most houses are not even close. When you have a dip near a refrigerator and a slow leak, the water gravitates to that low spot. It sits there and simmers. If you did not use a high-quality floor leveling compound to flatten the subfloor before installation, you created a natural reservoir for water. I have seen homeowners try to fix this by adding more underlayment. That is a mistake. Too much cushion actually causes the locking mechanisms on LVP to snap under pressure. You need a rock-solid, flat surface. If the floor is spongy, the leveling compound has likely cracked or the wood beneath it has turned to mush.
In high-humidity regions like Houston or the Florida coast, this problem is ten times worse. The ambient humidity prevents the subfloor from ever truly drying out. If you have a leak in a crawlspace house in a humid climate, the moisture is coming from both sides. The air is wet and the leak is wet. In these areas, using a vapor barrier is mandatory, but even then, a leak from above will bypass the barrier and rot the wood from the top down. I always recommend a 6-mil poly film, but you have to tape the seams perfectly. One gap in the tape and the moisture finds its way in like a heat-seeking missile.
The fridge leak audit checklist
- Check the ice maker water line connection for slow drips.
- Inspect the condensate pan for cracks or overflows.
- Use a moisture meter to check the perimeter of the appliance.
- Look at the baseboards for swelling or paint peeling.
- Check the basement or crawlspace directly below the kitchen.
- Verify that the refrigerator is level to prevent drainage issues.
The path to a structural recovery
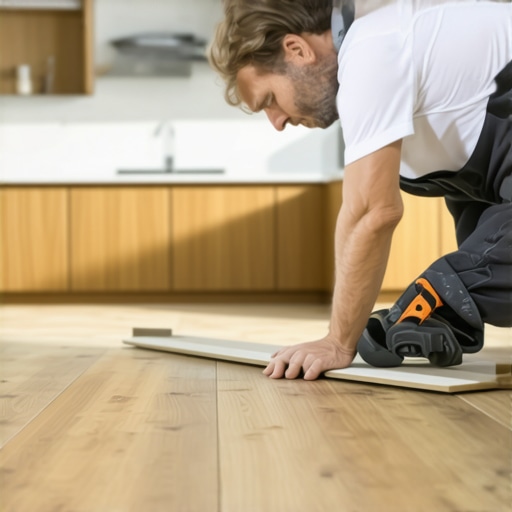
You cannot fix a spongy floor from the top. You have to go down. This means pulling up the flooring. It is painful and expensive, but it is the only way. Once the floor is up, you need to assess the subfloor. If the OSB is flaking away with a screwdriver, it must be cut out and replaced. Do not try to patch it. You need to find the center of the nearest joists and cut back to them so the new patch has a solid bearing. If you don’t, the patch will just move and the floor will squeak for the rest of eternity. I use a circular saw set to the exact depth of the subfloor to avoid cutting into the joists themselves.
After the new wood is in, use a high-strength floor leveling compound. I prefer the stuff that is fiber-reinforced. It handles the natural movement of the house better. You want to pour it and feathered it out so the transition is invisible. Let it dry for at least 24 hours. Check the moisture content again. If you lay new flooring over a wet patch, you are just inviting the mold back for a second helping. It is a game of patience. A floor is a performance surface. It has to handle the weight, the traffic, and the occasional spill. If you treat it like a structural engineering project, it will last. If you treat it like a weekend DIY craft project, you will be calling me in six months to fix it.
“Deflection in the substrate is the primary cause of flooring failure in residential kitchens.” – TCNA Technical Bulletin