The Spacing Mistake That Causes Kitchen Laminate to Buckle
I smell like oak dust and WD-40 most days. It is the scent of twenty-five years spent on my knees with a moisture meter and a level. I have seen every shortcut taken by builders who prioritize speed over structural integrity. The most common disaster I witness involves the kitchen floor. Homeowners always ask why their waterproof laminate is buckling. Usually, it is because they locked it under a heavy kitchen island, killing the floor’s ability to breathe. Last month, I walked into a remodel where a homeowner had bolted a two-ton granite-topped island directly through a floating laminate floor. The planks were cupping so hard they looked like a row of half-pipes at a skate park. They blamed the product. I blamed the physics. A floating floor is a living, moving machine. If you pin it down, it will fight back.
The hidden force that lifts your kitchen floor
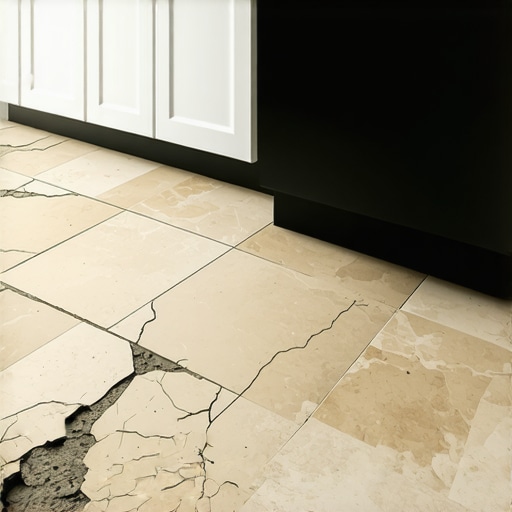
Laminate flooring expands and contracts due to hydroscopic behavior in the HDF core. If you lock the floor under heavy cabinetry or fail to leave a 1/4 inch expansion gap, the tension results in buckling and joint separation. This movement is not a suggestion. It is a mathematical certainty. The core of every laminate plank is composed of compressed wood fibers and resin. These fibers are thirsty. Even if the surface is plastic, the heart of the plank reacts to the relative humidity in your kitchen. When the humidity rises, the fibers swell. When the air dries out, they shrink. This cycle is constant. A room that is twenty feet wide might see the entire floor grow by an eighth of an inch or more. If those planks hit a wall or are trapped under a heavy cabinet, that energy has to go somewhere. It goes up. That is the peak you feel under your feet near the refrigerator.
Why your kitchen island is a floor killer
A floating floor must move as a single unit across the subfloor. Placing a heavy kitchen island directly on top of laminate planks pins the material down. This prevents natural movement, leading to peaking at the joints or warping in high-traffic zones. Many DIY installers think they can save time by laying the floor and then putting the cabinets on top. That is a recipe for mechanical failure. The weight of the cabinetry acts like a giant paperweight. If the floor expands from the other side of the room, it cannot slide under the island. The pressure builds at the first available weak point, which is usually the click-lock joint two feet away. I always tell my clients to install the cabinets first, then shim the floor up to the kickplate. You need that floor to be able to slide. If you do not allow for that slide, the locking mechanisms will literally snap. I have seen the tongues of high-end planks sheared off like they were made of balsa wood.
“A floor is only as good as the subfloor beneath it; deflection is the enemy of every joint.” – Master Flooring Axiom
The 1/8 inch that ruins everything
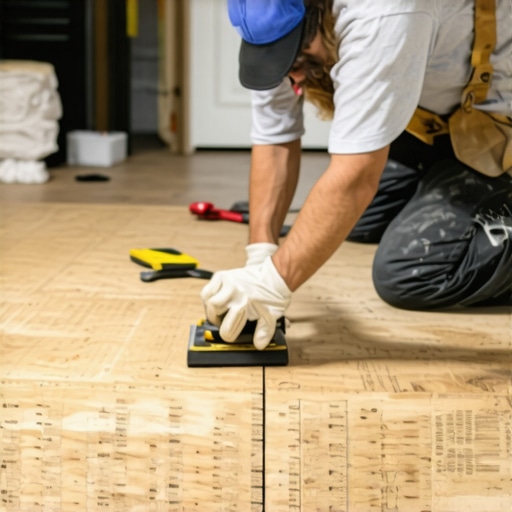
Subfloor preparation requires a flatness tolerance of 3/16 inch over 10 feet to prevent vertical movement. If your concrete slab or plywood subfloor has a dip, the laminate will flex into that void. This deflection eventually breaks the locking system and causes the floor to bounce and buckle. Most guys skip the leveling compound. They think the underlayment will hide the dip. It won’t. I spent three days grinding concrete on a job last month just so the floor wouldn’t click like a castanet. You have to be precise. I use a ten-foot straight edge. If I can slide a nickel under that edge at any point, the floor isn’t flat enough. We use self-leveling underlayment or a grinder to get it perfect. If you skip this, your kitchen floor will feel like a trampoline within six months.
Why your subfloor is lying to you
A concrete subfloor may look dry on the surface while holding a high moisture vapor emission rate. If you do not install a 6-mil poly vapor barrier, the laminate core will absorb that moisture and swell at the edges. This creates a buckled appearance even if you left an expansion gap at the walls. I never trust a visual check. I use a calcium chloride test or an in-situ probe. Concrete is a sponge. It pulls moisture from the earth and breathes it out into your home. If that moisture gets trapped under your laminate planks without a barrier, the HDF core will rot from the bottom up. You will see the edges of the planks start to rise. This is called telegraphing. It is the sign of a failed installation. You need to verify that the slab is putting out less than three pounds of moisture per one thousand square feet over twenty-four hours.
Technical comparison of laminate core stability
| Core Material | Density (kg/m3) | Expansion Rate | Moisture Resistance |
|---|---|---|---|
| Standard MDF | 600-700 | High | Low |
| High-Density Fiberboard (HDF) | 800-900 | Moderate | Medium |
| Wax-Impregnated HDF | 900+ | Low | High |
| Stone Plastic Composite (SPC) | 1900-2100 | Minimal | Total |
The ghost in the expansion gap
The expansion gap must be maintained around every single vertical obstruction, including door frames and plumbing pipes. If even one plank touches a fixed object, it acts as a pivot point for the entire floor. This lateral pressure causes the laminate to shift and buckle in areas far removed from the contact point. I have seen installers get ninety-nine percent of the room right, then wedge a plank tight against a copper pipe under the sink. That one contact point is enough to ruin the whole kitchen. You have to undercut your door jambs. Do not cut the floor to fit the jamb. Cut the jamb so the floor can slide under it. This allows the floor to hide the gap while still having room to breathe. Use a pull bar to ensure the planks are seated correctly without slamming them against the drywall.
The chemistry of joint failure
Modern laminate uses angle-angle or drop-lock joints that rely on friction and tension to stay together. If the floor is not acclimated for at least 48 hours, the planks will change shape after they are locked. This leads to gapping or buckling as the material tries to reach equilibrium moisture content with the room environment. You cannot take the flooring from a cold warehouse, bring it into a humid kitchen, and start clicking it together. The planks need to sit in the room. They need to open their pores to the local air. If you install them cold, they will expand as they warm up. If the room is already tight, the floor will peak at the seams. It is a chemical and physical reaction that you cannot ignore. I tell my guys to stack the boxes in a log cabin pattern to allow airflow around every carton.
“Wood and wood-based products are hygroscopic; they will gain or lose moisture until they are in balance with their surroundings.” – NWFA Technical Manual
Critical installation checklist for kitchen laminate
- Verify subfloor flatness within 3/16 inch over a 10-foot radius.
- Test concrete moisture levels using an RH probe or calcium chloride test.
- Install a 6-mil polyethylene vapor barrier with overlapped and taped seams.
- Acclimate the flooring in the installation environment for a minimum of 48 hours.
- Maintain a 1/4 inch to 3/8 inch expansion gap at all walls and vertical objects.
- Never install heavy kitchen islands or cabinetry on top of the floating floor.
- Use a tapping block and rubber mallet to avoid damaging the locking tongues.
- Undercut all door jambs to allow for free movement under the trim.
The moisture myth in modern kitchens
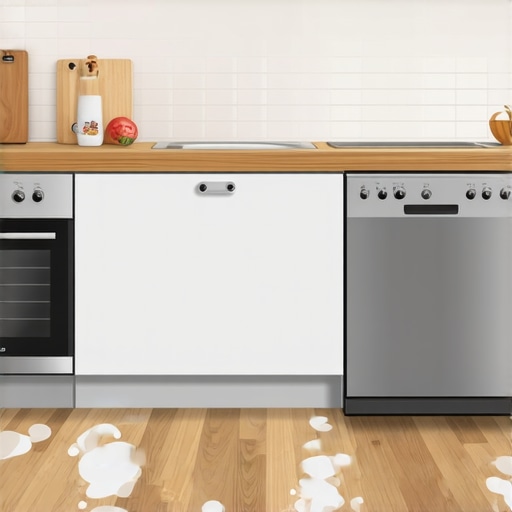
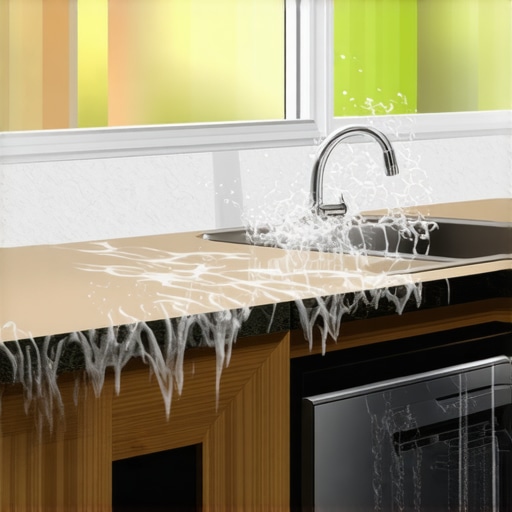
Marketing teams love the word waterproof, but in the world of laminate flooring, this usually only refers to the surface coating. The click joints are the vulnerable points where standing water can seep into the organic core. Once the core absorbs water, it undergoes permanent thickness swell, which looks exactly like buckling. If you have a dishwasher leak, the water doesn’t just sit on top. It finds the seams. Capillary action pulls that water into the HDF. The fibers expand and they never go back to their original size. Even if the floor dries out, the hump remains. This is why I always use a joint sealant in kitchens. It is an extra step that most cheap installers skip. It creates a physical bond that prevents water from reaching the heart of the plank. It is the difference between a floor that lasts five years and one that lasts twenty.
The sound of a failing floor
A hollow clicking sound when walking on laminate indicates subfloor irregularities or improper underlayment. If the underlayment is too thick, it allows for excessive vertical deflection, which puts stress on the joints. This stress leads to fractures in the locking system and eventual buckling. While most people want the thickest underlayment, too much cushion actually causes the locking mechanisms on LVP to snap under pressure. I prefer a high-density foam or felt. You want support, not a pillow. If the floor can bounce, the tongue will eventually snap off the groove. Then you have a floor that moves every time you walk on it. It is annoying, and it is a sign that the floor is dying. You need a stable base. If the subfloor is junk, the finish floor will be junk. There are no exceptions to this rule.