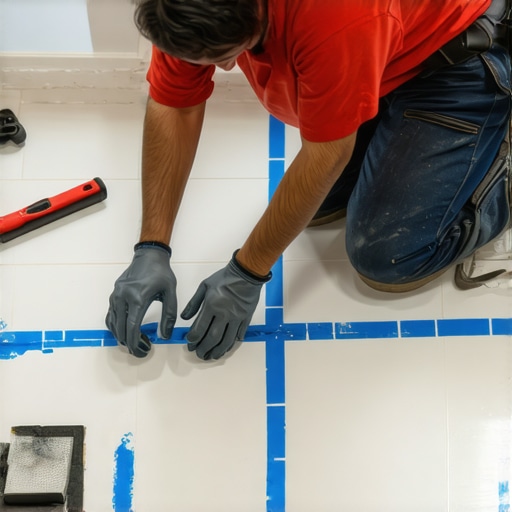
The Blue Tape Trick for Perfect Grout Lines
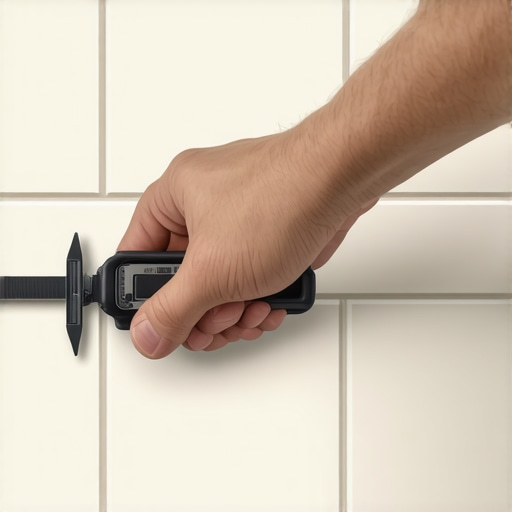
I spent three days grinding concrete on a job last month just so the floor wouldn’t click like a castanet. Most guys skip the leveling compound. They think the underlayment will hide the dip. It won’t. I have seen thousand dollar tile jobs ruined by a single sixteenth of an inch. When you have spent twenty five years on your knees with a moisture meter, you stop seeing a floor as a pretty surface and start seeing it as a structural battlefield. A floor is a machine. It moves. It breathes. It fights against the walls. If you do not respect the physics of the installation, the house will win every time. I have walked into too many showers where the grout is crumbling like old crackers because someone thought they could eyeball the thin-set mix. This article is about the technical reality of the perfect finish, from the subfloor to the tape.
The myth of the flat slab
The floor leveling process requires a self-leveling underlayment with a compressive strength of at least 3,000 PSI to handle structural loads. Most concrete slabs are not flat. They are wavy. They have pits. If your subfloor fails the straightedge test, your grout joints will never be perfect. You need to identify every high spot and low spot using a ten foot level. I do not care if the house is brand new. Builders are in a hurry. They leave trowel marks and ridges. You must grind those down. Dust extraction is not optional. You need a HEPA vacuum. If there is dust on the slab, the primer will not bond. If the primer does not bond, the leveler will delaminate. It is a chain reaction of failure that starts at the molecular level.
“A floor is only as good as the subfloor beneath it; deflection is the enemy of every joint.” – Master Flooring Axiom
Why blue tape saves your tile
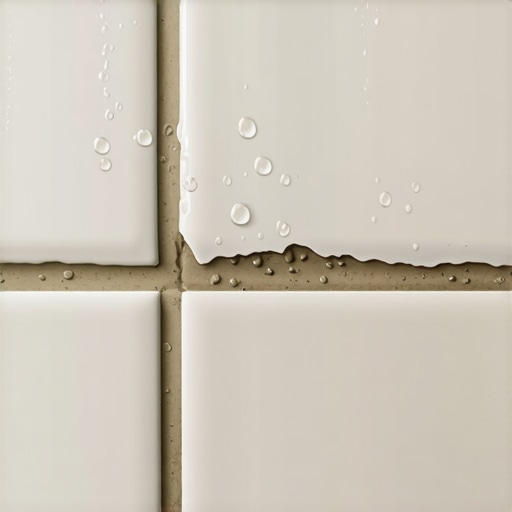
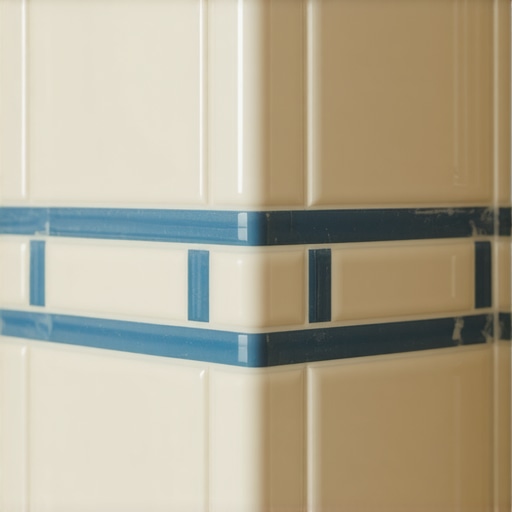
The blue tape trick protects porous tile surfaces and natural stone from grout pigment migration and surface staining. I see guys smear epoxy grout over ungrazed porcelain and then wonder why the tile looks cloudy forever. You apply the masking tape right to the edge of the tile joint. This creates a stencil effect. When you pull the tape, the grout line is razor sharp. It takes time. It is tedious. But it is the difference between a professional install and a DIY disaster. You must use low-tack painter’s tape. If the adhesive is too strong, it can pull sealant off the stone or leave a sticky residue that attracts dirt later. This is the precision engineering of the finish.
The shower floor failure matrix
A shower floor requires a pre-slope of 1/4 inch per foot to ensure proper drainage and prevent standing water under the tile assembly. The waterproofing membrane is the most important layer. Whether you use a liquid applied membrane or a sheet membrane, it must be continuous. I have seen grout lines fail because the mud bed stayed saturated for too long. This causes efflorescence. Those white mineral deposits are not just ugly. They are a sign that the chemistry of your mortar bed is being compromised. You need modified thin-set with polymer additives to handle the thermal expansion of hot water. Without those polymers, the bond is too brittle. It will crack.
| Grout Type | Joint Width Max | Water Resistance | Flexibility |
|---|---|---|---|
| Sanded Grout | 1/2 inch | Moderate | Low |
| Unsanded Grout | 1/8 inch | Low | Low |
| Epoxy Grout | 3/8 inch | High | High |
| High Performance Cement | 1/2 inch | High | Moderate |
The 1/8 inch that ruins everything
The expansion gap around the perimeter of a laminate or hardwood floor is the most frequent point of failure in residential installs. Wood fibers expand and contract based on relative humidity. If you run the flooring tight against the drywall, the floor has nowhere to go. It will buckle. I have seen LVP floors tent in the middle of a room because the baseboards were nailed too tight against the planks. The floor must be able to float. This is not a suggestion. It is a physical requirement of the material. You need spacers. You need a moisture barrier. Most people think waterproof means the floor is immune to everything. It is not. Hydrostatic pressure from a damp slab will still destroy the locking mechanisms.
“Moisture is the primary cause of flooring failures. A dry slab is not a luxury. It is a structural requirement.” – Master Flooring Axiom
The carpet stretch tension physics
A proper carpet install requires a power stretcher to achieve the correct tension across the primary backing. If an installer only uses a knee kicker, the carpet will ripple within two years. The tack strips must be placed exactly 1/4 inch from the baseboard to allow for a clean tuck. The carpet pad density is also vital. A high-traffic area needs a dense 8-pound pad. If the pad is too soft, the delamination of the carpet backing occurs because the latex bond is stressed every time someone walks on it. It is about distributing force. A floor is a mechanical assembly. Every component must work in unison.
Pre-Grout Perfection Checklist
- Verify all thin-set has been cleaned out of the joints to 2/3 the depth of the tile.
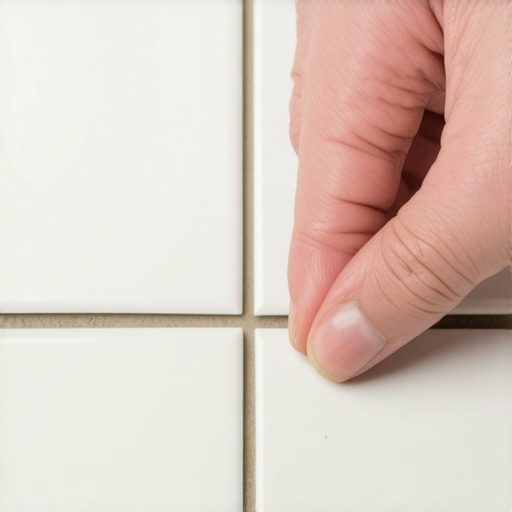
- Check that the tile is fully bonded and there are no hollow sounds when tapped.
- Ensure the room temperature is between 60 and 80 degrees Fahrenheit for proper curing.
- Apply sealer to natural stone at least 24 hours before grouting begins.
- Mask off all vertical surfaces and adjacent flooring with blue tape and plastic.
- Vacuum the joints one last time to remove every speck of construction dust.
The ghost in the expansion gap
The silicone caulk used in inside corners must be 100% silicone to handle differential movement between walls and floors. Grout is rigid. Walls move at different rates than floors. If you put hard grout in a corner, it will crack. This is basic engineering. You need a flexible sealant that matches the grout color. This creates a dynamic joint. In high-humidity regions, this is even more critical. The moisture content of the wall studs changes with the seasons. If your caulk bead is too thin, it will tear. You need a bond breaker or the correct joint depth to ensure the silicone can stretch and compress without adhesive failure. This is why the blue tape trick is used here too. It defines the caulk line so it looks as clean as a factory edge.