The ‘Soap Test’ for Finding Invisible Leaks in Shower Liners
I smell like WD-40 and oak dust today. My knees ache from crawling across a slab that was three inches out of level over ten feet. Homeowners think flooring is a beauty pageant. They look at the color and the grain. I look at the subfloor and the moisture content. Most guys skip the leveling compound. They think the underlayment will hide the dip. It won’t. I spent three days grinding concrete on a job last month just so the floor wouldn’t click like a castanet. That is the grit of this industry. If you want a floor that lasts, you start with the skeleton. When it comes to showers, that skeleton is the liner. A single pinhole in a shower liner will rot your floor joists faster than a termite on a bender. The soap test is the only way to find those invisible killers before you bury them under three inches of mortar and tile. It is a diagnostic tool for a structural failure. It is the difference between a lifetime of service and a moldy disaster that bankrupts your insurance policy.
The physics of the shower pan leak
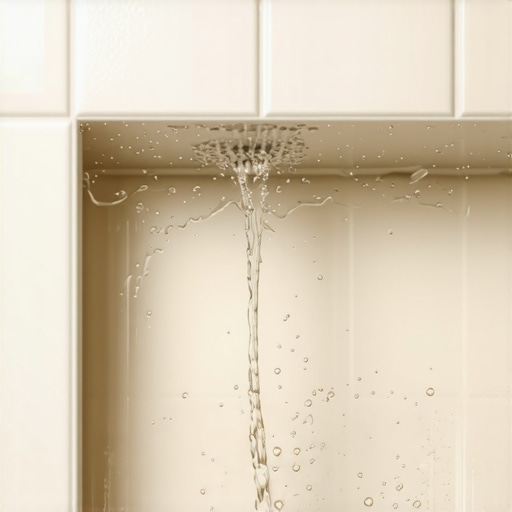
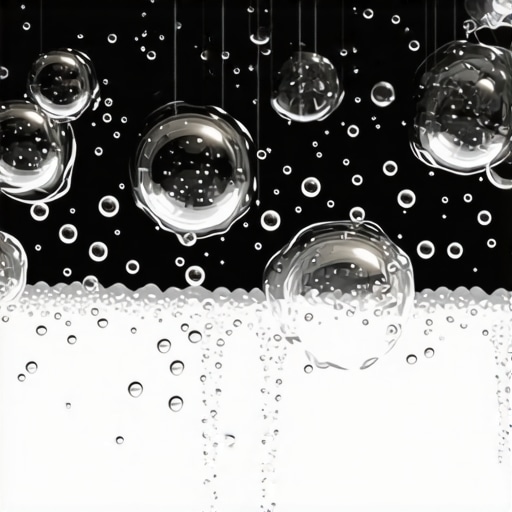
The soap test for shower liners identifies invisible leaks by using surfactants to capture escaping air or water pressure at weak points. By applying a concentrated soap solution to the seams and corners of a plugged shower pan filled with water, installers can observe the formation of bubbles. These bubbles indicate a failure in the solvent weld or a puncture in the membrane material. This process relies on the surface tension of the soap to react with the moving molecules at the site of the breach. You cannot trust a visual inspection alone because many punctures are smaller than the tip of a needle. Water molecules are persistent. They will find a way through a microscopic gap caused by a poorly applied solvent weld. When you fill that pan, you are creating hydrostatic pressure. That pressure forces air and water through the path of least resistance. If your liner has a flaw, the soap will catch it. It is basic chemistry applied to a high-stakes engineering problem. Do not even think about installing tile until you have seen that soap sit still for twenty four hours.
“A floor is only as good as the subfloor beneath it; deflection is the enemy of every joint.” – Master Flooring Axiom
Why your subfloor is lying to you
Subfloors often appear flat to the naked eye while hiding structural dips and high spots that compromise flooring integrity. These imperfections are often the result of settling foundations or moisture expansion in the plywood or OSB panels. If you do not use a ten foot straight edge to check for levelness, you are guessing. A subfloor that is out of spec by as little as one eighth of an inch can cause the locking mechanisms on laminate to snap. When you are prepping for a shower install, the subfloor needs to be even more precise. It has to support the weight of the mortar bed, the tile, and the standing water without any flex. Deflection is the technical term for how much a floor bends under a load. If your subfloor has too much deflection, your grout will crack. Then the water gets through. Then your liner is the only thing standing between you and a structural failure. I have seen plywood subfloors that looked solid but were actually delaminating from the inside because of high humidity in the crawlspace. You must use a moisture meter. If the subfloor is over twelve percent moisture, you are inviting disaster. You might as well just throw your money into a wood chipper.
The chemistry of the waterproof bond
Waterproof liners for showers are typically made of Polyvinyl Chloride or Chlorinated Polyethylene which require specific solvent welds to create a monolithic barrier. These materials are engineered to resist the alkaline environment of Portland cement. When you apply the solvent, you are not just gluing two pieces together. You are initiating a chemical reaction that melts the surfaces so they fuse into a single piece. If you do the soap test and see bubbles at the corners, it means your chemical bond failed. This usually happens because the installer didn’t clean the surfaces or used an expired solvent. The molecular structure of the liner must be perfectly clean to fuse. Even a bit of dust from a nearby carpet install can ruin the weld. People think they can just use some silicone to fix a leak in a liner. That is a lie. Silicone does not bond to PVC or CPE in a way that handles hydrostatic pressure. You need a structural bond. Here is a breakdown of the materials we are dealing with on these jobs.
| Membrane Type | Chemical Composition | Typical Thickness | Temperature Limit |
|---|---|---|---|
| PVC | Polyvinyl Chloride | 40 mil | 120F |
| CPE | Chlorinated Polyethylene | 40 mil | 150F |
| EPDM | Ethylene Propylene Diene | 45 mil | 180F |
The 1/8 inch that ruins everything
Precision in floor leveling is the primary factor in preventing the premature failure of floating floors and tile installations. Most manufacturers require the surface to be flat within one eighth of an inch over a ten foot radius. If you ignore this, you will hear a clicking sound every time you walk. That is the sound of your floor dying. In a shower, the leveling is about more than just sound. It is about drainage. You need a pre-slope under the liner. If the subfloor is not level, your pre-slope will have a flat spot. Water will sit there and rot. It creates a perched water table. This is why you must use a high quality self-leveling underlayment. These products are cementitious and have a high compressive strength. They flow like water to find the low spots. But you have to prime the floor first. If you don’t prime, the wood or concrete will suck the moisture out of the leveler before it can cure. This leads to cracking and debonding. While most people want the thickest underlayment, too much cushion actually causes the locking mechanisms on LVP to snap under pressure. You need a firm, flat base.
- Inspect the drain flange for burrs before laying the liner.
- Clean the subfloor of all sawdust and debris with a shop vac.
- Measure the pre-slope with a digital level to ensure a quarter inch drop per foot.
- Apply the solvent weld to the corners and hold for thirty seconds.
- Perform the 24 hour flood test with a soapy solution on all seams.
Why laminate fails where tile triumphs
Laminate flooring is highly susceptible to topical moisture and humidity changes which leads to swelling and peaked seams in wet environments. Even the versions marketed as waterproof are only protected from the top down. If you have a leak in your shower liner, that water will travel under your laminate. The core of laminate is usually HDF or MDF which is basically compressed sawdust and glue. It acts like a sponge. Once it absorbs water, it is finished. Tile is a different animal. Porcelain has a water absorption rate of less than point five percent. It can handle the moisture, but the grout cannot. Grout is porous. This is why the invisible liner underneath is the most important part of the assembly. I have seen guys try to install carpet next to a shower with no transition strip. That is a death wish. The carpet will wick the moisture from the tile and start growing a colony of black mold. You need a hard break. You need a proper moisture barrier. You need to respect the physics of the wet zone.
“The presence of moisture in the subfloor is the most common cause of flooring failure, yet it remains the most ignored variable.” – NWFA Technical Manual
The ghost in the expansion gap
The expansion gap is a mandatory space left around the perimeter of a floor to allow for natural movement caused by temperature and humidity. Many installers forget that floors are breathing organisms. They expand in the summer and shrink in the winter. If you pin the floor against the wall or under a heavy kitchen island, it will buckle. This is especially true for LVP and laminate. In a bathroom, people often make the mistake of caulking the expansion gap tight. You should use a flexible 100 percent silicone or leave the gap under the baseboard. If the floor cannot move, the pressure will build up until the weakest point gives way. Usually, that is the locking joint. You will see a hump in the middle of the room. It looks like a ghost is trying to lift the floor. It is just physics. The same logic applies to your shower pan. The materials will expand when hot water hits them. If everything is too tight, things will crack. You have to build with movement in mind. Use a moisture meter on every job. Check the humidity. If you don’t, you are just a handyman with a hammer. Be an architect. Build a floor that survives the environment. Stick to the standards. Do the soap test. Grind the concrete. Don’t take shortcuts. Your reputation is under that floor. Make sure it stays dry.