The Sponge Test for Checking if Your Floor Primer is Still Tacky
The physics of the subfloor bond and why most installers fail
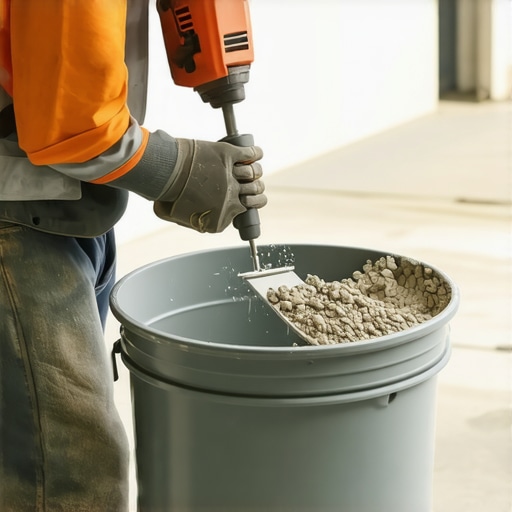
Most guys skip the leveling compound. They think the underlayment will hide the dip. It won’t. I spent three days grinding concrete on a job last month just so the floor wouldn’t click like a castanet. That job taught the client a hard lesson about the reality of floor leveling. You cannot hide a bad slab under a fancy piece of plastic or a plush carpet install. When you are prepping a surface, the primer is not just a liquid you splash around. It is a chemical bridge. It is the only thing standing between a successful pour and a self-leveling compound that delaminates and cracks like a dry lake bed under a summer sun.
Why your subfloor is lying to you
Subfloors often appear flat to the naked eye while hiding significant deviations that exceed the industry standard of 3/16 inch over 10 feet. These dips and crowns create air pockets under laminate or LVP. Proper floor leveling requires mechanical grinding and high-solids primer to ensure a permanent bond. If you ignore the flatness of the substrate, you are essentially building a house on sand. I have seen laminate floors that felt like walking on a trampoline because the installer was too lazy to pull out a straightedge. You need to understand that the subfloor is an active participant in the longevity of your finish material. It moves, it breathes, and it reacts to the moisture levels in your home. If that slab is not sealed and leveled, the friction between the flooring and the concrete will eventually turn the underside of your boards into dust.
“A floor is only as good as the subfloor beneath it; deflection is the enemy of every joint.” – Master Flooring Axiom
The science of primer adhesion and polymer chains
Floor primer functions by penetrating the microscopic pores of concrete or wood to create a receptive surface for adhesives or leveling underlayments. It regulates the absorption rate of the substrate, preventing the subfloor from sucking the water out of the leveling compound too quickly. When you apply a primer, you are dealing with acrylic or epoxy polymers that want to hook into the surface. If the slab is too dusty, the primer bonds to the dust, not the floor. If the slab is too wet, the primer floats on top. This is why mechanical preparation, like diamond grinding, is non-negotiable for high-end showers or large-scale laminate projects. You are looking for a concrete surface profile, or CSP, of 2 or 3. Anything less and you are just painting the floor, not prepping it.
The sponge test for professional verification
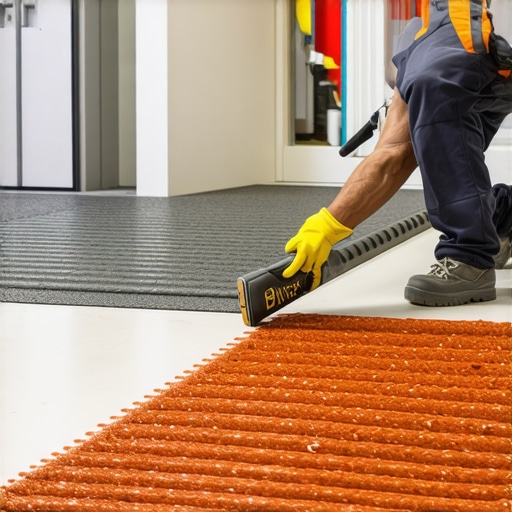
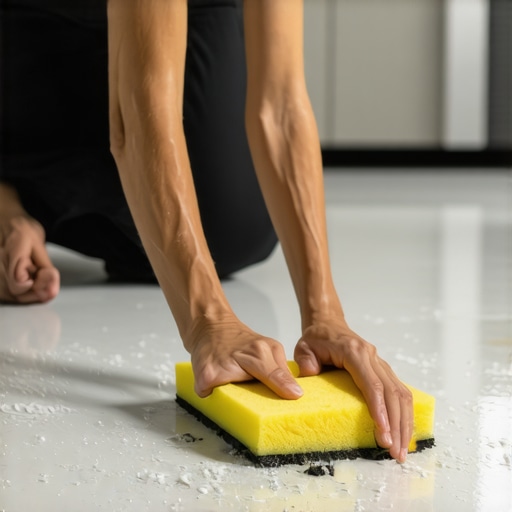
The sponge test is a diagnostic method used to determine if a floor primer has reached its optimal tackiness without becoming overly dry or remaining too wet. By pressing a clean, damp sponge onto the primed surface, an installer can verify the structural integrity of the polymer film. If the sponge comes away with a milky residue, the primer is still in its liquid phase and cannot support a pour. If the sponge sticks and pulls at the surface, you have reached the golden window of tackiness. However, if the sponge glides across the surface as if it were glass, the primer has likely over-cured or been contaminated by jobsite dust. This is the moment where many carpet install professionals go wrong, assuming that a dry-to-the-touch surface is ready for tack strips. It isn’t. You need that mechanical bite.
How to perform the sponge test correctly
- Ensure the primer has had at least two hours to flash off in a controlled environment.
- Use a high-density cellulose sponge, not a cheap polyester one.
- Dampen the sponge slightly but do not make it dripping wet.
- Press the sponge into three distinct areas: the center of the room, near a window, and in a dark corner.
- Analyze the resistance and any transfer of material.
The 1/8 inch that ruins everything
Precision in floor leveling is measured in tiny increments where a mere 1/8 inch deviation can cause a locking mechanism on a laminate plank to snap under the weight of a person. High spots are the most dangerous because they act as a fulcrum for the rest of the floor. When I am working on a carpet install, people think flatness does not matter. They think the pad will hide it. But if you have a dip, the tack strips will pull, and the carpet will develop ripples over time. In showers, a 1/8 inch mistake means the water does not flow toward the drain; it pools in the corner and grows mold. You have to be an architect of the flat plane. This means using the sponge test to ensure your primer is ready, then pouring your leveler with a gauge rake to hit those exact tolerances.
| Primer Type | Drying Time | Best Use Case | Sponge Test Result |
|---|---|---|---|
| Acrylic Single Part | 2 to 4 Hours | General floor leveling | Slight resistance, no residue |
| Two-Part Epoxy | 6 to 12 Hours | Non-porous surfaces | Aggressive pull |
| Polyurethane | 1 to 3 Hours | Fast-track laminate jobs | Firm, rubbery feel |
Moisture barriers and the shower floor paradox
Waterproofing in showers requires a delicate balance between the primer, the membrane, and the thin-set mortar. If the primer is not properly tacked, the entire waterproofing system can slide off the substrate like a wet sticker. I have seen entire shower pans fail because the installer did not check the moisture vapor emission rate of the concrete. In high-humidity areas like New Orleans or Houston, the concrete is always trying to push water out. If you seal that water in without a proper vapor barrier, the hydrostatic pressure will blow the primer right off the floor. You have to respect the chemistry of the bond. Use a moisture meter before you even open a bucket of primer. If your slab is reading above 85 percent relative humidity, you need a specialized moisture mitigation system, not just a standard primer.
“Modern thin-set is a marvel of chemistry, but it cannot bond to a ghost; you must have a clean, primed substrate.” – TCNA Handbook Wisdom
The hidden danger of over-cushioning
While most people want the thickest underlayment possible, too much cushion actually causes the locking mechanisms on LVP to snap under pressure. This is a contrarian fact that many big-box retailers will not tell you. They want to sell you the expensive, thick foam. But if your subfloor is not perfectly level, that foam allows the floor to flex too much. That flex is what kills the floor. You want a firm, stable base. This starts with a primer that is tested and a leveling compound that is flat. A carpet install can handle more cushion, but even then, a soft subfloor leads to premature wear on the carpet backing. Stick to the basics. Grind the floor. Prime the floor. Test the tack. Pour the leveler.
Final checks before the finish material
Before you lay a single plank of laminate or a roll of carpet, do one last walk-through. Look for pinholes in your leveling compound. These pinholes mean the subfloor was outgassing because you did not prime it well enough. If you see them, your bond is compromised. Use the sponge test one last time on any patches you made. It is better to spend another day on prep than to spend ten years looking at a floor that you hate. A master installer knows that the finish is just the skin. The subfloor is the skeleton, the muscles, and the soul of the room. Treat it with the respect it deserves and your floors will last a lifetime.