The Rubber Mallet Trick for Locking Stubborn Laminate Planks
I spent three days grinding concrete on a job last month just so the floor wouldn’t click like a castanet. Most guys skip the leveling compound. They think the underlayment will hide the dip. It won’t. I have seen fifteen thousand dollar wide-plank jobs fail because the installer thought a thick foam pad could compensate for a subfloor that looked like a topographical map of the Ozarks. When you are dealing with laminate planks that refuse to lock, you are not just fighting a piece of wood. You are fighting physics, geometry, and the chemical composition of high-density fiberboard. My hands smell like oak dust and WD-40, and my knees have the permanent calluses of a man who knows that a floor is only as good as the prep work. If those planks are not clicking, there is a reason. It is usually a microscopic piece of debris in the groove or a subfloor deviation that is stressing the joint. You cannot force a floor into submission with raw power alone. You need the right technique, the right mallet, and a deep understanding of why that tongue is resisting the groove.
The physics of the mechanical locking joint
Laminate plank locking mechanisms rely on precise milling tolerances to create a tension-based mechanical bond between individual boards. When these joints resist closure, it typically indicates a subfloor deviation or debris contamination within the profile. Proper engagement requires a specific entry angle and kinetic force. If the plank does not drop into place, the structural integrity of the entire floating floor system is at risk. You are looking at a system designed to move as a single unit. If one joint is high, the whole floor is compromised. The core of these planks is HDF, which stands for high-density fiberboard. This is essentially sawdust and resin compressed under immense pressure. The tongue is thin. It is brittle. If you hit it directly, you will snap it. This is why the mallet trick is not about hitting the floor, it is about transferring energy through a tapping block to overcome the friction of the factory-applied wax or the tightness of the milling.
“A floor is only as good as the subfloor beneath it; deflection is the enemy of every joint.” – Master Flooring Axiom
Why your subfloor is lying to you
Floor leveling is the most neglected stage of any laminate installation because it requires patience and a straightedge. A subfloor that appears flat to the naked eye often contains low spots that exceed the 1/8 inch tolerance over a ten-foot radius. These dips cause the locking mechanism to disengage under load, leading to audible clicking and eventual joint failure. I have walked onto jobs where the homeowner was frustrated that their new floor felt like a trampoline. The subfloor is the foundation. If that foundation has a valley, the laminate will bridge over it. When you walk on that bridge, the joint flexes. That flex is what eventually snaps the locking lip. You need to use a self-leveling compound or a portland-based patch to fill those voids. Do not think for a second that a 3mm underlayment will solve the problem. Underlayment is for sound dampening and moisture protection. It is not a structural filler. If you try to use the mallet trick to force a plank into a dip, you are just pre-stressing the joint for a future break.
The anatomy of the rubber mallet trick
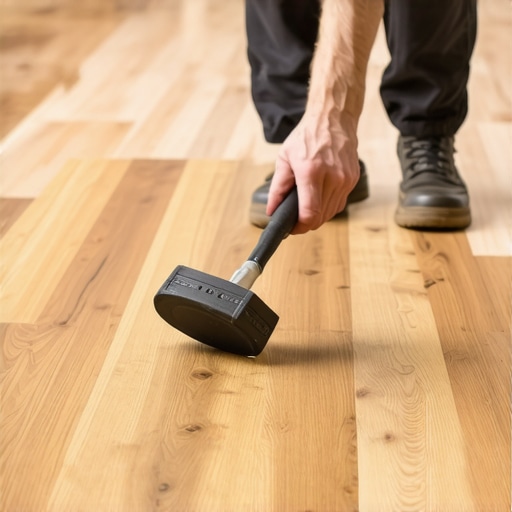
Using a rubber mallet for laminate requires a non-marking white mallet and a dedicated tapping block to distribute force evenly. The goal is to apply lateral pressure to the long-side joint while maintaining the short-end alignment. Direct impact on the plank edge will crush the wear layer and void the manufacturer warranty instantly. You need to understand the vibration. When you strike the tapping block, the energy travels through the block and into the plank. This vibration momentarily reduces the friction between the tongue and the groove. It allows the plank to slide home. I prefer a mallet that weighs about 16 to 22 ounces. Too light and you are bouncing off the block. Too heavy and you are going to overdrive the joint and cause peaking. Peaking is when the edges of the planks push against each other so hard they rise up into a V-shape. That is a nightmare to fix.
| Feature | Standard Laminate | Premium High-Gloss | Water-Resistant HDF |
|---|---|---|---|
| Core Density | 800 kg/m3 | 850 kg/m3 | 900+ kg/m3 |
| Wear Layer | AC3 Rating | AC4 Rating | AC5 Rating |
| Thickness | 7mm to 8mm | 10mm to 12mm | 12mm + Pad |
| Acclimation | 48 Hours | 72 Hours | 48 Hours |
The 1/8 inch that ruins everything
Expansion gaps at the perimeter are mandatory because laminate floors expand and contract with ambient humidity changes. A floor that is net-fit against a wall will buckle or tent as the HDF core absorbs moisture from the air. Maintaining a consistent quarter-inch to half-inch gap ensures the floating floor can move without structural stress. People think they can skip the spacers. They think the baseboard will cover it anyway. But then summer hits. The humidity in the room goes from thirty percent to sixty percent. The wood fibers in that HDF core expand. If there is nowhere for that expansion to go, the floor goes up. It will literally lift off the subfloor. I have seen floors rise three inches in the middle of a room because the installer didn’t leave a gap at the drywall. Use your spacers. Every single wall. Every single doorway. Do not even think about tight-cutting around a stone fireplace without a transition strip or a deep undercut.
The ghost in the expansion gap
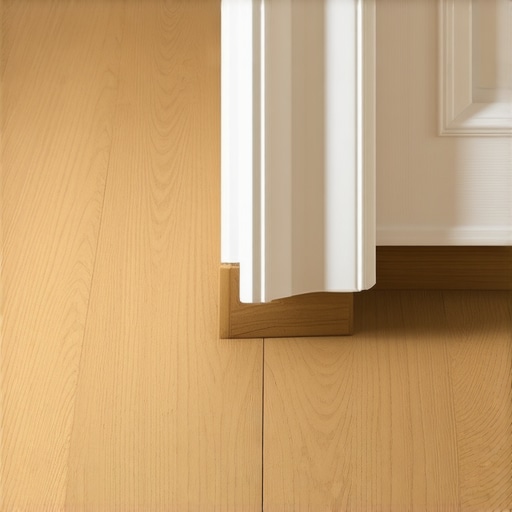
Perimeter spacing must be maintained around every fixed vertical obstruction, including door jambs and kitchen islands. A floor that is pinned under a heavy cabinet loses its ability to float, which places excessive tension on the locking joints. This tension is often what makes planks stubborn to lock during the initial installation phase. If you are trying to mallet a plank into place and it keeps springing back, check your perimeters. Something is pinching the floor. Maybe a nail from the baseboard went through the laminate. Maybe you wedged it too tight against a door casing. The floor needs to be free. It is a living, moving thing. If you pin it down, it will fight you. I always undercut my door jambs with a flush-cut saw. This allows the floor to slide underneath the wood, hiding the expansion gap while still giving the floor room to breathe. It is the difference between a pro job and a hack job.
Checklist for a successful locking sequence
- Check subfloor for levelness using a 10-foot straightedge to ensure less than 3/16 inch deviation.
- Verify that the moisture content of the wooden subfloor is within 4 percent of the laminate flooring.
- Clean the tongue and groove of every plank using a dry brush to remove factory dust or HDF splinters.
- Maintain a minimum of 48 hours of acclimation time in the room where the floor will be installed.
- Use a tapping block specifically designed for the profile of your laminate to prevent edge damage.
- Ensure the expansion gap is consistent around the entire perimeter using plastic or wood spacers.
- Vacuum the subfloor repeatedly during installation to prevent grit from crunching under the planks.
The chemistry of adhesives and moisture barriers
Vapor barriers are required over concrete slabs to prevent hydrostatic pressure from forcing moisture into the absorbent HDF core. Even if the laminate is marketed as waterproof, the underside remains vulnerable to alkaline salts and vapor emissions. A 6-mil polyethylene film acts as the primary defense against delamination and mold growth. You have to look at the chemistry here. Concrete is a sponge. It holds water for years. If you put a piece of wood-based product directly on top of it, the wood will pull that moisture out. The bottom of the plank expands faster than the top. This causes cupping. You will see the edges of the planks curling upward. No amount of rubber mallet tapping will fix a cupped floor. It is ruined. Use a high-quality underlayment with an integrated vapor barrier. Tape the seams with moisture-resistant tape. Overlap the edges by six inches. Do it right or do it twice.
“Deflection in the subfloor is the primary cause of joint fatigue in click-lock systems; level floors last generations.” – TCNA Installation Manual
The truth about waterproof laminate claims
Waterproof laminate usually features a wax-impregnated joint and a high-resin core to resist top-down liquid penetration. However, these floors are still subject to joint swelling if standing water remains on the surface for more than 24 to 72 hours. The term waterproof is often a marketing designation rather than a physical absolute. I tell my clients this every time. Just because the box says waterproof doesn’t mean you can flood the room. The surface is plastic, yes. The wear layer is tough. But those joints are still the weak point. If water gets into the core, the HDF will swell. Once HDF swells, it never goes back down. It stays swollen like a sore thumb. The rubber mallet trick helps here because it ensures the joint is as tight as possible, leaving the smallest possible gap for water to enter. A tight joint is a protected joint. If you see a gap, the floor is open to the elements. Close the gap. Use the mallet. Do not leave it for the baseboards to hide.