How to Level a Room Before Laying Laminate Planks
The 1/8 inch that ruins everything
Leveling a room for laminate requires achieving a flatness tolerance of 1/8 inch over a 10-foot radius. You must eliminate all high spots and fill all depressions to ensure the locking mechanisms do not snap. Failure to address subfloor irregularities leads to floor failure, clicking sounds, and permanent structural damage. I spent three days grinding concrete on a job last month just so the floor wouldn’t click like a castanet. Most guys skip the leveling compound. They think the underlayment will hide the dip. It won’t. I have seen thousand-dollar installs ruined by a single low spot that the installer thought was negligible. You cannot hide a canyon with a piece of foam. The physics of laminate flooring rely on a perfectly flat plane to distribute weight. When you step on a plank over a void, the tongue and groove undergo extreme vertical stress. This leads to fatigue. Eventually, the joint shears. You are left with a gap that collects dirt and moisture. This is how a professional floor becomes a liability. Most homeowners think waterproof LVP or laminate means they can ignore the subfloor. That is a lie. The surface might be waterproof, but the structural integrity of the click system is entirely dependent on the substrate. If your subfloor is not flat, your floor is already failing. You just haven’t heard the snap yet.
“A floor is only as good as the subfloor beneath it; deflection is the enemy of every joint.” – Master Flooring Axiom
Why your subfloor is lying to you
Subfloor flatness and subfloor levelness are two distinct engineering metrics. A floor can be sloped but flat, which is acceptable for laminate, but a floor that is level yet wavy will cause immediate installation failure. You must use a 10-foot straightedge to identify these deceptive variances. In my 25 years of experience, I have seen OSB subfloors that looked perfect to the naked eye but were actually a series of microscopic hills and valleys. Wood subfloors are biological organisms. They breathe. They swell at the seams. When builders leave a house open to the rain before the roof is on, the edges of the OSB panels swell. This creates a ridge at every joint. If you install laminate over these ridges, the planks will teeter like a seesaw. You have to sand those seams down. It is a dusty, miserable job. I smell like oak dust and WD-40 most Fridays because of it. Concrete is no better. Concrete slabs are often poured with a humped center or a curled edge. As the concrete cures, it loses moisture and shrinks. This creates a bowl effect. If you do not check the moisture vapor transmission rate before you level, your compound will pop off the slab in six months. You are not just laying a floor. You are managing a structural interface.
The chemistry of subfloor adhesion and leveling compounds
Self-leveling underlayments rely on sophisticated polymer-modified cement chemistry to create a dense, flat surface. These products use high-flow resins that reduce the surface tension of the liquid, allowing gravity to pull the material into a perfectly flat plane. You must understand the hydration process of these materials. If you add too much water, you kill the compressive strength. The mix becomes brittle. It will crack under the weight of a refrigerator. I always use a spiked roller to release entrapped air. If you leave bubbles in the compound, they become weak points. This is where the physics of the install get technical. The bond between your leveling compound and the slab depends on the Surface Profile (CSP). You cannot just pour leveler over a sealed concrete floor. You have to grind it to open the pores. I use a diamond-cup wheel on an angle grinder. It is loud. It is messy. But it is the only way to ensure the compound does not delaminate. When we talk about showers or wet areas, the stakes are even higher. While you aren’t putting laminate in a shower, the moisture from a nearby bathroom can migrate through a porous slab and attack your floor from below. This is why a moisture barrier is not optional. It is a requirement.
Mechanical preparation of wood and concrete substrates
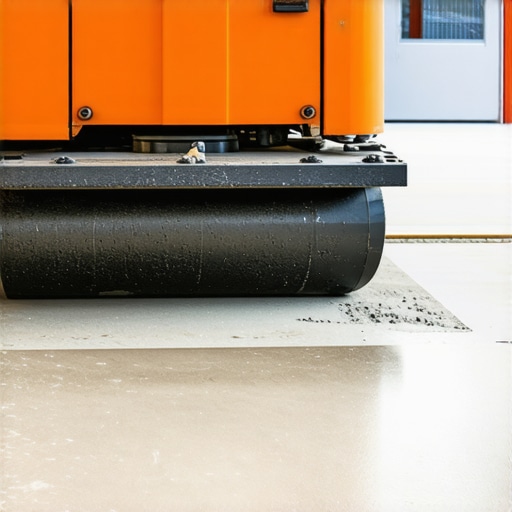
Mechanical leveling involves removing material from high spots rather than just filling low spots. On wood subfloors, this requires a heavy-duty belt sander with 36-grit paper or a power planer for significant humps. For concrete, a floor grinder is mandatory. You have to be a mechanic with sawdust under your nails to do this right. You have to feel the floor. I walk the entire room in my socks. Your feet can feel a 1/16 inch dip that your eyes will miss. Once the high spots are gone, you address the dips. This is where the floor leveling compound comes in. You must prime the subfloor first. If you skip the primer, the thirsty wood or concrete will suck the water out of your leveler too fast. The material will not flow. It will clump. It will be a disaster. I have seen guys try to use carpet install scraps or extra underlayment to fill holes. That is bush-league. It creates a soft spot that allows the laminate to flex. Flexibility is the enemy of the click-lock system. You want a rock-solid, monolithic base. Anything less is just a temporary decoration.
| Subfloor Material | Max Tolerance (10ft) | Moisture Limit (Calcium Chloride) | Recommended Leveling Method |
|---|---|---|---|
| Plywood / OSB | 1/8 inch | 12% MC | Sanding seams and patch compound |
| Concrete Slab | 1/8 inch | 3 lbs / 1000 sqft | Self-leveling cementitious underlayment |
| Existing Tile | 1/8 inch | N/A | Fiber-reinforced leveler after grinding |
| Radiant Heat Slabs | 1/8 inch | Check Mfr. Specs | Heat-rated leveling compounds only |
The ghost in the expansion gap
Laminate flooring is a floating system that requires a 3/8 inch expansion gap around the entire perimeter. This gap allows the floor to expand and contract with changes in humidity without hitting the walls and buckling. I have seen homeowners lock their floor under a heavy kitchen island. They think they are being clever. What they are actually doing is pinning the floor. When the humidity rises, the floor has nowhere to go. It heaves in the middle of the room. It looks like a tent. I call this the ghost in the machine. The floor is trying to move, but you won’t let it. This is why we leave the gap. This is why we use T-moldings in large spans. I hate bulky T-molding as much as the next guy, but I hate a buckled floor more. The NWFA standards are clear on this. You cannot fight the expansion of wood-based products. You will lose every time. The dry heat of a Phoenix summer will shrink your planks until the joints open. The humidity of a Houston summer will swell them until they peak. Your subfloor must be flat so that this movement happens uniformly. If there is a dip, the plank gets caught. It cannot slide. Then it breaks. It is simple mechanical failure.
“Floating floors must be allowed to move as a single monolithic unit; any restriction leads to joint separation.” – NWFA Technical Manual
Precision tools for the master installer
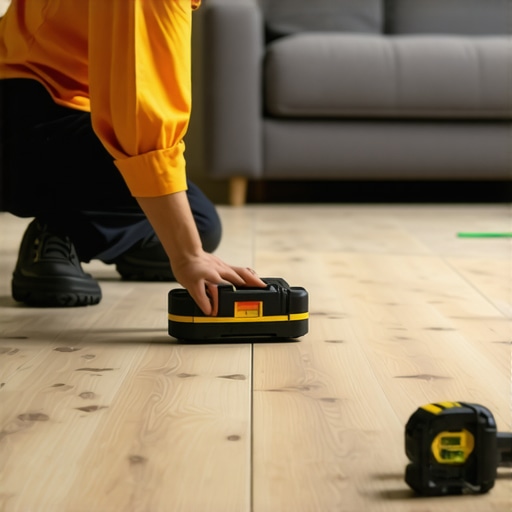
To level a floor professionally, you need a 10-foot straightedge, a rotary laser level, and a moisture meter. These tools remove the guesswork from the equation and provide quantifiable data for the installation. I don’t trust my eyes. I trust my laser. I set the laser in the center of the room and use a target to find the lowest and highest points. I mark them with a pencil right on the floor. 1/4 inch low here. 1/8 inch high there. Then I make a map. This is structural engineering on a micro-scale. People think floor leveling is just dumping a bag of soup on the ground. It is not. It is about managing the topography of the room. You also need a high-quality mixing paddle and a 5-gallon bucket. The mixing speed matters. If you mix too fast, you whip air into the leveler. This creates pinholes. Pinholes are the mark of an amateur. You want a glass-smooth finish. That is how you get a floor that feels solid underfoot. That is how you get a floor that doesn’t sound like a plastic drum when you walk on it.
- Inspect the subfloor for any loose fasteners or squeaks and secure them with deck screws.
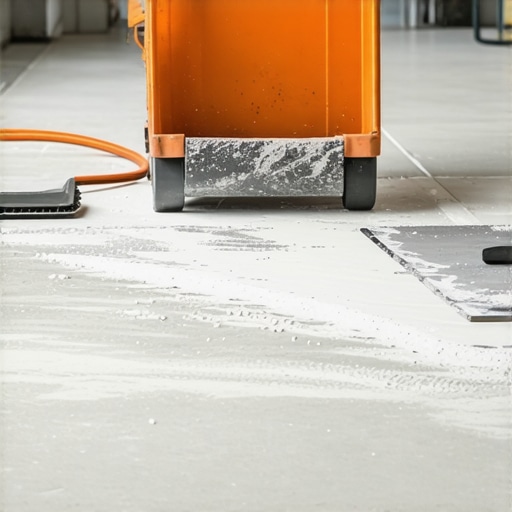
- Sweep and vacuum the entire surface to remove all dust and debris that could break the bond.
- Identify high spots with a 10-foot straightedge and mark them for grinding or sanding.
- Apply a high-solids primer to the substrate to prevent the leveling compound from dehydrating.
- Mix the self-leveling compound according to the manufacturer’s exact water-to-powder ratio.
- Pour the leveler starting at the lowest point and use a gauge rake to spread it evenly.
- Use a spiked roller to remove air bubbles and help the material settle into a flat plane.
- Allow the compound to cure for at least 24 hours before checking flatness again.
- Measure the moisture content of the subfloor to ensure it meets the laminate manufacturer’s requirements.
- Install a 6-mil poly vapor barrier over concrete even if the laminate has an attached pad.
The 1/8 inch that ruins everything
The difference between a professional installation and a failure is often measured in the thickness of two pennies. If you ignore a small dip, the repetitive stress of foot traffic will eventually fatigue the HDF core of the laminate. Laminate is essentially compressed sawdust and resin. It is strong in compression but weak in tension. When the floor bows into a dip, the bottom of the joint is pulled apart. This is tension. The resin cannot hold. The joint cracks. Once that happens, the floor is done. There is no fixing it. You have to tear it out and start over. I have seen people try to inject glue into the joints. It doesn’t work. I have seen them try to put shims under the floor after it is installed. It is a waste of time. Do it right the first time. Level the subfloor. Check your tolerances. Use the right chemistry. Don’t be the guy who thinks ‘good enough’ is enough. In the flooring world, ‘good enough’ usually means I will be back in two years to tear your floor out. I would rather do it once and have it last thirty years. That is the hallmark of a master. That is the architect’s mindset. Your floor is a performance surface. Treat it with the respect it deserves. Stop worrying about the color of the planks and start worrying about the slab they are sitting on. That is the secret to a floor that doesn’t just look good, but actually works.