The ‘Moisture Meter’ Trick for Testing Concrete Before Polyurea Floor Coating
The ‘Moisture Meter’ Trick for Testing Concrete Before Polyurea Floor Coating
You’ve seen the ads: a gleaming, granite-flecked garage floor installed in just one day, promised to last a lifetime. But for many homeowners in McCordsville and Geist, that dream quickly turns into a nightmare of peeling flakes and unsightly bubbles. You walk out to your car, and instead of a premium finish, you see the coating lifting off the concrete like a bad sunburn. What went wrong? In most cases, the culprit isn’t the product – it’s the invisible water hiding inside your slab.
Concrete looks solid, but to a flooring professional, it’s a hard sponge. Even if the surface looks bone-dry, the ground beneath your home is constantly pushing moisture upward. My name is Josh McNair, and at Floor Craft, we’ve seen how the unique Indiana climate – from the high water tables near Geist Reservoir to the heavy clay soils of McCordsville – can sabotage a polyurea floor coating before the installers even leave the driveway. The secret to a floor that actually lasts is what I call the “Moisture Meter” trick. It’s the difference between a high-performance architectural finish and a temporary paint job that will fail in two seasons.
Why Moisture is the “Silent Killer” of Garage Floor Coatings
To understand why your garage floor coating might fail, you have to understand the science of concrete. Concrete is a porous material characterized by a network of microscopic capillaries. Through a process called capillary action, moisture from the soil travels upward through the slab. This movement is measured as the Moisture Vapor Emission Rate (MVER).
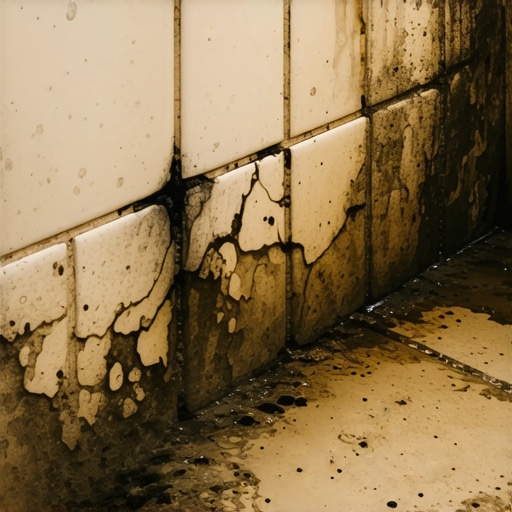
When we apply a non-breathable polyaspartic garage floor coating or a traditional epoxy resin flooring, we are essentially placing a lid on that “sponge.” If the MVER is too high, that moisture has nowhere to go. As the water vapor reaches the underside of the coating, it builds up pressure. This is known as hydrostatic pressure. Eventually, the pressure becomes so great that it forces the coating away from the concrete, leading to what we call osmotic blistering.
In the Geist area, where many homes sit near the water, the hydrostatic pressure can be significantly higher than in other regions. If an installer ignores this, the bond between the concrete coatings and the slab will eventually snap. This is why prep work is 90% of the job. Without testing, you are simply guessing. For more information on how the condition of your slab affects other home installations, check out our guide on Why Your Garage Door Installation Will Fail Without a Level Concrete Floor.
The ‘Moisture Meter’ Trick: How Professionals Actually Test
So, how do we know if a floor is safe to coat? Professionals use a combination of high-tech tools and “old-school” field tests to get a complete picture of the slab’s health. The “trick” isn’t just owning the tool; it’s knowing where and when to use it.
The Tramex Concrete Moisture Meter
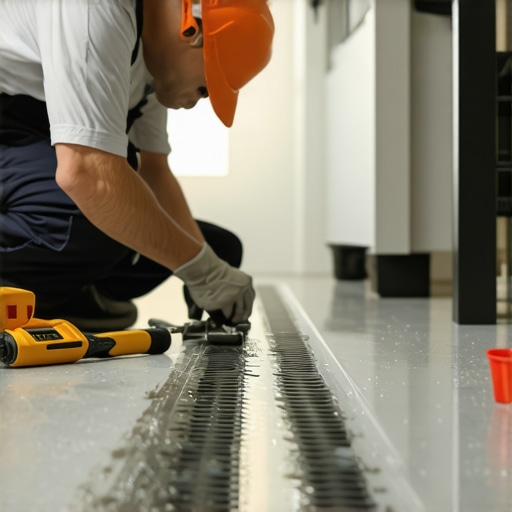
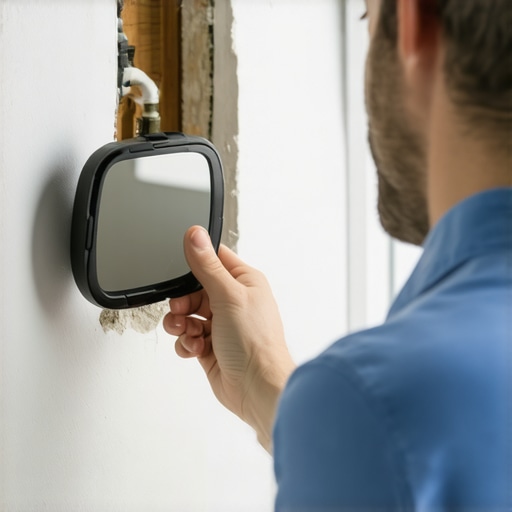
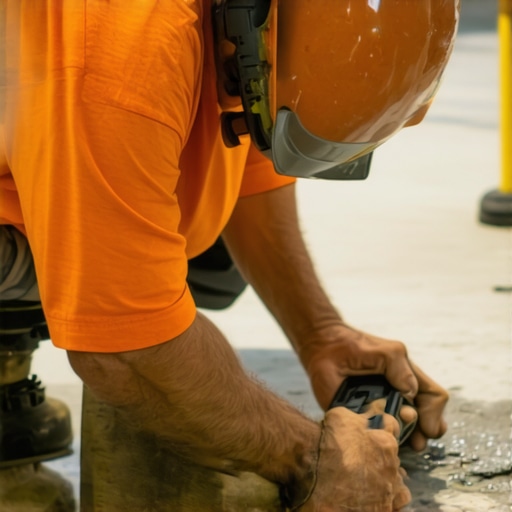
The gold standard in the industry is the Tramex concrete moisture meter. This is a non-destructive impedance meter that provides instant readings of the moisture content in the top 3/4 inch of the slab. We don’t just test one spot; we “map” the garage. We look for “hot spots” near the garage door (where rain and snow blow in) and near any floor drains or expansion joints where water might seep in from the sides.
The ASTM D4263 Plastic Sheet Test
While electronic meters are great, we often back them up with the “Plastic Tape Trick,” formally known as the ASTM D4263 standard. This is a simple but incredibly effective way to see moisture movement in real-time. Here is how you can do it yourself:
- Clean the Area: Find a 2×2 foot section of the floor that looks the most “suspicious” (usually a darker patch of concrete). Scrub it clean of any oils or dust.
- Seal the Poly-Film: Take a square of clear polyethylene plastic and tape all four edges down tightly to the concrete using high-quality duct tape or vapor-barrier tape. You want an airtight seal.
- Wait 24 to 48 Hours: Leave the plastic in place. If, after two days, you see condensation on the underside of the plastic or if the concrete underneath has turned a darker shade of gray, you have a moisture problem.
If your floor fails the plastic sheet test, it means the MVER is too high for a standard polyurea floor coating without a specialized primer. This is a crucial step that many “1-day” companies skip because it requires two trips to your house before they even start grinding. To learn more about testing the physical properties of your slab, read about The ‘Spray Bottle’ Secret for Testing Your Subfloor Porosity.
Beware the “Moisture Meter Scam” in 1-Day Polyurea Installations
There is a growing trend in the garage flooring industry that homeowners need to be wary of. Many national franchises promise a “1-day” installation. To hit that deadline, they have to move fast. This speed often comes at the expense of proper moisture testing.
The “Moisture Meter Scam” works like this: A contractor arrives, does a quick visual check, and starts grinding. They don’t perform an ASTM D4263 test because it takes 24 hours. They might not even pull out a Tramex meter. However, if the floor peels six months later, they return with a moisture meter, point to a high reading, and tell the homeowner, “Your slab has too much moisture; this is an environmental issue not covered by our warranty.”
Standard industry limits for most concrete coatings are 3 lbs of MVER per 1,000 square feet over 24 hours. A professional contractor should know the moisture levels before they mix the product. At Floor Craft, if we see a reading above the safe threshold, we don’t just walk away or “hope for the best.” We pivot to a Moisture Vapor Barrier (MVB) primer. This specialized epoxy is designed to withstand up to 20 lbs of pressure, creating a literal dam against the water so your topcoat stays beautiful for decades.
Polyurea vs. Epoxy: Which Handles Indiana Moisture Better?
In McCordsville and Geist, our weather is a rollercoaster. We have humid summers and freezing winters. This freeze-thaw cycle causes concrete to expand and contract. This is where the debate between polyaspartic garage floor coating and epoxy resin flooring gets interesting.
The Case for Polyurea/Polyaspartic
Polyurea is technically a subgroup of polyurethane. It is incredibly flexible – up to 300% more flexible than epoxy. This means when the concrete shifts during an Indiana winter, the coating stretches instead of cracking. It is also UV stable, meaning it won’t yellow if your garage door is left open in the sun. However, polyurea is very sensitive to moisture during the application phase. If there is moisture on the surface, the polyurea can flash-cure or fail to bond.
The Case for Epoxy
Traditional epoxy is a “workhorse.” While it is more brittle and can yellow in the sun, certain “moisture-tolerant” epoxies are better at biting into damp concrete than polyurea. This is why we often use a hybrid system: a moisture-blocking epoxy primer followed by a polyaspartic topcoat. This gives you the best of both worlds – the moisture resistance of epoxy and the durability/UV stability of polyurea.
In regions like Geist, where the water table is high, choosing the right chemistry is vital. A 100% polyurea system might be the wrong choice for a damp slab, whereas a hybrid system would be bulletproof. Understanding the thermal properties of your home is also important; for instance, you might wonder Why Your Kitchen Floor Feels Cold and How to Fix It, which often relates back to the same slab insulation and moisture issues we see in garages.
Beyond the Garage: Patios and Pool Decks
The “Moisture Meter” trick isn’t just for garage flooring. In fact, it is even more critical for concrete patio coatings and coating for concrete pool decks. Outdoor concrete is constantly bombarded by moisture from above (rain) and below (groundwater saturation).
When we treat a pool deck in McCordsville, we have to account for the fact that the soil around a pool is often perpetually damp. A standard concrete sealer might only last a year before it needs reapplication. For a more permanent and aesthetic solution, many homeowners are looking at metallic epoxy floor finishes for their enclosed patios or “three-season” rooms. These floors offer a stunning, marble-like appearance but require absolute precision in moisture testing. Because metallic pigments are suspended in thick layers of resin, any moisture vapor trying to escape will create massive bubbles that are very difficult to repair.
For outdoor spaces, we often recommend a breathable penetrating sealer if the moisture levels are too high for a full coating, or a high-solids polyaspartic system with an anti-slip additive for safety around the pool.
Troubleshooting and Preparation: What if the Test Fails?
If we perform the moisture meter trick and find that your McCordsville garage is “running hot” (high moisture levels), don’t panic. It doesn’t mean you can’t have a beautiful floor; it just means we have to change the strategy. Here is how we handle high-moisture slabs:
- Dehumidification: In some cases, running industrial dehumidifiers in the garage for 48-72 hours can pull enough surface moisture out to allow for a safe installation.
- Wait for the Season: Indiana’s clay soil holds water long after the spring rains. Sometimes, simply waiting until the dry late-summer months can lower the MVER to acceptable levels.
- Moisture Vapor Barrier (MVB): This is the most common professional solution. We apply a specialized epoxy primer designed to penetrate deep into the pores and chemically block moisture vapor. This adds a bit of cost to the project, but it is the only way to guarantee a bond on a high-moisture slab.
- Mechanical Preparation: We use diamond grinding to open the pores of the concrete. This not only helps the coating stick but also allows any “trapped” moisture near the surface to escape before we seal it.
Proper preparation is the secret to making any flooring material last. For those looking at interior projects, you might find our article on The Secret to Making Floor Leveler Stick to Old Concrete Subfloors helpful, as many of the same bonding principles apply.
Conclusion: Don’t Skip the Prep
The “Moisture Meter” trick isn’t just about a fancy tool or a piece of plastic tape. It’s about a commitment to quality. At Floor Craft, we believe that a polyurea floor coating should be a one-time investment for your home. Whether you are looking to upgrade your garage, protect your concrete patio coatings, or create a show-stopping metallic epoxy floor, the foundation of your success is a dry, prepared slab.
Don’t fall for the “1-day” marketing trap if it means skipping the essential testing phase. If a contractor isn’t talking to you about MVER, hydrostatic pressure, or ASTM testing, they aren’t looking out for your long-term interests.
Don’t guess – test. Contact Josh McNair at Floor Craft today for a professional moisture assessment. We serve the entire McCordsville and Geist area, and we would be happy to provide a free on-site moisture evaluation of your garage or patio floor to ensure your investment lasts a lifetime.