The Flashlight Trick for Checking Floor Leveler Flatness
Shadows tell the truth your eyes miss
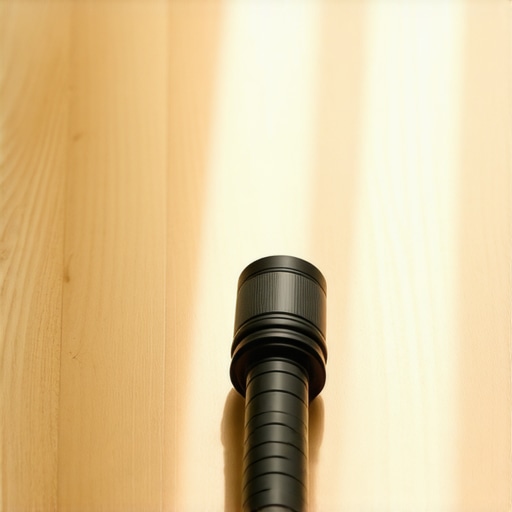
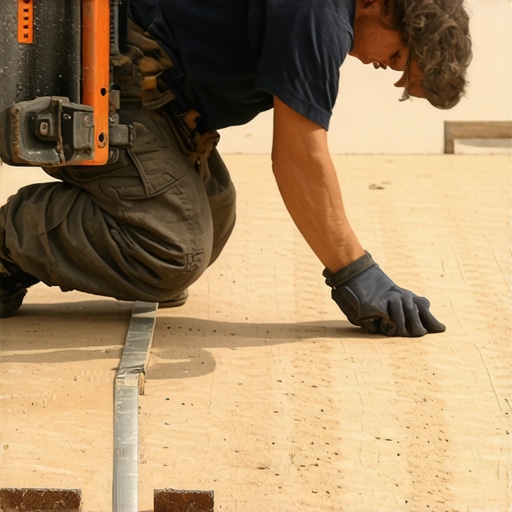
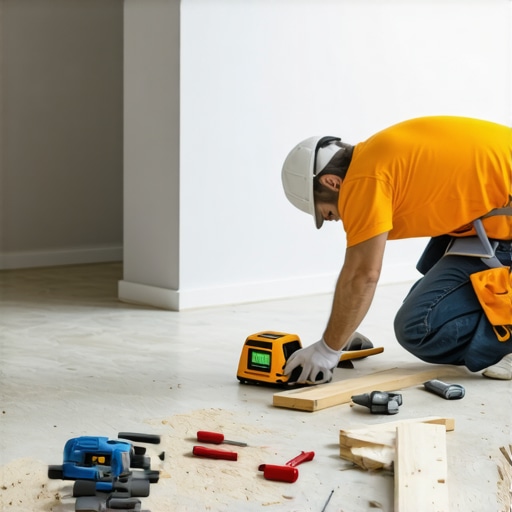
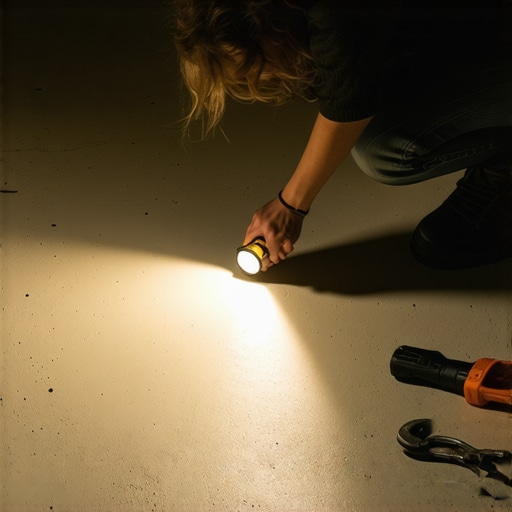
Self-leveling underlayment requires a surface flat to within 1/8 inch over 10 feet. The flashlight trick uses low-angle light to project shadows in subfloor dips, identifying where patching compounds or grinding are necessary for a stable laminate or tile installation. Most guys skip the leveling compound. They think the underlayment will hide the dip. It won’t. I spent three days grinding concrete on a job last month just so the floor wouldn’t click like a castanet. That job smelled like WD-40 and oak dust, but the result was a slab that was as flat as a sheet of glass. Most homeowners think a floor is just what they walk on, but for me, it is an engineered system where the bond between the substrate and the finish material is everything. When you ignore a 1/4 inch dip in a concrete slab, you are essentially building a bridge that is designed to collapse. Every time you step on a laminate plank over a void, the locking mechanism flexes. Eventually, that plastic or HDF tongue will snap. Once it snaps, the floor is dead. I have seen fifteen thousand dollar wide-plank walnut floors ruined because the installer was too lazy to get on his knees with a straightedge.
Why your subfloor is lying to you
Subfloor flatness is different from floor levelness because a floor can be tilted but still perfectly flat. Using a digital level or laser level helps establish the plane, but the flashlight test reveals the microscopic peaks and valleys that cause laminate floor failure or tile cracking. You can have a room that is perfectly level according to a bubble, but if there is a hump in the middle, your flooring is going to fail. I always tell my apprentices that gravity is the only tool that never lies. If you pour water, it finds the low spot. If you use a high-lumen flashlight, the light rays cannot bend around a hump. They cast a long, dark shadow behind any protrusion. This is the structural reality of flooring. We are dealing with tolerances that allow for almost zero deflection. If you are installing natural stone, the deflection limit is L/720, which means the floor can barely move at all. If your subfloor has a dip, the mortar under the tile will eventually let go, and you will hear that hollow sound every time you walk across the room. It drives me crazy when I see builder-grade shortcuts where they just throw down some 1/4 inch luan and pray for the best. That is not craftsmanship, it is a ticking time bomb.
“A floor is only as good as the subfloor beneath it; deflection is the enemy of every joint.” – Master Flooring Axiom
The chemical bond that holds your home together
Calcium aluminate cement in modern self-leveling underlayments provides a faster cure and higher compressive strength than traditional Portland cement. Understanding the chemical hydration process is vital because if the concrete primer is not applied correctly, the leveler will delaminate from the subfloor, leading to a total flooring failure. When I am preping a slab, I am looking at the Concrete Surface Profile, or CSP. A smooth, power-troweled slab is actually your enemy. It is too slick. The leveler needs something to bite into. I usually want a CSP of 2 or 3, which feels like 80-grit sandpaper. If the slab is too smooth, I am bringing out the diamond grinder. You have to open the pores of that concrete. If you don’t, the leveler just sits on top like a pancake. Then, when the humidity changes or the house settles, that bond breaks. You will hear a crunching sound under your luxury vinyl plank. That is the sound of your money turning into dust. I use a high-quality acrylic primer that stays tacky. It creates a bridge between the old concrete and the new leveler. It is a molecular handshake that ensures the two surfaces become one. Without that primer, the leveler will suck the moisture out of the mix too fast, causing shrinkage cracks. You might think you can skip it, but I have seen leveler curl up like a dried leaf because the installer thought he knew better than the manufacturer.
The 1/8 inch that ruins everything
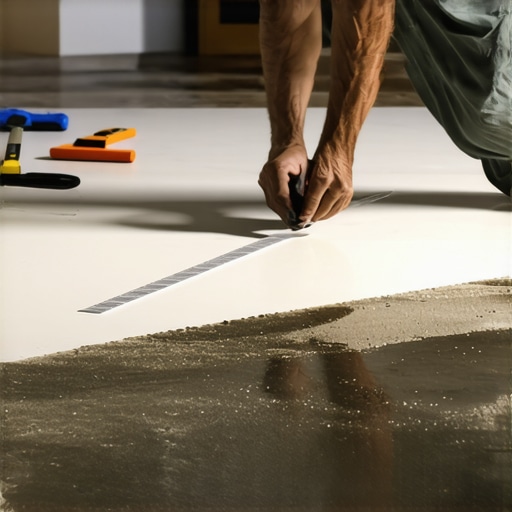
Laminate flooring and engineered hardwood manufacturers specify a flatness tolerance of 1/8 inch over 10 feet to prevent locking system stress. If a subfloor dip exceeds this, the underlayment will compress too much, causing the planks to separate or the joints to squeak during carpet install or hard surface transitions. One thing people get wrong is the underlayment. They think if they buy the thickest, squishiest foam, it will hide the bumps. While most people want the thickest underlayment, too much cushion actually causes the locking mechanisms on LVP to snap under pressure. You need a high-density underlayment that has a high compression strength. Think of it like this. If you put a piece of glass on a mattress and step on it, the glass breaks. If you put that same glass on a concrete floor, it stays solid. Your flooring is the glass. The subfloor is the foundation. If the foundation is soft or uneven, the top layer is going to fail. This is why I am so obsessed with the flashlight trick. I put my 10-foot box beam level down, and I shine my light from the other side. If I see light leaking under that beam, I know I have work to do. I mark the low spots with a pencil. I circle the high spots. Then I get to work with the feather finish or the grinder. It is tedious, back-breaking work, but it is the difference between a floor that lasts 30 years and one that lasts three.
| Material Type | Flatness Tolerance (per 10ft) | Acclimation Time | Required Subfloor |
|---|---|---|---|
| Laminate Planks | 1/8 inch | 48 Hours | Plywood or Concrete |
| Solid Hardwood | 3/16 inch | 7-14 Days | CDX Plywood |
| Ceramic Tile | 1/8 inch | None | Cement Backer Board |
| Luxury Vinyl (LVP) | 3/16 inch | 24 Hours | Flat Slab |
Modern levelers and the myth of self-spreading
Self-leveling compounds are not truly self-spreading and require a gauge rake and spiked roller to achieve the desired flatness. The viscosity of the mix is determined by the water-to-powder ratio, which must be measured with a graduated cylinder to ensure the compressive strength reaches the necessary 4,000 PSI for commercial flooring. I see guys all the time who just eyeball the water. They dump a bag in a bucket and stick a paddle in it. That is a recipe for disaster. If you add too much water, the polymers separate and rise to the top. You end up with a chalky, weak surface that will crumble under your hardwood floor. If you use too little water, the stuff won’t flow, and you will end up with ridges that are harder than granite once they dry. You have about 15 to 20 minutes of working time before the stuff starts to set. You need a plan. You need a helper. One guy mixes, the other guy pours. And you better have that spiked roller ready to go. The roller breaks the surface tension and helps the air bubbles escape. If you leave those bubbles in there, you will have a floor full of pinholes. It looks like the surface of the moon. For showers, you aren’t even looking for level. You are looking for a specific pitch. 1/4 inch per foot. That is where the skill really comes in. You aren’t just pouring leveler, you are sculpting a slope. If you miss that pitch, the water doesn’t drain. Then you get mold. Then you get a phone call from an angry homeowner at 7 AM. I avoid those calls by doing it right the first time.
- Check the subfloor moisture content using a calcium chloride test.
- Vacuum every speck of dust before applying the primer.
- Use a 10-foot straightedge to identify high and low points.
- Set the flashlight at a 5-degree angle to the floor surface.
- Mix the leveler with a high-torque drill to avoid air entrainment.
- Apply the leveler in continuous pours to maintain a wet edge.
Moisture is the silent killer of floor levelers
Concrete moisture vapor emission rate (MVER) must be tested before applying any leveling agent or laminate underlayment. High alkalinity and moisture will cause adhesive failure and can lead to mold growth under the finished flooring material, even in products labeled as waterproof. People see the word waterproof on a box of LVP and they think they are safe. That word only applies to the plank itself. It does not apply to the subfloor. If you have moisture coming up through your slab, it has nowhere to go. It gets trapped under the vinyl. Then it starts to smell. Then the edges of the planks start to lift because the pressure of the vapor is pushing them up. I always use a moisture barrier. I don’t care if the manufacturer says it is optional. In my world, it is mandatory. I use a 6-mil poly film at a minimum. If the slab is really wet, I am looking at an epoxy-based moisture mitigation system. This is a heavy-duty coating that literally seals the concrete. It is expensive, but it is cheaper than replacing a whole floor. I remember a job in a basement where the homeowner insisted on carpet install without a vapor barrier. Six months later, the whole place smelled like a swamp. I had to rip out the carpet, the pad, and the tack strips. Everything was rotted. We ended up leveling the floor with a moisture-resistant compound and putting down a high-end vinyl. It has been ten years and that floor hasn’t budged. That is why you trust the guy who has been on his knees for twenty years. I have seen what happens when you cut corners. It isn’t pretty.
“Water follows the path of least resistance, but it always finds the low spot in a bad installation.” – Tile Council Standards
Final verdict on the flashlight method
Substrate preparation is the most important part of any flooring project, and the flashlight trick is the most reliable way to verify a flat surface. By identifying floor dips and high spots early, you ensure the structural integrity of the laminate, hardwood, or tile installation, preventing future squeaks and cracks. This isn’t about being picky. This is about physics. If the floor isn’t flat, the material will move. If the material moves, it will fail. It is that simple. I take pride in my work because I know that when I leave a job, that floor is solid. I don’t use builder-grade materials and I don’t use builder-grade techniques. I use the tools and the methods that have been proven over decades of NWFA and TCNA research. So next time you see a guy with a flashlight on his belly in a dark room, don’t laugh. He is the only one who really knows if your floor is going to stay put. He is checking the shadows. He is looking for the 1/8 inch that ruins everything. He is making sure that your investment is protected. And that is what a master installer does. We see the things that you don’t. We fix the problems before they become disasters. We understand the chemistry of the glue and the physics of the joists. We aren’t just laying floor. We are building a foundation for your life. And that foundation starts with a flat subfloor and a bright light.