The ‘Flashlight Test’ for Catching High Spots in Your Subfloor
I spent three days grinding concrete on a job last month just so the floor would not click like a castanet. Most guys skip the leveling compound. They think the underlayment will hide the dip. It will not. I walked onto that site and the homeowner was proud of the price he got from a cut-rate crew. I took one look at the slab and knew we were in trouble. The dust of a thousand sins was about to be unleashed as I fired up the diamond grinder. You could see the ridges from the original pour like waves in the ocean. If we had laid that laminate over those humps, the locking mechanisms would have snapped within six months. I do not care how expensive your flooring is. If the subfloor is trash, your investment is trash. I have spent twenty-five years on my knees with a moisture meter and a level. I smell like WD-40 and oak dust most days, and I have learned that gravity never sleeps. It will find every void and every high spot in your room. Your floor is a performance surface, not a decoration. You need to treat it like a structural engineering challenge. [IMAGE_PLACEHOLDER]
Why your subfloor is lying to you
Subfloor flatness is the most overlooked variable in residential construction and floor leveling projects. High spots and birdbaths create structural voids that cause laminate, vinyl plank, and hardwood to flex beyond their engineered limits. Proper subfloor preparation requires achieving a tolerance of 1/8 inch over a 10 foot radius. The reality of a construction site is that concrete finishers are often rushed. They pull their screeds and move on to the next pour. This leaves behind a landscape of microscopic peaks and valleys. When you look at a floor from a standing position, it looks flat. Your brain wants it to be flat. But the physics of a click-lock floor require a stable, rigid plane. When a plank spans a dip, it becomes a bridge. Every time you walk over that bridge, the tongue and groove joint flexes. Eventually, the friction causes the material to fatigue. The joint opens up. Dirt gets in. Moisture gets in. The floor fails. This is why the flashlight test is not just a trick, it is a requirement for anyone who gives a damn about their work.
The physics of the flashlight test
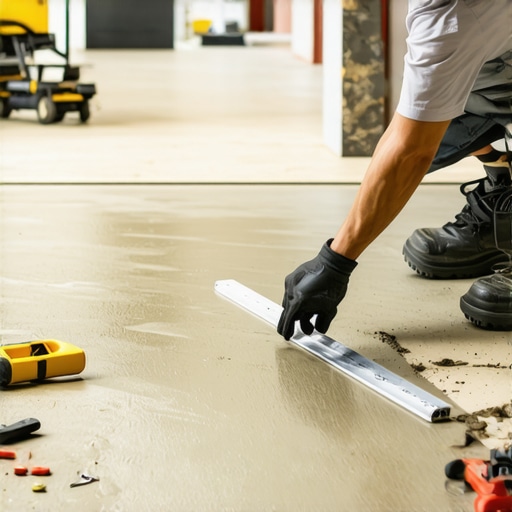
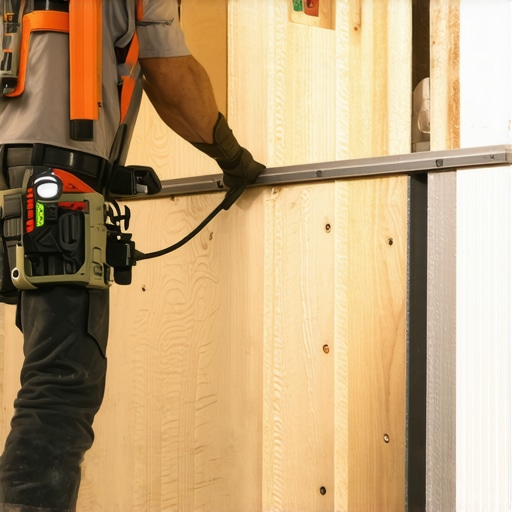
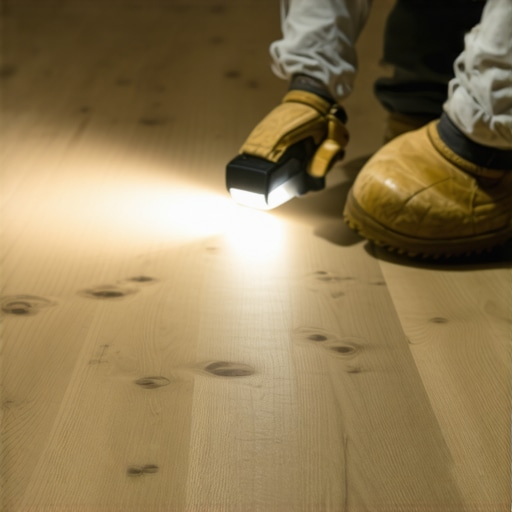
The flashlight test uses a low angle light source to reveal subfloor imperfections through grazing illumination. By placing a high-lumen LED light directly on the floor surface, shadows are cast by high spots and light passes under straightedges to highlight low spots. This method identifies floor leveling needs. You need a dark room and a powerful light. If the sun is streaming through the windows, you will see nothing. Close the blinds. Turn off the overheads. Take a professional-grade LED flashlight and lay it flat on the subfloor. You are looking for shadows. A high spot will cast a long, dark shadow across the room. It is the same principle as the sun hitting the mountains at sunset. You can see every ridge and every crater. Once you identify the shadow, you take your 10-foot straightedge and lay it across the peak. If the straightedge rocks, you have a hump. If you see light bleeding under the straightedge, you have a dip. Most people think a 1/4 inch dip is fine. It is not fine. If you are installing a rigid core LVP, that 1/4 inch is a death sentence for your floor joints.
“A floor is only as good as the subfloor beneath it; deflection is the enemy of every joint.” – Master Flooring Axiom
Why laminate and vinyl plank demand perfection
Modern click-lock flooring materials like laminate and luxury vinyl plank require a flat subfloor to maintain the integrity of their mechanical locking systems. High spots create pressure points that lead to plank separation and snapping tongues. Floor leveling ensures the wear layer remains consistent across the entire surface. The manufacturing tolerances of these floors are incredibly tight. We are talking about fractions of a millimeter. When you have a high spot, the plank is forced to bend over it. This puts the top of the joint under tension and the bottom under compression. Over time, the core of the plank, whether it is high-density fiberboard or a stone plastic composite, will begin to crumble. This is why you hear that annoying clicking sound when you walk. It is the sound of your floor dying. People try to fix this by using a thicker underlayment. That is a mistake. While most people want the thickest underlayment, too much cushion actually causes the locking mechanisms on LVP to snap under pressure. You want a firm, flat base, not a trampoline.
When the subfloor ruins the shower pan
Subfloor leveling in wet areas like showers is critical for proper drainage and waterproof membrane adhesion. A high spot in a shower subfloor can prevent the pre-pitched pan from sitting flush, leading to pooling water and eventual structural rot. Leveling compounds must be compatible with waterproofing systems. I have seen guys try to install a tile shower over a subfloor that was wavy. They think the thin-set will take up the slack. It won’t. Thin-set is an adhesive, not a filler. If the subfloor is not flat, your tiles will have lippage. You will be stubbing your toe on the edge of a tile every time you go to wash your hair. Even worse, if the subfloor has a hump under the shower drain, the water will never fully exit the pan. It will sit there, grow mold, and eventually eat through your framing. In a shower, you are not just looking for flat, you are looking for a perfect plane that respects the pitch. You use the flashlight test on the bathroom floor before you ever think about thin-set.
“Subfloor flatness must be within 1/8 inch over 10 feet for most large format tile installations.” – TCNA Handbook Standards
Concrete grinding and the dust of a thousand sins
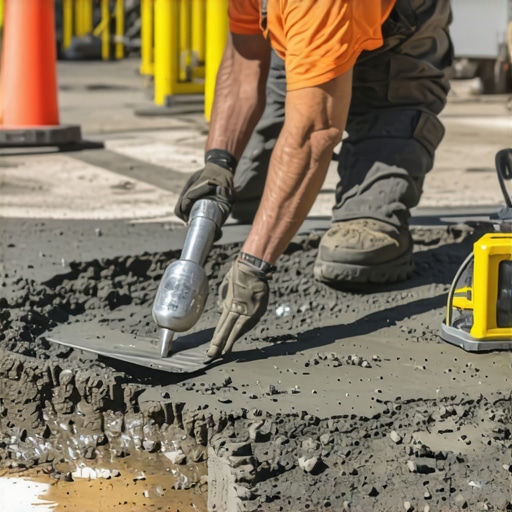
Correcting high spots in a concrete subfloor usually involves mechanical grinding using diamond-impregnated pads. This process removes the top layer of laitance and humps to create a level surface for floor leveling compounds. Proper dust extraction is mandatory to maintain air quality and site cleanliness. Grinding concrete is a brutal job. It is loud, it is messy, and it is hard on your back. But it is the only way to do it right. When I find a high spot with my flashlight, I circle it with a lumber crayon. I don’t just guess. I mark the boundaries. Then I get the grinder out. You have to be careful not to create a new hole. You want to feather the edges out so the transition is imperceptible. If the high spot is significant, you might have to grind down half an inch. This is where you see the quality of the concrete. Sometimes you hit a piece of rebar that was set too high. Sometimes you find a pocket of air. You deal with it. You fill the voids, you grind the humps, and you check your work with the flashlight again. It is a cycle of verify and correct.
| Subfloor Type | Max Deviation (10ft) | Correction Method | Acclimation Time |
|---|---|---|---|
| Concrete Slab | 1/8 inch | Grinding / Self-Leveler | 72 Hours |
| Plywood / OSB | 3/16 inch | Sanding / Shimming | 48 Hours |
| Shower Pan Base | 1/16 inch | Pre-slope mortar | 24 Hours |
| Carpet Subfloor | 1/4 inch | Plywood Overlay | None |
How to fix the dips that the flashlight found
Filling low spots in a subfloor requires a high-compressive-strength floor leveling compound or a specialized patching mortar. The substrate must be primed to ensure a chemical bond between the old surface and the new leveling material. This prevents delamination under the finished floor. Once you have handled the high spots, you have to tackle the birdbaths. These are the low spots where the flashlight beam disappears under the straightedge. I use a high-quality primer first. If you skip the primer, the dry concrete will suck the moisture out of your leveler too fast. It will crack and pull away. I pour the leveler and use a spiked roller to get the air bubbles out. You want a smooth, glass-like finish. People ask me why I spend so much on premium leveler. It is because the cheap stuff shrinks. If it shrinks, you are right back where you started with a dip in the floor. You want a product with a high PSI rating that can handle the weight of furniture without crushing.
- Clear the room of all debris and vacuum the subfloor twice
- Place the LED light at floor level and sweep the beam slowly
- Mark every shadow boundary with a red lumber crayon
- Lay a 10-foot straightedge across the marked areas to confirm height
- Use a diamond grinder for humps and a self-leveler for dips
- Re-test the entire surface once the materials have cured
The acoustic impact of subfloor air gaps
Air gaps between a finished floor and a subfloor act as echo chambers that amplify footfall noise and impact sounds. Floor leveling eliminates these gaps, significantly improving the Sound Transmission Class (STC) and Impact Insulation Class (IIC) ratings of the home. This is vital for multi-family dwellings. If you have ever lived in an apartment where the person above you sounds like they are wearing lead boots, it is likely because of a poor subfloor. When a floor is not flat, the planks do not sit flush. Every step forces air out of the gap and creates a drum effect. This is why even the best underlayment cannot save a bad subfloor. The sound waves travel through the void and vibrate the joists. By using the flashlight test and leveling the floor, you are effectively soundproofing your home. You are creating a solid, monolithic mass that absorbs energy rather than reflecting it. It is the difference between a high-end luxury feel and a cheap, hollow-sounding remodel. Don’t be the guy who ignores the science of acoustics because he was too lazy to buy a bag of leveler.