How to Find the Leak Under Your Shower Drain Without Tearing Up Tile
I spent three days grinding concrete on a job last month just so the floor wouldn’t click like a castanet. That is the kind of precision most people ignore. I have seen fifteen thousand dollar wide-plank walnut floors turn into potato chips because a tiny shower leak was allowed to migrate through the subfloor for six months. Most guys walk into a bathroom with a sledgehammer at the first sign of a damp spot. They want to tear it all out. They want the big contract. But I have spent twenty five years on my knees with a moisture meter and I know that the floor is a performance surface. It is a structural engineering challenge. You do not always need to destroy the beauty to find the beast. You need to understand the physics of water and the chemistry of the seals.
The invisible river under your bathroom floor
Finding a leak under a shower drain involves using non-destructive methods like hydrostatic testing, thermal imaging, and moisture meters. These tools allow an installer to identify if the failure exists in the drain flange, the waterproofing membrane, or the plumbing lines. You must isolate the variables by testing the drain independently of the shower walls. A leak is rarely a mystery if you follow the path of least resistance. Water obeys the laws of gravity and capillary action. It will travel along a floor leveling compound or sit under a laminate transition strip until the wood rot becomes visible. I have seen carpet install jobs ruined in adjacent rooms because a shower pan was weeping into the subfloor for years. The subfloor is the foundation of everything. If that fails, your expensive tile is just a pretty mask on a rotting face.
“A floor is only as good as the subfloor beneath it; deflection is the enemy of every joint.” – Master Flooring Axiom
The plug test that saves ten thousand dollars
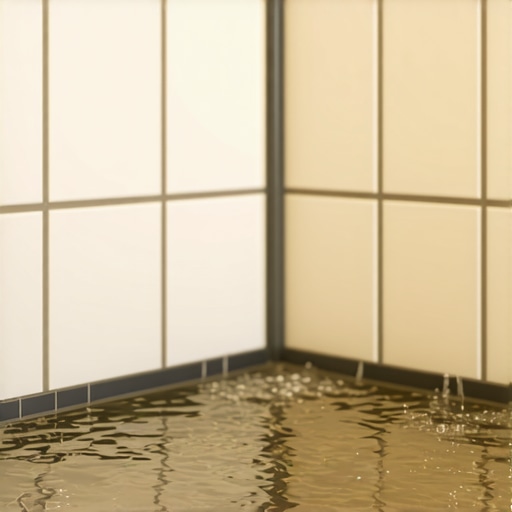
A hydrostatic test is the most effective way to confirm a shower pan leak without removing a single tile. You buy a rubber expansion plug from the hardware store and seal the drain pipe completely. Then you fill the shower base with water up to an inch below the curb. Mark the water level on the tile with a grease pencil. Wait twenty four hours. If that water level drops and you have no visible leaks at the drain neck, your pan membrane is the culprit. This is the moment of truth. If the water stays put, the problem is in the drain assembly itself or the plumbing above the floor. I have seen homeowners cry with relief when they realize the leak is just a loose compression nut and not a cracked pan. This test isolates the horizontal surface from the vertical drainage system. It is simple physics.
| Tool | Detection Method | Precision Level |
|---|---|---|
| Borescope | Visual Fiber Optic | High |
| Moisture Meter | Electrical Impedance | Medium |
| Thermal Camera | Infrared Signature | High |
| Dye Testing | Visual Tracking | Maximum |
Thermal imaging reveals the thermal bridge
Infrared cameras detect temperature variations that indicate moisture accumulation behind tile and under the subfloor. Wet materials hold heat differently than dry ones. By running the hot water for ten minutes and then scanning the floor and ceiling below, you can see the thermal signature of the leak spreading. It looks like a dark bloom on the screen. This is how you find the leak that only happens when the water is running. I used a FLIR camera last week to find a pinhole leak in a P-trap that was soaking the floor leveling compound under a nearby laminate floor. The owners thought the laminate was just cheap. It was not cheap. It was just drowning. The camera does not lie. It sees the evaporative cooling that your eyes miss. It turns the subfloor into a transparent map of failure.
Why your grout is a porous sponge
Grout is not waterproof and will allow moisture to reach the substrate if the underlying membrane is compromised. People think grout is a seal. It is not. It is a filler. Water moves through grout via capillary action, which is the ability of a liquid to flow in narrow spaces without the assistance of external forces. If your installer used a cheap modified thin-set or skipped the waterproofing, that water sits on the subfloor. This is where the chemistry of adhesives matters. A high-quality polymer-modified mortar creates a better bond, but it still cannot stop a leaking drain. I have pulled up carpet in bedrooms adjacent to bathrooms where the tack strip was black with mold because the grout was sucking up water like a wick. You need to check the perimeter of the drain for tiny cracks where the grout meets the metal flange. That is a prime entry point for disaster.
The chemical bond of the drain flange
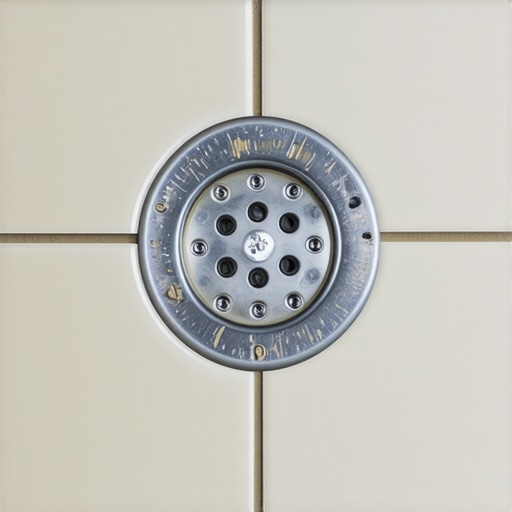
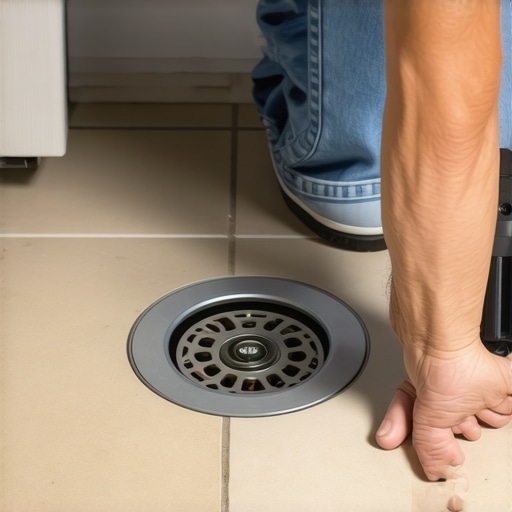
Leaking shower drains often fail at the connection point between the PVC or cast iron pipe and the drain body. Over time, the plumber’s putty dries out or the silicone bond breaks due to floor deflection. If your subfloor has too much flex, the drain assembly moves every time you step in the shower. This movement snaps the chemical weld of the solvent cement or creates a gap in the compression gasket. I always tell people to check the locknut under the shower. If you can access the drain from a crawlspace or the floor below, look for water tracking down the outside of the pipe. This usually means the internal gasket has failed. This is a five dollar fix that saves a five thousand dollar tile job. You do not need to be an architect to see a drip. You just need to be willing to get your hands dirty in the crawlspace. I have smelled enough damp earth and floor wax to know when a seal is gone before I even see it.
- Block the drain with a rubber test plug.
- Fill the shower base with two inches of water.
- Mark the water line with a pencil or tape.
- Wait twenty four hours for the level to drop.
- Check the ceiling below for fresh dampness or stains.
- Use a moisture meter around the bathroom perimeter.
Gravity always wins against poor plumbing
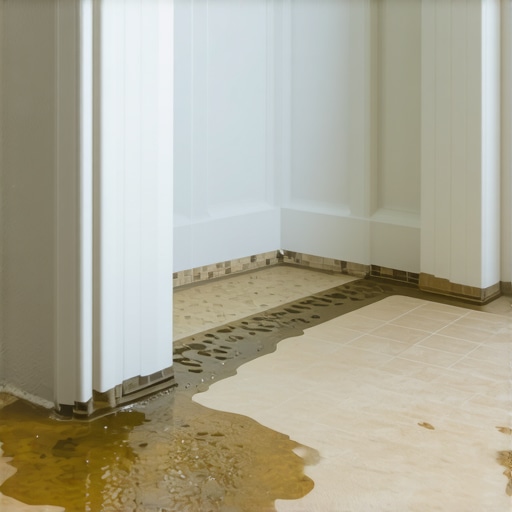
Water will always find the lowest point in your subfloor, which often leads to leaks appearing far from the actual source. I once worked on a house where the water was dripping in the kitchen, but the leak was in a second floor shower ten feet away. The water was running along a floor joist. This is why you must be a detective. You look for the white efflorescence on the grout lines or the bubbling of the paint on the baseboards. If you have a laminate floor nearby, look for peaking. Peaking is when the boards push against each other and rise at the seams. This is a classic sign of high humidity coming from beneath the floor. In a carpet install, look for a musty smell that does not go away after cleaning. The subfloor is a giant sponge. It will hold that water until the wood fibers literally disintegrate. I have seen 3/4 inch plywood turn into wet cardboard in a matter of weeks.
“The integrity of the drain assembly is the heartbeat of the shower system; when it skips, the whole body suffers.” – TCNA Technical Manual Reference
Checking the weep holes for clogs
The weep holes in a traditional three-piece shower drain are designed to let moisture escape into the plumbing, but they often become clogged with thin-set. If these holes are blocked, water stays trapped in the mud bed. Eventually, that water finds a way out through the subfloor or the walls. This is a failure of the installation process. When I install a floor, I make sure those weep holes are protected with crushed stone or a specialized guard. If you suspect a leak, you can sometimes clear these holes with a small wire after removing the drain grate. It is a precision task. It requires patience and a steady hand. If you clear the holes and the leaking stops, you have solved a massive problem with a piece of wire. This is the kind of technical zooming that separates the masters from the amateurs. You have to think about the microscopic path of the water molecule.
The final technical verdict
Finding a leak without tearing up tile is about isolation. You isolate the drain. You isolate the pan. You isolate the supply lines. Use your senses. Smell the rot. Feel the temperature of the floor. Look for the salt deposits. If you are in a high humidity area like Houston or Florida, your subfloor is already under stress. Any extra water will accelerate the growth of mold and the failure of adhesives. Don’t let a contractor tell you that a complete demo is the only way. Use the plug. Use the camera. Use the moisture meter. Treat your floor like the structural machine it is. If you maintain the seals and respect the physics of the drain, that tile will last a lifetime. If you ignore the subfloor, you are just waiting for the collapse. I have seen it a thousand times. The 1/8 inch gap is the difference between a dry home and a total loss. Keep your eyes on the drain and your moisture meter calibrated. That is the only way to win the war against water.