How to Remove Stubborn Carpet Glue from an Old Concrete Subfloor
I spent three days grinding concrete on a job last month just so the floor wouldn’t click like a castanet. Most guys skip the leveling compound. They think the underlayment will hide the dip. It won’t. I walked into a site where the previous crew tried to install a luxury laminate over old yellow mastic. Within three weeks, the chemical reaction between the new padding and the old residue turned the whole room into a sticky, off-gassing nightmare. If you do not respect the concrete, the concrete will humiliate you. Removing carpet glue is not a cleaning task. It is a structural engineering requirement. You are dealing with decades of chemical bonding where synthetic polymers have migrated into the pores of the cementitious matrix. If you leave even a thin film, your next installation is doomed before the first plank hits the ground.
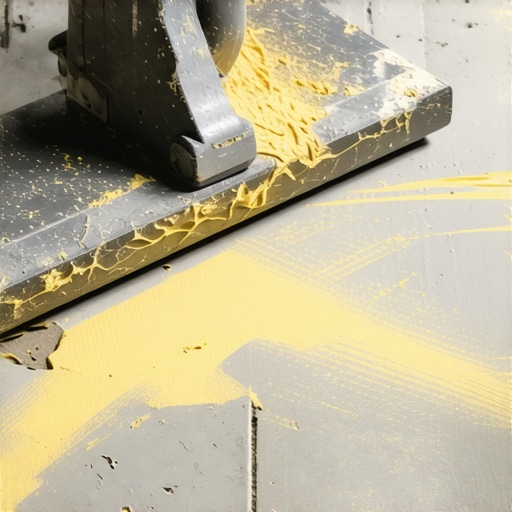
The chemical ghost of vintage yellow mastic
Removing stubborn carpet glue requires breaking the molecular bond between the synthetic adhesive and the porous concrete substrate. This process usually involves a combination of mechanical abrasion and chemical softening. You must identify if you are dealing with water-based tan glues or the more sinister black cutback adhesives. Failure to remove these residues prevents proper adhesion for new floor leveling compounds or thin-sets used in showers and tile work. Most modern installers underestimate how deeply these glues penetrate the surface profile of the slab. Concrete is a sponge. Over twenty years, that glue has moved deep into the capillaries. You cannot just wipe it away. You have to go after it with intent.
Why your subfloor is lying to you
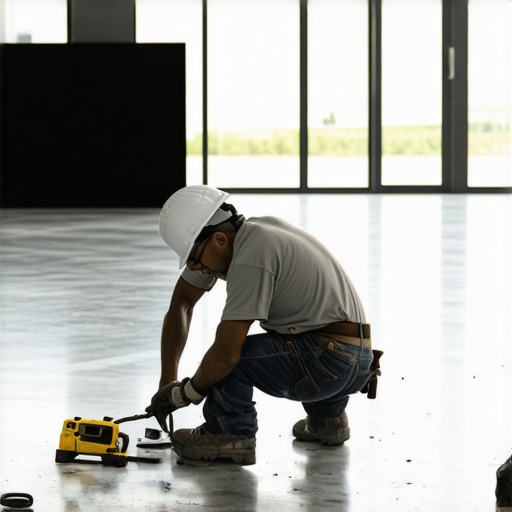
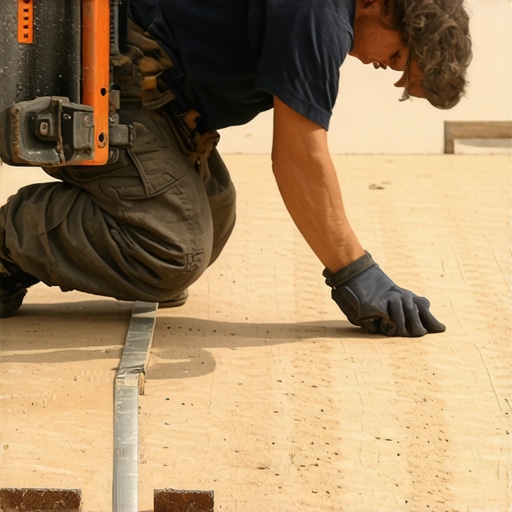
You look at a concrete slab and see a flat surface. I look at it and see a battlefield of moisture vapor and alkaline salts. Most homeowners think a quick scrape is enough for a carpet install or even a laminate floating floor. They are wrong. When you trap old glue under a new moisture barrier, you create a greenhouse effect. The moisture rising through the slab re-activates the old adhesive. It begins to rot. It smells like a swamp. It attracts mold. This is why the industry standards from the NWFA are so rigid about substrate preparation. If the slab is not clean, dry, and flat, the floor will fail. I have seen thousand-dollar planks curl because the installer was too lazy to rent a floor maintainer with a stripping pad. It is an avoidable tragedy. You have to be willing to get dirty. You have to be willing to spend time on your knees with a four-inch razor scraper until your forearms burn.
“A floor is only as good as the subfloor beneath it; deflection is the enemy of every joint.” – Master Flooring Axiom
The physics of mechanical removal
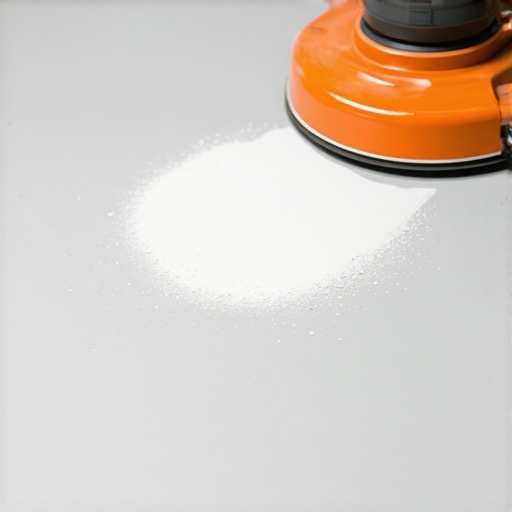
Mechanical removal is the most honest way to clean a slab. You are physically separating the glue from the stone. For small areas, a heavy-duty floor scraper with a replaceable carbon steel blade is the standard tool. You need to maintain a 30-degree angle. If you go too steep, you gouge the concrete. If you go too shallow, you just slide over the top of the glue. For larger rooms, you need a walk-behind scraper or a floor buffer equipped with a Diamabrush attachment. These tools use diamond-grit blades to shave the top layer of the adhesive off. It creates a lot of dust. This is silica dust. It will kill your lungs if you do not use a HEPA vacuum. You need a vacuum that can handle the volume of fine particulates generated by grinding. Do not use a standard shop vac. The filters will clog in five minutes and you will just blow dust back into the room. This is the part of the job that separates the professionals from the dreamers.
| Removal Method | Efficiency | Mess Factor | Best For |
|---|---|---|---|
| Manual Scraping | Low | Low | Small Closets |
| Chemical Stripper | Medium | High | Thin Residue |
| Diamond Grinding | Very High | High (Dust) | Large Open Areas |
| Heat Gun | Low | Medium | Corner Details |
The chemical reality of bond breakers
When the glue is too hard for a scraper, you turn to chemistry. But you must be careful. Traditional methylene chloride strippers are dangerous. They are banned in many places for a reason. Modern soy-based or citrus-based strippers are safer but they work slowly. You have to let them dwell. You apply the gel, cover it with plastic wrap to prevent evaporation, and wait six to twelve hours. The goal is to soften the glue into a jelly-like consistency. The danger here is that the chemicals can soak into the concrete. If you do not neutralize the slab afterward, those chemicals will act as a bond breaker for your next floor. If you are planning a tile job in showers or high-moisture areas, any chemical residue is a liability. You must wash the floor with a tri-sodium phosphate solution and rinse it multiple times. Test the pH of the slab before moving forward. A high pH will eat through the backing of new flooring.
The 1/8 inch that ruins everything
Floor leveling is the stage where most people get impatient. They want to pour the self-leveler over the glue. This is a massive mistake. Self-leveling underlayment needs a mechanical bond to the concrete. If there is a layer of carpet glue in between, the leveler will delaminate. It will crack. It will sound hollow when you walk on it. You need to reach a Concrete Surface Profile of 2 or 3. This means the concrete should feel like 60-grit sandpaper. If it feels smooth and waxy because of old glue, your leveler will not stick. I always tell my apprentices that if you can still see the color of the glue, you are not done grinding. You should see the aggregate of the concrete. That is the only way to ensure the polymer chains in the leveler can hook into the slab. It is about surface area. A clean, etched surface has three times the surface area of a smooth, glue-covered one.
Dealing with the ghost of black cutback
If you pull up that old carpet and see black adhesive, stop. This is often cutback adhesive. In houses built before 1984, this stuff frequently contains asbestos. Do not grind it. Do not sand it. If you turn asbestos into dust, you are creating a health hazard that lasts for years. The standard procedure for black cutback is to scrape it down to a thin, smooth film and then encapsulate it. There are specific primers designed to bond to cutback and seal it in so you can pour leveler over the top. This is the one exception to the “grind it all off” rule. You must know what you are looking at. If it is black and brittle, treat it with respect. Use wet-scraping methods to keep the dust down. Your health is worth more than a clean subfloor.
The ultimate glue removal checklist
- Identify the adhesive type (Water-based vs. Solvent-based).
- Check for asbestos if the adhesive is black or the house is pre-1984.
- Clear the room and seal off HVAC vents to prevent dust migration.
- Use a heavy-duty razor scraper for the initial pass.
- Apply a soy-based stripper for stubborn patches and allow 12 hours of dwell time.
- Use a floor grinder with diamond segments for large-scale removal.
- Scrub the slab with a stiff brush and water to remove chemical residues.
- Perform a moisture test and pH test before installing new material.
“Concrete is a living, breathing substrate; treating it like a static object is the first step toward floor failure.” – Structural Flooring Guide
The moisture factor in adhesive failure
Concrete slabs are never truly dry. They are always transpiring moisture from the earth. When you remove old carpet glue, you often open up the pores of the concrete, which can increase the moisture vapor emission rate. If you are moving to a laminate or a solid wood product, you need to measure this. Use a calcium chloride test or an in-situ RH probe. If the moisture is too high, that glue you just worked so hard to remove will be the least of your problems. High moisture will cause laminate to swell at the seams. It will cause mold to grow under your new floor. Removing the glue is just phase one. Phase two is ensuring the slab is dry enough to receive the next layer. Sometimes this means applying a high-quality moisture vapor barrier epoxy after the glue is gone. It adds cost, but it provides a lifetime of security. A floor that buckles in two years is a floor that was installed by someone who didn’t understand the chemistry of the subfloor. Do not be that person. Do the work. Grind the slab. Clean the pores. Build a foundation that will outlast the house itself.