The Correct Way to Level a Subfloor for Large Format Tiles
The subfloor secret that prevents tile failure
To level a subfloor for large format tiles you must achieve a flatness tolerance of 1/8 inch over 10 feet. This requires grinding high spots, filling low spots with high-flow self-leveling underlayment, and verifying the substrate with a mechanical straightedge to prevent lippage and cracked grout.
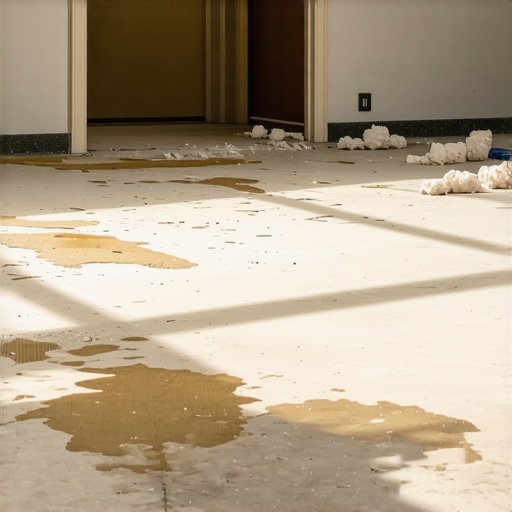
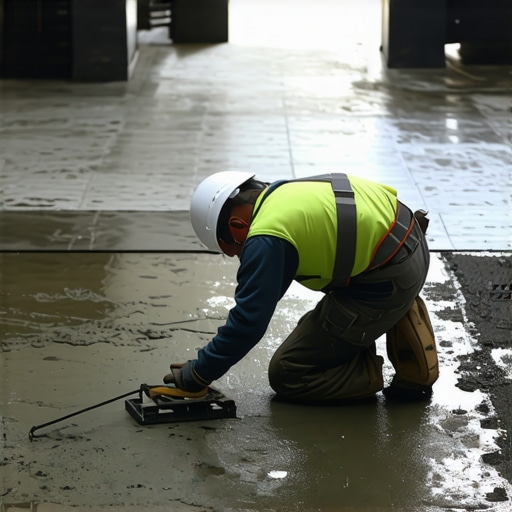
Most guys skip the leveling compound. They think the underlayment will hide the dip. It won’t. I spent three days grinding concrete on a job last month just so the floor wouldn’t click like a castanet. The homeowner thought I was crazy, but a 1/8 inch dip under a 24 by 48 inch porcelain tile is a death sentence. It is a ticking time bomb of lippage and cracked grout. When you are dealing with tiles this size, the margin for error disappears. I have seen fifteen thousand dollar installs ruined because the installer trusted his eyes instead of a laser level. You cannot eyeball flat. You cannot hope for the best. You have to treat the concrete like an aircraft carrier deck. It has to be perfect. If the slab is out of spec, the tile will bridge the gap. Eventually, someone walks on it. The air pocket underneath provides no support. The tile snaps. The client screams. You lose money. That is the reality of the trade. I smell like pulverized concrete and hydraulic cement half the time because I refuse to skip this step. It is the difference between a floor that lasts fifty years and one that fails in fifty days.
Why flat is not the same as level
Flatness refers to the planar consistency of the floor surface while level refers to its orientation relative to the horizon. For large format tiles, flatness is the priority because a floor can be sloped but still flat enough to prevent tile lippage during the installation process.
People confuse these terms constantly. Your floor can be tilted at a two degree angle and still be perfectly fine for tile, provided that there are no humps or valleys in that slope. When we talk about large format tiles (LFT), which are tiles with at least one side longer than 15 inches, we are fighting physics. These tiles do not bend. If the floor has a hump, the tile will teeter-totter on it. If there is a valley, the corners will stick up. This creates lippage, those annoying edges that catch your socks and make the floor look like a series of steps. The Tile Council of North America (TCNA) is very specific about this. They want 1/8 inch in 10 feet. Compare that to a carpet install or even a laminate floor where you might get away with 3/16 or 1/4 inch. Tile is brittle. It demands a rigid and flat substrate. You need to understand the deflection of the floor too. If you are over wood joists, the subfloor needs to be stiff enough to meet L/360 or L/720 standards for natural stone. This means the floor should not bounce when you walk. A bouncy floor kills tile.
“A floor is only as good as the subfloor beneath it; deflection is the enemy of every joint.” – Master Flooring Axiom
The chemical reality of self leveling compounds
Self leveling underlayment is a polymer-modified cementitious product designed to flow like water and harden into a flat surface. Successful application depends on the surface profile of the substrate and the exact water-to-powder ratio used during the high-shear mixing process.
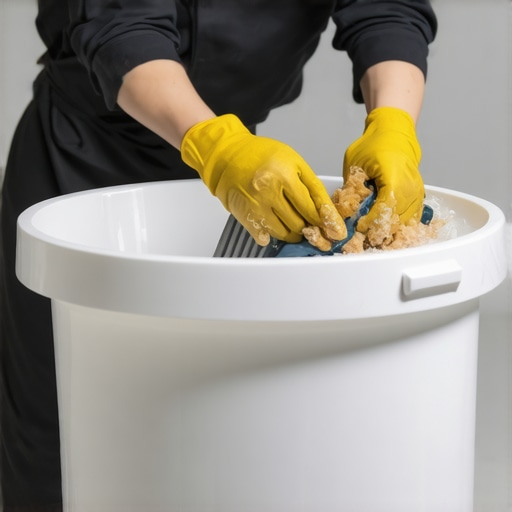
You cannot just dump a bag of leveler on the floor and walk away. It is not magic. It is chemistry. First, you have to prep the concrete. I am talking about the Concrete Surface Profile (CSP). Usually, you want a CSP of 2 or 3. This means the concrete should feel like 60-grit sandpaper. If it is smooth as glass, the leveler will not bond. It will peel up like a scab. I use a diamond grinder to open the pores of the concrete. Then comes the primer. Never skip the primer. The primer seals the substrate so the dry concrete does not suck the water out of the leveler too fast. If the water leaves too quickly, the leveler will not flow and you will get bubbles. I mix it with a high-speed drill and a specialized paddle. The water must be measured to the ounce. Too much water and the cement separates from the sand, leaving a soft, chalky surface. Too little and it stays thick and lumpy. When you pour, you use a gauge rake to spread it at the right depth. Then you hit it with a spike roller. The spike roller breaks the surface tension and lets the air bubbles out. It is a choreographed dance. You have about 15 minutes before it starts to skin over. If you touch it after it skins, you ruin it.
Subfloor requirements for tile vs laminate
While laminate flooring can tolerate minor subfloor imperfections due to its floating nature and foam underlayment, large format tile requires a rigid and ultra-flat surface to avoid structural failure. The differences in preparation involve both the tolerance for movement and the method of attachment.
| Feature | Large Format Tile | Laminate Flooring | Carpet Install |
|---|---|---|---|
| Flatness Tolerance | 1/8 inch per 10 feet | 3/16 inch per 10 feet | 1/4 inch per 10 feet |
| Substrate Rigidity | Very High (L/360) | Moderate | Low |
| Moisture Sensitivity | Low (with membrane) | High | Moderate |
| Installation Method | Thin-set Bonded | Floating | Tack Strip |
As the table shows, tile is the most demanding. Laminate is essentially a giant wooden blanket. It can bridge small gaps. Carpet is even more forgiving. You could have a divot the size of a dinner plate and the padding would hide it. But with tile, especially in showers or high-traffic areas, the bond is mechanical. You are using thin-set mortar to create a bridge between the tile and the slab. If that bridge is uneven, the stress concentrations will cause the tile to crack. Most people think the thickest underlayment is the best. That is a lie. While most people want the thickest underlayment, too much cushion actually causes the locking mechanisms on LVP or laminate to snap under pressure. For tile, you want zero cushion. You want a solid, unyielding mass. This is why we use uncoupling membranes like Schluter-Ditra. It allows for a tiny bit of horizontal movement so the house can shift without snapping the porcelain, but it provides zero vertical compression.
The 1/8 inch that ruins everything
The ghost in the expansion gap is the primary cause of perimeter tenting and grout failure in large rooms. Even a perfectly level floor will fail if you do not leave a 1/4 inch gap at the walls to allow for the natural expansion and contraction of the building.
I have seen it a hundred times. A guy does a beautiful job leveling the floor. He spends days on the prep. Then he jams the tile tight against the drywall. He thinks it looks cleaner. Six months later, the floor tents up in the middle of the room like a mountain range. Why? Because buildings move. Wood swells with humidity. Concrete shrinks as it cures. If the tile has nowhere to go, it will push against itself until it pops off the floor. You need that expansion gap. It gets covered by the baseboard anyway, so there is no excuse to skip it. You also have to worry about the specific chemistry of your mortar. For large format tiles, you need a Medium Bed Mortar. Regular thin-set is too watery. If you put a heavy 24×48 tile on regular thin-set, it will sink. The mortar will squeeze out of the joints and you will have a lippage nightmare. Medium bed mortar is designed to hold the weight. It has larger sand particles and polymers that keep the tile exactly where you put it. You also need to back-butter every single tile. You take the flat side of the trowel and scrape a thin layer of mortar onto the back of the tile before you set it. This ensures 100 percent coverage. If you have air gaps, you have weak spots. Weak spots lead to cracks.
“Failure to provide movement joints in tile installations is the most common cause of floor failure according to the TCNA.” – TCNA Handbook Summary
A checklist for professional subfloor preparation
Following a systematic approach ensures that the substrate meets the rigorous demands of large format porcelain or natural stone. Each step builds upon the previous one to create a monolithic and stable base.
- Inspect the substrate for cracks and use an isolation membrane if needed.
- Check for moisture using a calcium chloride test or an in-situ probe.
- Grind down all high spots using a vacuum-shrouded diamond grinder.
- Vacuum the entire floor twice to remove every speck of dust.
- Apply the recommended primer and let it become tacky to the touch.
- Calculate the volume of self-leveling underlayment required for the total area.
- Mix the compound using cool, clean water and a high-shear mixer.
- Pour the leveler and use a spike roller to eliminate air pockets.
- Verify flatness with a 10-foot straightedge once the product is cured.
Moisture management and the concrete slab
Hydrostatic pressure and high moisture vapor emission rates (MVER) can delaminate even the best leveling compounds and mortars. Testing the slab for moisture is a non-negotiable step in any professional flooring installation.
Concrete is like a sponge. It looks solid, but it is full of tiny capillaries. If there is moisture under the slab, it will travel up. When it hits the bottom of your tile or leveler, it turns into a gas. This pressure can be immense. It will literally blow the floor off the ground. I always use a moisture meter. If the reading is high, I apply a moisture vapor barrier. This is usually a two-part epoxy coating that you roll onto the concrete. It blocks the vapor. In places like Florida or Houston, this is mandatory. The humidity is so high that the concrete never truly dries out. If you are doing a shower, the stakes are even higher. You have to pitch the floor toward the drain at 1/4 inch per foot. You are leveling the subfloor around the shower, but inside the pan, you are creating a precise slope. This is where the skill really shows. You are blending a perfectly flat room into a sloped drainage system. If the transition is off by even a tiny bit, the large format tiles will not sit right. You will have to cut them into smaller pieces or ‘envelope’ the drain, which ruins the clean look of the large tile. It takes patience and a steady hand. I have spent many nights under a work light with a diamond blade, shaving down a transition just to make sure it was perfect. That is the job. It is not glamorous. It is precise. If you want a floor that looks like a million bucks, you have to do the work that nobody sees. You have to master the subfloor. Once the tile is down, it is too late to fix the mistakes underneath.