How to Patch a Burn Mark in Your Carpet
A burnt carpet is not a cosmetic blemish. It is a localized structural failure of a synthetic or natural polymer system. Most homeowners see a black mark and think of it as a stain. As a floor installer with twenty five years on my knees, I see a melted secondary backing and a compromised latex bond. I once walked into a penthouse where a client had dropped a soldering iron on a custom-woven wool Axminster. They tried to fix it with a pair of kitchen scissors and some school glue. The result was a hard, crusty mess that felt like a rock underfoot and looked like a crime scene. A real carpet install requires more than just stretching. It requires an understanding of the chemistry of the fibers and the physics of the subfloor. If the subfloor is not perfectly flat, even the best patch will catch the light and scream its presence to everyone in the room. This is why I spent three days on my last job grinding concrete for floor leveling. The floor must be a perfect plane before the first tuft of yarn is even considered.
The molecular reality of fiber degradation
To patch a burn mark in your carpet, you must surgically remove the damaged fibers and replace them with a donor graft using a heat-sensitive adhesive or a cold-bond specialized floor epoxy. This process requires identifying if the fiber is nylon, polyester, or wool. Each has a specific melting point that dictates how the burn propagates through the pile. Nylon 6,6, which is common in high-traffic residential areas, melts at approximately 490 degrees Fahrenheit. When a hot coal or an iron hits these fibers, they do not just change color. They fuse together into a singular plastic mass. This mass is chemically bonded to the primary backing. You cannot simply scrape it away. You must perform a full-thickness graft to ensure the repair lasts as long as the rest of the carpet install. If the burn has reached the padding, you have a deeper problem that involves the structural integrity of the cushion.
“A floor is only as good as the subfloor beneath it; deflection is the enemy of every joint.” – Master Flooring Axiom
The physics of the donor site selection
Finding a donor piece is the most critical part of the engineering phase. You cannot just use a scrap from the closet and expect it to work. Carpet fades over time due to UV exposure and soil load. A piece of carpet that has lived in a dark closet for five years will have a completely different color profile than the carpet in the center of a sun-drenched living room. You must find a donor area that has similar wear and light exposure. In some cases, I have had to take a piece from underneath a heavy piece of furniture that was originally positioned near a window. This ensures the pile height and the oxidation of the dyes match the repair site. If you are dealing with laminate in adjacent rooms, the transition height must also be considered. A patch that sits too high will be kicked and frayed within weeks. Consistency is the only path to invisibility.
The tool kit for a surgical carpet graft
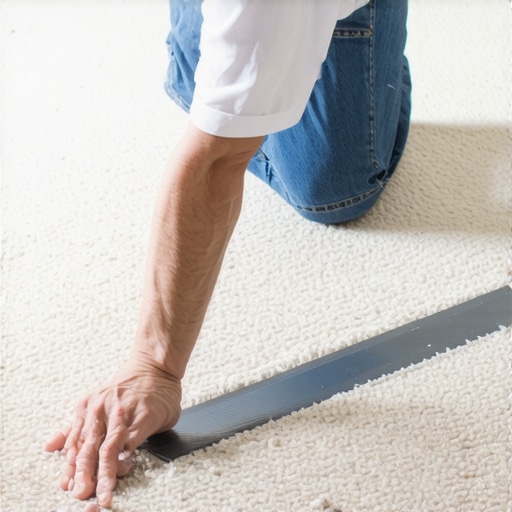
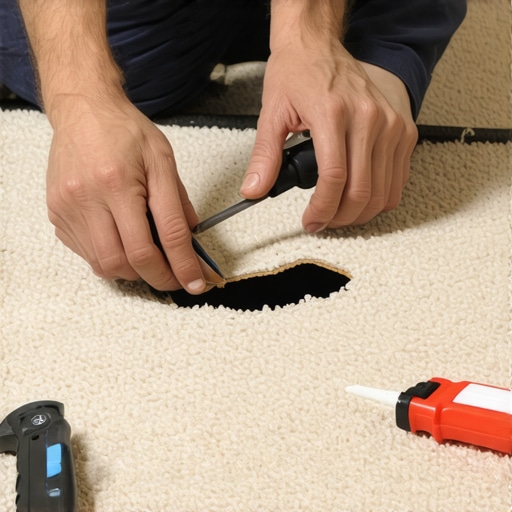
You do not use a utility knife for this. You use a professional carpet star tool or a circular pivot cutter. These tools are designed to move between the rows of tufts rather than cutting through the fibers themselves. When you cut through a tuft, you create a permanent scar. You must part the yarn like a surgeon and cut only the backing. This is similar to how we handle moisture barriers near showers. Precision prevents the migration of liquids into the subfloor. The goal is a clean, vertical edge that allows the new latex to bond with the old. Anything less results in a visible seam that will eventually delaminate under the pressure of a vacuum cleaner. You are building a microscopic bridge between the old floor and the new graft.
| Fiber Type | Melting Point | Repair Difficulty | Adhesive Recommendation |
|---|---|---|---|
| Nylon 6,6 | 490F | Moderate | Thermoplastic Tape |
| Polyester | 482F | High | Pressure Sensitive Acrylic |
| Polypropylene | 320F | Extreme | Cold Bond Epoxy |
| Wool | 600F (Char) | Low | Latex Seam Sealer |
The ghost in the expansion gap
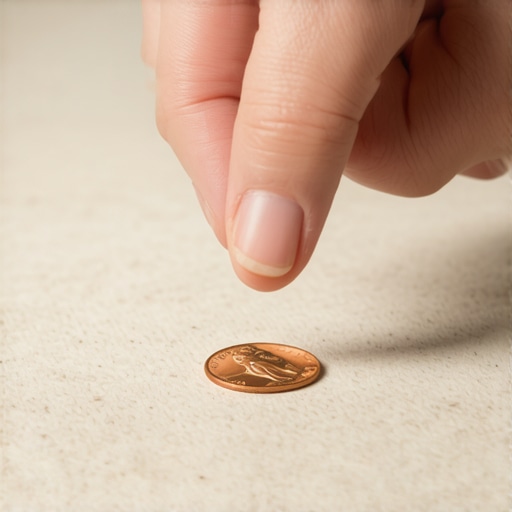
People always forget about the nap of the carpet. Every carpet has a direction in which the fibers lean. If you rotate your patch by even five degrees, it will look like a different color. This is an optical illusion caused by the way light reflects off the side of the fiber versus the tip. Before you cut your donor piece, you must use a scrap piece of paper to mark the pile direction. I use a simple trick where I place a coin on the carpet and tap the floor. The coin will move in the direction of the nap. This is the same level of detail I apply to floor leveling. If you ignore the physics of the material, the material will betray you. Even in rooms with showers where humidity fluctuates, the nap direction dictates how the carpet breathes and holds its shape over time.
“The integrity of a textile installation is found in the microscopic bond of the secondary backing to the substrate.” – Master Flooring Axiom
The methodology of the invisible patch
Follow this checklist to ensure the repair is structural and not just cosmetic. Most guys skip the seam sealer. That is why their patches fall out after a year. Don’t be that guy. Use the professional grade materials and take your time.
- Identify the fiber type to determine the correct adhesive chemistry.
- Locate a donor piece that matches the UV degradation of the target area.
- Part the yarn tufts carefully to avoid cutting the pile height.
- Use a template to cut a perfect circle or square from the damaged area.
- Apply a bead of latex seam sealer to the edges of the primary backing.
- Align the nap direction of the donor piece with the surrounding floor.
- Set the patch and use a tractor tool to blend the fibers.
- Weight the area for 24 hours to allow the adhesive to reach full cure.
The contrarian truth about underlayment
While most people want the thickest underlayment possible, too much cushion actually causes the locking mechanisms on laminate to snap and causes carpet patches to flex and fail. If your carpet has too much vertical movement, the edges of your patch will rub against each other like sandpaper. This friction will eventually break the bond of the seam sealer. You want a firm, high-density pad that supports the backing. This is especially true near transition zones where you might be moving from carpet to laminate or tile near showers. The subfloor must be stable. If there is any bounce in the plywood, your repair is doomed from the start. I have seen guys try to fix a burn without checking the subfloor first. They end up with a patch that pops out like a cork because the floor was flexing three eighths of an inch every time someone walked by.
The chemical bond and the curing phase
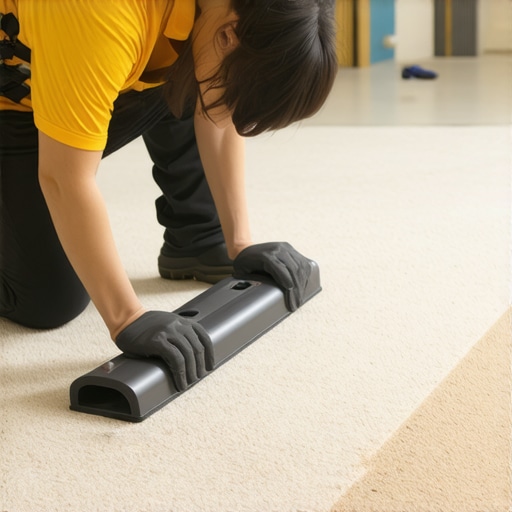
The final step is the most ignored. Once the patch is in, you must use a seam roller or a carpet tractor. This tool forces the adhesive into the intricate grid of the secondary backing. It creates a mechanical lock that is stronger than the original factory bond. If you are using a heat-bond tape, you have to be careful not to overheat the surrounding fibers and cause a secondary burn. This is a delicate balance of temperature and pressure. It is similar to the precision needed for floor leveling where the water to powder ratio must be exact to the gram. If you rush the cure time, the moisture in the air from nearby showers can soften the latex before it sets. Give the floor twenty four hours of peace. No walking, no vacuuming, and no moving furniture. If you treat the floor with respect, the repair will be invisible for the life of the carpet install.