The Best Way to Remove Dried Grout Haze from Slate Shower Tiles
The ghost on the natural cleft
Removing dried grout haze from slate shower tiles requires a balance of mechanical abrasion and chemical dissolution to break the bond of Portland cement without etching the metamorphic rock. You must act with precision because slate is a porous, layered material that traps cementitious particles within its microscopic plateaus and canyons, making standard cleaning methods ineffective once the grout has fully hydrated and cured against the stone surface.
I smell like thin-set and cheap coffee today, the same way I did twenty years ago when I started this trade. My knees tell the story of a thousand showers, and my hands are stained with the gray ghost of cement. I spent three days grinding concrete on a job last month just so the floor wouldn’t click like a castanet, but that was a walk in the park compared to the nightmare I saw last Tuesday. A homeowner had installed a beautiful multi-colored slate in their master bath. It was a masterpiece of natural texture until they let the grout sit too long. They tried to wipe it down with a soaking wet sponge, which only spread the cement film thinner and pushed it deeper into the stone’s pores. By the time I arrived, the slate looked like it had been dusted with flour that wouldn’t budge. This is the reality of the grout haze struggle. It is not just a stain. It is a structural bond between two mineral surfaces. If you treat it like a simple spill, you will fail. You have to understand the chemistry of the grout and the geology of the slate to win this fight.
The microscopic trap of natural slate surfaces
Slate is a metamorphic rock formed by the compression of clay and volcanic ash under intense heat and pressure. This process creates a foliation or layering that gives slate its characteristic cleft surface. While this texture is beautiful and slip-resistant for showers, it acts as a series of jagged traps for grout. Unlike a smooth ceramic tile or a flat laminate install, slate has depth. When you spread grout across it, the fine particles of Portland cement and pigments are forced into the microscopic fissures of the stone. This is why slate is significantly harder to clean than other surfaces. If the subfloor wasn’t prepped correctly through rigorous floor leveling, the slate might even have slight lippage, creating even deeper pockets where grout can hide. You are not just cleaning a flat plane. You are excavating a mineral deposit from a geological formation. The bond is chemical. As the grout cures, it forms calcium silicate hydrate crystals that interlock with the minerals in the stone.
“A floor is only as good as the subfloor beneath it; deflection is the enemy of every joint.” – Master Flooring Axiom
The twenty-four hour window that closes forever
The chemical hydration of grout begins the moment water hits the powder, meaning you have a very narrow window to remove the haze before it becomes a permanent part of the tile. After twenty-four hours, the polymer-modified grout used in modern showers has reached a level of hardness that resists most household cleaners. If you wait longer, you are no longer cleaning; you are performing a restoration. Unlike a carpet install where a stain can often be lifted with steam, grout haze on slate is a hardened shell. Most installers make the mistake of using too much water during the initial cleanup. This diluted grout water seeps into the stone and, as it evaporates, leaves behind a fine white powder known as haze. If you see this haze the next morning, do not ignore it. The longer you wait, the more the cement crystals will grow and anchor themselves into the stone. You need to address this before the grout reaches its full 28-day cure strength.
Why acidic cleaners are dangerous for natural stone
Most guys will tell you to just hit it with some muriatic acid or strong vinegar. That is the fastest way to ruin a three-thousand-dollar shower. Slate contains varying amounts of calcium carbonate and iron. When you apply a strong acid to the stone, it doesn’t just eat the grout haze. It eats the stone. This is called etching. It can change the color of the slate, turn it dull, or cause it to flake and spall. If you have a dark slate, acid can turn it a chalky white that no sealer can fix. You must use a pH-neutral cleaner or a very specific, diluted sulfamic acid designed for stone. Even then, you have to be careful. The chemistry of the bond is stronger than the stone itself in some cases. You are looking for a product that can break the calcium bond of the cement without reacting with the mineral composition of the slate. It is a delicate game of chemical warfare where the stone is the hostage.
| Removal Method | Effectiveness | Risk Level | Typical Cure Time Before Use |
|---|---|---|---|
| Dry Microfiber Buffing | Low | Low | 2-4 Hours |
| White Scrub Pad and Water | Medium | Low | 6-12 Hours |
| Sulfamic Acid Solution | High | High | 24+ Hours |
| Commercial Haze Remover | High | Medium | 12-24 Hours |
The physical mechanics of haze removal
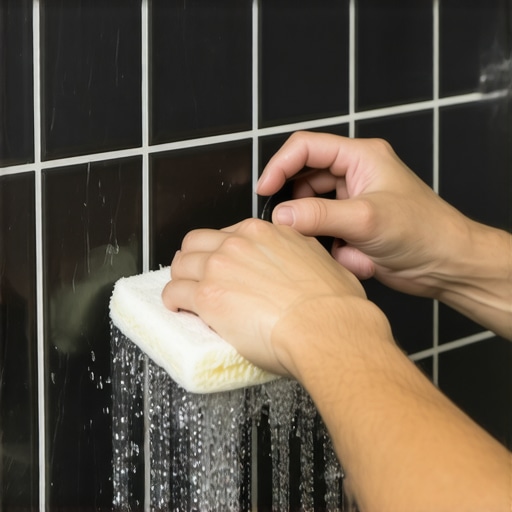
Success in removing grout haze from slate comes down to the grit of your scrub pad and the amount of elbow grease you are willing to invest. You cannot rely on chemicals alone. You need a white nylon scrub pad. Never use a green one. Green pads contain abrasives that can scratch the surface of the slate and leave permanent swirl marks. You want to work in small sections, no larger than two feet by two feet. Apply your cleaning solution and let it dwell for exactly three to five minutes. Do not let it dry. If the solution dries, you have just created a new layer of chemical haze. While the surface is wet, scrub in a circular motion. You are trying to physically dislodge the cement particles from the stone’s texture. Use a shop vacuum to suck up the dirty slurry immediately. If you just wipe it with a sponge, you are re-depositing the grout back into the pores. The vacuum is the secret weapon that most DIYers miss. It pulls the liquid out of the valleys of the stone.
The moisture factor in shower environments
Showers are high-moisture zones that exacerbate grout haze issues. If the slate was not sealed prior to grouting, the stone will drink the grout water like a sponge. This is why I always advocate for using a grout release or a pre-sealer on slate. It fills the pores so the grout can’t get in. In a humid climate, the grout might stay soft longer, giving you more time, but in a dry area, it will snap dry in minutes. You must also consider the water quality. Hard water contains minerals that can add to the haze, creating a secondary layer of limescale on top of the grout residue. If you are working in an area with high mineral content in the water, use distilled water for your final rinse. It sounds obsessive, but when you are looking at a hazy slate wall every morning while you soap up, you will wish you had been obsessive during the install. Unlike laminate which you can just pop out and replace, slate is a commitment to the life of the house.
“Ensure that all stone surfaces are clean and free of debris before application, as any trapped particulate will compromise the integrity of the sealant bond.” – TCNA Installation Manual
- Inspect the slate under bright, angled lighting to identify the exact areas of haze.
- Mix a solution of pH-neutral stone cleaner or a weak sulfamic acid according to the manufacturer instructions.
- Test the solution on a spare piece of slate or in a hidden corner to check for color changes.
- Apply the solution with a sponge, ensuring the haze is completely saturated.
- Scrub vigorously with a white nylon pad for several minutes.
- Use a wet-dry vacuum to remove the liquid slurry before it can settle.
- Rinse the area three times with clean, clear water to neutralize any remaining chemicals.
- Dry the stone immediately with a clean microfiber towel to prevent water spots.
The final defense through proper sealing
Once you have finally cleared the haze, the job isn’t done. The slate is now raw and vulnerable. You have stripped away any natural oils or previous sealers during the scrubbing process. If you leave it like this, the stone will absorb soap scum, skin oils, and hard water minerals. You need to apply a high-quality, breathable impregnating sealer. This doesn’t sit on top of the stone like a plastic film. It sinks in and coats the minerals at a molecular level. This makes the slate hydrophobic. Water will bead up and roll off rather than soaking in. This also makes future cleaning a breeze. You won’t have to deal with haze again because nothing will be able to bond to the stone. Just remember that a sealer is not a suit of armor. It is a repellent. You still need to use the right cleaners. If you use a harsh bathroom cleaner on sealed slate, you will strip the sealer and be right back where you started with a dull, hazy mess. It will buckle your spirit if you have to do this twice. Stick to the plan, respect the stone, and treat that floor like the engineering marvel it is supposed to be.