How to Repair Cracked Grout in the Corners of Your Shower
I have spent twenty five years on my knees with a moisture meter and a level, and if there is one thing I have learned, it is that a floor or a wall is a performance surface, not a decoration. Most guys skip the leveling compound and think the underlayment or the thin-set will hide the dip. It will not. I spent three days grinding concrete on a job last month just so the floor would not click like a castanet. When we talk about cracked grout in the corners of your shower, we are talking about a structural engineering failure on a microscopic scale. You are seeing the result of physics winning against a rigid material that should never have been there in the first place. You see, a house is a living thing. It breathes, it shifts, and it settles. When you lock a corner joint with standard cementitious grout, you are asking a brittle rock to hold together two walls that want to move in different directions. It is a losing battle every single time. If you want to fix it, you have to stop thinking like a painter and start thinking like a structural architect. You need to understand the change of plane and the chemistry of flexible bonds.
The structural shift that ruins your tile
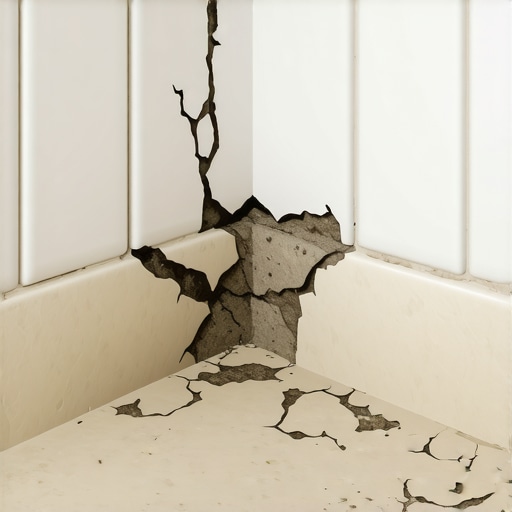
Grout cracks in shower corners because houses move constantly due to thermal expansion and structural settling. This area is known as a change of plane where two different surfaces meet at a ninety degree angle. Rigid cement grout cannot handle the divergent stresses of these moving walls. This movement is often invisible to the naked eye until the grout begins to flake and fall onto the shower floor. You are looking at the manifestation of deflection. In the world of the Tile Council of North America, or TCNA, we have very specific rules about how these joints should be handled. We refer to them as movement joints. If you ignore the physics of the change of plane, you are essentially waiting for a leak to happen. The water does not just sit on the surface. It uses capillary action to find those hairline fractures and travel behind your tile. Once it is back there, it starts rotting your wall studs or the subfloor. I have seen thousand dollar tile jobs destroyed because an installer was too lazy to use a color matched sealant instead of grout in the corners. It is a fundamental error that separates the hacks from the masters. You must treat every corner as a dynamic environment. The materials you choose must be able to stretch and compress without losing their bond to the tile edge.
“A floor is only as good as the subfloor beneath it; deflection is the enemy of every joint.” – Master Flooring Axiom
The myth of the waterproof grout joint
Standard grout is not waterproof and it will never be waterproof regardless of the additives you mix into the bucket. It is a porous material designed to fill the gaps between tiles while providing structural stability to the installation. Water will always eventually permeate a cementitious joint. This is why the waterproofing layer behind your tile is the most important part of the shower system. When grout cracks in the corner, it is not just an eyesore. It is a breach in the primary defensive line of your wet area. If your shower was built correctly with a topical waterproofing membrane like Kerdi or a liquid applied guard, the water hitting the crack will eventually hit that membrane and run down into the drain. However, most older showers rely on a vapor barrier behind the cement board. In those cases, a cracked corner is an invitation for mold to grow in the wall cavity. You have to understand the chemistry here. Cement grout cures through a process called hydration. It creates a crystalline structure that is very strong in compression but has almost zero tensile strength. When the corner of the shower expands by even a fraction of a millimeter, those crystals snap. This is why we see the same cracks returning six months after a homeowner tries to patch them with more grout. You cannot fix a movement problem with a static material. It is like trying to fix a cracked car bumper with a piece of glass. It just does not work.
Why standard grout fails in the corner
Every corner in a shower is a movement joint that requires a flexible sealant instead of rigid grout. The National Wood Flooring Association and the TCNA both emphasize that any change in plane must be treated with a material that can accommodate at least twenty five percent movement. Cementitious grout has a movement capability of nearly zero percent. When the humidity in your home changes, the wood framing behind your tile expands. When you step into the shower and add a hundred and sixty pounds of weight to the pan, the floor deflects. These forces converge in the corners. If you look at a floor leveling job, we worry about the same thing. We need the surface to be flat so the locking mechanisms on laminate or LVP do not snap. In a shower, we need the joints to be flexible so the tile does not de-bond or the grout does not shatter. I have seen people try to use epoxy grout in corners thinking the extra strength will solve the problem. It actually makes it worse because epoxy is even more rigid than standard grout. It will often pull the glaze right off the edge of the tile when the house shifts. You need a chemical bond that acts like a rubber band. This is the only way to ensure a long term seal that will not require annual maintenance.
Selecting a high performance sealant
The only correct material for a shower corner is a hundred percent silicone sealant or a high quality siliconized acrylic that meets ASTM C920 standards. These materials are engineered to remain flexible for decades while resisting the growth of mold and mildew in high moisture environments. When you go to the store, do not just grab the cheapest tube of caulk. You need to look for the technical data sheet or the labels that specify performance. A hundred percent silicone is the gold standard because it does not shrink. Acrylic caulks are water based and they lose volume as they cure. This shrinkage creates a concave surface that can trap water and soap scum. Silicone is also chemically inert once it is cured, meaning it will not provide a food source for mold. You should also pay attention to the Shore A hardness of the sealant. You want something that is soft enough to move but tough enough to handle the scrubbing of a cleaning brush. Most professional tile lines offer color matched silicone that perfectly mimics the look of your grout. This allows you to have a professional, uniform appearance while maintaining the mechanical integrity of the joint. Do not use the stuff designed for windows and doors. It often lacks the fungicides necessary for a shower. Stick to products specifically labeled for kitchen and bath applications.
| Material Type | Movement Capacity | Water Resistance | Best Use Case |
|---|---|---|---|
| Cementitious Grout | 0% to 2% | Low (Porous) | Flat wall and floor fields |
| Epoxy Grout | 1% to 3% | High (Impermeable) | High traffic commercial floors |
| Siliconized Acrylic | 12% to 20% | Moderate | Dry areas and baseboards |
| 100% Silicone | 25% to 50% | Extreme | Shower corners and tubs |
The proper way to clear the joint
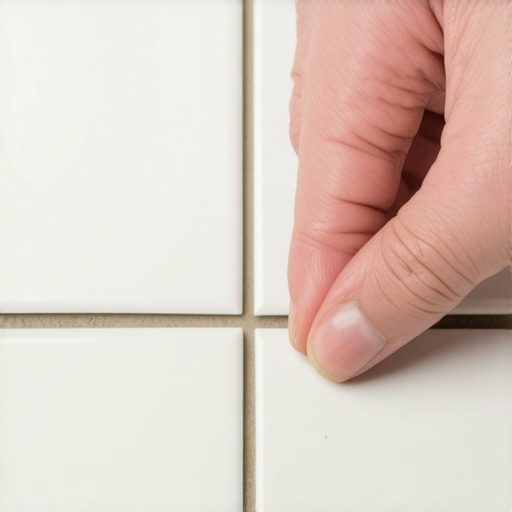
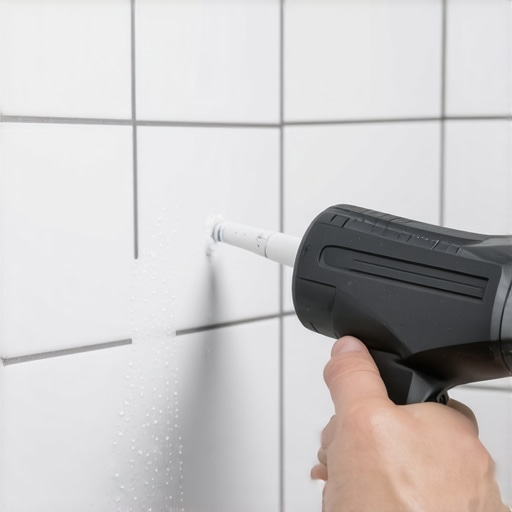
Removing the old failed grout is the most labor intensive but necessary step in the repair process. You must clear the joint to a depth of at least one eighth of an inch to provide enough surface area for the new sealant to bond. If you just smear a thin layer of silicone over the top of the crack, it will peel off within weeks. This is called a skin bond and it is a hallmark of a hack job. You need to get in there with a carbide tipped grout saw or a dedicated oscillating tool with a grout removal blade. Be careful. One slip and you will chip the tile, and then you are looking at a much bigger problem. You need to use a steady hand and a shop vacuum to pull the dust out as you work. I like to use a manual scraper for the corners because it gives me better tactile feedback. You can feel when you are hitting the substrate. You want to see a clean, empty channel between the two tiles. Once the grout is gone, you are not done. You have to clean the joint with isopropyl alcohol. This removes any soap scum, body oils, or dust that will prevent the silicone from sticking. Silicone is notoriously picky about the surface it bonds to. If there is even a thin film of residue, the repair will fail. This is the difference between a five year fix and a twenty year fix. Do the prep work or do not bother doing the job at all.
Checklist for a Professional Corner Repair
- Carbide tipped grout removal tool or oscillating multi-tool
- High powered shop vacuum with a HEPA filter
- 90 percent isopropyl alcohol and lint free microfiber cloths
- Painter’s tape for masking off clean lines
- 100 percent silicone sealant color matched to the existing grout
- Caulk finishing tool or a spray bottle with soapy water
- Utility knife for trimming old sealant residues
Application techniques for a long life
Applying the sealant requires a steady hand and a specific technique to ensure a professional finish that will not peel or trap water. Masking the joint with painter’s tape is the best way for a novice to achieve a clean line without making a massive mess. Apply the tape about an eighth of an inch away from the corner on both sides. When you bead the silicone into the joint, make sure you are pushing it into the gap, not just laying it on top. You want to fill the void completely. Once the bead is down, you need to tool it. I prefer using a finger dipped in a mixture of water and a few drops of dish soap. This prevents the silicone from sticking to your skin and allows you to smooth the surface into a perfect concave shape. You should pull the tape while the silicone is still wet. If you wait until it skins over, you will pull the edge of the sealant up and ruin the bond. This is where the chemistry of the sealant matters. Acetoxy cure silicones smell like vinegar and they skin over very fast. You have to work in small sections. Neutral cure silicones take longer to set up and are generally easier for a beginner to work with. They also have better adhesion to a wider variety of surfaces, including some plastics used in shower pans. Take your time. A rushed caulk job looks like garbage and functions even worse.
“Movement joints are not optional; they are the pressure relief valves of your tile installation.” – TCNA Handbook Commentary
Long term maintenance and structural health
Maintaining your shower joints involves regular inspections for any signs of peeling or mold growth behind the sealant. Even the best silicone will eventually need replacement after ten to fifteen years as it loses its elasticity and the fungicides leach out. Do not use harsh abrasive cleaners on your silicone joints. They can cause micro tears in the material which then harbor bacteria. A simple solution of vinegar and water or a mild dish soap is usually enough. If you see the silicone starting to pull away from the tile, do not try to patch it. Silicone does not stick to silicone. You have to remove the old bead entirely, clean the area with alcohol, and start over. This is the same logic I use when I talk about carpet install or laminate. If you don’t maintain the transitions, the whole system fails. In a shower, the stakes are just higher because water is a relentless enemy. It will find every weakness. Keep an eye on the grout field as well. If you start seeing cracks in the middle of the wall, you might have a larger structural problem like a settling foundation or a failing subfloor. Professional flooring is about the system, from the joists to the finish. Treat your shower corner with the respect a structural movement joint deserves, and you won’t be dealing with a moldy mess down the road. Remember, the 1/8 inch that ruins everything is usually the gap you forgot to fill correctly.