Why your grout is white in some spots and grey in others
I spent three days grinding concrete on a job last month just so the floor wouldn’t click like a castanet. Most guys skip the leveling compound. They think the underlayment will hide the dip. It won’t. I have seen it happen too many times where a contractor tries to rush the prep work only to have the entire installation fail within six months. When you are standing on a floor that feels hollow or sounds like a drum, you are feeling the ghost of a subfloor that was never flat. This same lack of attention to detail is exactly why your grout looks like a Dalmatian. It is not just about the color you picked from the plastic stick in the showroom. It is about the chemistry of water, the physics of evaporation, and the structural integrity of the slab beneath your feet. I have seen homeowners lose their minds over white spots in grey grout, thinking they got a bad batch of material. The reality is usually much more technical and involves the way the installer handled the bucket and the sponge.
The ghost in the pigment
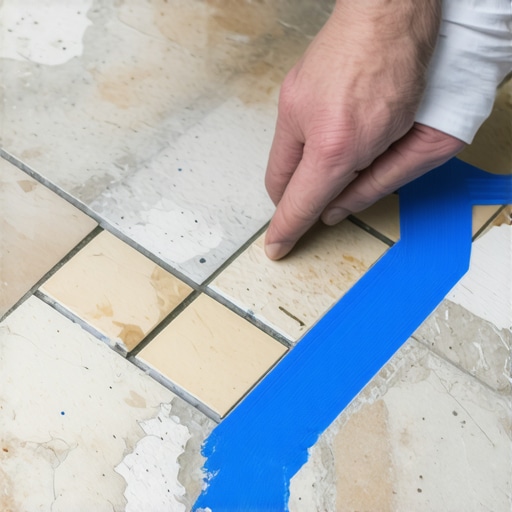
Grout color inconsistency happens when the water to powder ratio is imbalanced during mixing or when excessive moisture is used during the cleanup process. This imbalance causes pigments to wash out or settle unevenly within the cementitious matrix. When you see white spots in your grey grout, you are likely looking at efflorescence or polymer migration caused by improper hydration levels during the curing phase of the installation. If the mix is too wet, the water must go somewhere as it evaporates. As it travels to the surface, it carries minerals and salts that leave behind a white residue. This is not a defect in the product. It is a failure in the application of the chemistry. You cannot eyeball the water when you are mixing grout. You need a measuring cup. If you are off by even a few ounces, the structural bond is compromised and the color will never be uniform across the entire surface area of the room.
“A floor is only as good as the subfloor beneath it; deflection is the enemy of every joint.” – Master Flooring Axiom
Why your subfloor is lying to you
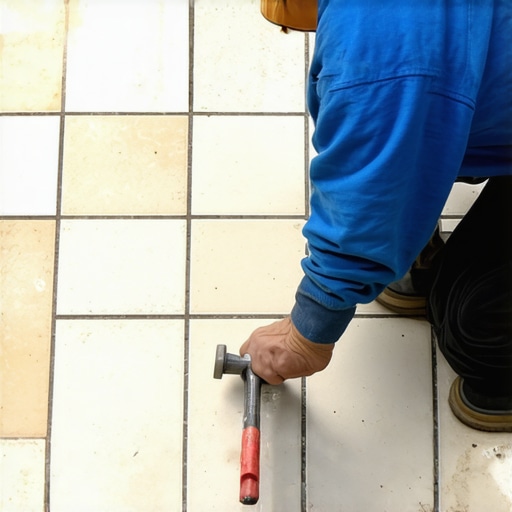
Floor leveling is the most neglected aspect of modern flooring because it is expensive and time consuming to perform correctly before the finish material arrives. If your subfloor has a dip of more than 3/16 of an inch over a 10 foot span, any rigid flooring like laminate or tile will eventually fail. I have walked onto jobs where the installer thought they could just double up the underlayment to fill a hole. This is a recipe for disaster. Too much cushion under a laminate or LVP floor causes the locking mechanisms to snap under pressure. When that joint breaks, moisture from your mop or a spilled drink gets into the core of the plank. For tile, a dip in the subfloor means the grout lines are under constant tension. Every time you step on a tile over a void, it flexes. That flex translates to the grout line, causing micro cracks that eventually turn into chunks of missing cement. If you see your grout changing color near the edges of a tile, it might be because the tile is moving and drawing moisture up from the thin-set below.
The science of efflorescence and salt migration
Efflorescence is the migration of soluble salts to the surface of a porous material where they form a white crystalline deposit. This happens in showers and on ground level concrete slabs where moisture is present in the substrate. If the installer did not use a proper moisture barrier or if the shower pan is not sloping correctly toward the weep holes, water sits under the tile. This stagnant water dissolves salts in the cement and carries them to the surface as it tries to evaporate through the grout lines. It is a slow, chemical process that ruins the aesthetic of a dark grout. You can scrub it away with a phosphoric acid cleaner, but if you do not fix the moisture source, the white ghost will return every single time. This is why I always check the moisture content of a slab with a calcium chloride test before I even think about opening a bag of grout. If the slab is breathing too much vapor, the floor is doomed to have color issues from day one.
Physics of the shower pan
Shower installations fail when the waterproofing system does not allow for proper drainage at the sub-assembly level. In a traditional thick-bed mortar shower, the water that soaks through the grout must be able to reach the pre-slope and exit through the weep holes in the drain assembly. If those weep holes are clogged with thin-set or if the installer skipped the pre-slope, that water just sits there. This creates a permanent state of dampness that keeps the grout saturated. Saturated grout always looks darker than dry grout. This is why your shower floor might look grey in some spots and white in others. The white spots are where the grout has actually dried out, while the dark spots are where water is trapped in the mud bed. It is a structural engineering failure disguised as a cleaning problem. You cannot fix this with a sealer. You fix it by building the shower correctly from the plumbing up.
| Grout Type | Moisture Resistance | Color Consistency | Ideal Use Case |
|---|---|---|---|
| Sanded Grout | Moderate | Vulnerable to wash-out | Wide joints in ceramic or stone |
| Unsanded Grout | Low | Prone to shrinking | Narrow joints and polished tile |
| Epoxy Grout | High | Excellent | Showers and high traffic areas |
| High-Performance Cement | Moderate-High | Good | Commercial and residential floors |
The 1/8 inch that ruins everything
Expansion gaps are required around the perimeter of every hard surface floor to allow for the natural movement of the building and the material. When people install laminate or LVP, they often run it tight against the baseboards because they think it looks better. This is a massive mistake. When the humidity changes, that floor is going to expand. If it has nowhere to go, it will peak in the middle of the room. This creates a vertical movement that destroys the subfloor bond if you are using glue-down methods or snaps the clicks on a floating floor. In tile work, if you do not have movement joints every 20 to 25 feet, the grout will eventually crack and pop out. I have seen entire kitchen floors tent up like a mountain because the installer forgot to leave that 1/8 inch gap at the wall. You cover it with baseboard or shoe molding. You do not skip it unless you want to replace the whole floor in two years.
“Tile is a rigid finish over a moving world; without movement joints, the system will eventually find its own way to break.” – TCNA Handbook Logic
Avoiding the white haze disaster
Grout haze is a thin film of cement and polymer left on the surface of the tile because the installer did not use enough clean water during the wash cycle. This haze can make your dark grout look dusty or white once it dries. The irony is that if you use too much water to get the haze off, you ruin the color in the joints. It is a delicate balance. You need to use a damp sponge, not a wet one. You should be able to wring it out so that not a single drop of water falls from it. If you see water pooling in the grout joints during the cleanup, you have already failed. That excess water is diluting the pigment at the surface, which will lead to those white splotches everyone hates. I always tell my guys to change their water every 50 square feet. If the water in your bucket looks like chocolate milk, you are just spreading dirt and salt back onto the floor.
- Always use distilled water for mixing grout if you have hard water at the job site
- Measure water with a graduated cylinder to ensure exact manufacturer specifications
- Never use a high-speed drill to mix grout as it introduces air bubbles that weaken the joint
- Allow the grout to slake for ten minutes before the final stir to ensure full chemical hydration
- Use a microfiber cloth for the final haze removal to avoid adding more water to the curing cement
The final verdict on structural integrity
If you want a floor that looks the same ten years from now as it does today, you have to respect the chemistry. Grout is not just sand and color. It is a complex cementitious product that requires specific environmental conditions to cure correctly. High humidity, cold temperatures, or drafts can all affect the way the water leaves the joint. If the water leaves too fast, the grout becomes brittle and pale. If it stays too long, the pigment washes out. When you combine these chemical realities with a subfloor that is not level, you are asking for a failure. Whether you are doing a carpet install or a high-end tile job, the prep work is 90 percent of the labor. The finish is just the reward for doing the hard work correctly. Stop looking for the cheapest bag of grout and start looking for a contractor who owns a moisture meter and a six-foot level. That is the only way to ensure your grey grout stays grey and your floor stays flat.