How to Repair a Deep Gouge in Laminate with a Melted Wax Kit
Most guys skip the leveling compound. They think the underlayment will hide the dip. It won’t. I spent three days grinding concrete on a job last month just so the floor wouldn’t click like a castanet. That clicking? That is the sound of your laminate joints dying. When a floor moves, furniture shifts. When furniture shifts on an uneven floor, it gouges the surface. I have spent twenty five years fixing these mistakes. A floor is a structural assembly, not a rug. If the subfloor is not dead flat, the laminate flexes. That flex creates tension. When you drag a chair across that tensioned surface, the AC rating cannot save you. The wear layer snaps and you are left with a white, jagged crater in your wood look plank. This is where the chemistry of melted wax kits becomes your only salvation.
The subfloor secret that makes or breaks a repair
Floor leveling and subfloor preparation are the primary factors in preventing laminate gouges from returning after a repair. If the floor is not level, the plank will continue to deflect under foot traffic, causing the wax patch to pop out of the hole. A stable subfloor ensures that the laminate remains static, allowing the bond between the wax and the high density fiberboard to hold for the life of the installation. Most homeowners ignore the 3/16 inch over 10 feet rule. They pay for it later with damaged planks and failed repairs. When we talk about fixing a gouge, we are actually talking about stabilizing a structural defect. The repair is only as good as the ground it sits on.
“A floor is only as good as the subfloor beneath it; deflection is the enemy of every joint.” – Master Flooring Axiom
The structural anatomy of a laminate plank gouge
Laminate flooring consists of four distinct layers that respond differently to physical trauma and chemical repairs. At the top is the wear layer, usually aluminum oxide, followed by the decorative image, the high density fiberboard core, and the balancing backing. A deep gouge usually penetrates the first two layers and bites into the HDF. Once that core is exposed, it acts like a sponge. In rooms near showers or kitchens, humidity will enter that gouge and cause the fibers to swell. You cannot just smear wood putty in there. Putty is too soft and contains water which will swell the core further. You need a hard, thermoplastic filler that mimics the density of the original plank.
Why floor leveling matters before the first scratch occurs
Effective floor leveling removes the vertical movement that leads to high pressure points on laminate surfaces. When a subfloor has a dip, the locking mechanism of the laminate is under constant shear stress. A heavy object on this stressed area will pierce the wear layer much easier than it would on a flat surface. Think of it like a drum head. If the laminate is floating over a void, it has no support. A dropped kitchen knife or a sliding table leg will punch right through. If you are starting a fresh project, do not skip the self leveling underlayment. It is cheaper to buy bags of leveler now than to replace planks later. I have seen guys try to pad the dips with extra underlayment. That just makes the floor feel like a trampoline and eventually ruins the click locks.
The chemistry of melted wax repair kits
Melted wax repair kits use a blend of hard Carnauba wax and synthetic resins to create a durable thermoplastic plug. Unlike soft crayons, these waxes require a battery operated or butane heating element to reach a liquid state. When the wax melts, its viscosity drops low enough to penetrate the microscopic crevices of the exposed HDF core. This creates a mechanical bond. As the wax cools, it shrinks slightly, which is why we always overfill the gouge. The hardness of the cooled wax is designed to match the AC4 or AC5 durability ratings of commercial laminate. It is a molecular solution to a physical problem. You are essentially performing a localized plastic weld on your floor.
| Repair Material | Durability Level | Moisture Resistance | Typical Cure Time |
|---|---|---|---|
| Soft Putty | Low | Poor | 24 Hours |
| Acrylic Caulk | Very Low | Moderate | 12 Hours |
| Hard Melted Wax | High | Excellent | 5 Minutes |
| Two-Part Resin | Extreme | Excellent | 2 Hours |
Step by step guide to melting and filling
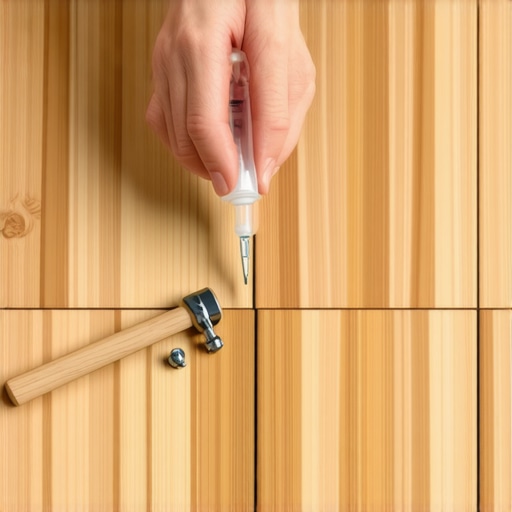
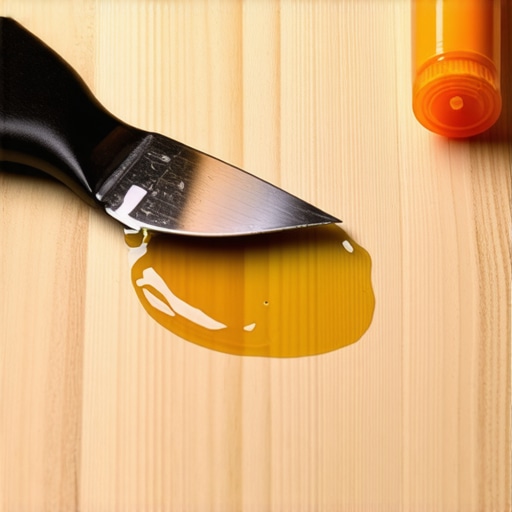
Repairing a deep gouge requires cleaning the area, color matching multiple wax sticks, melting the filler, and leveling the surface. Start by using a sharp utility knife to remove any loose debris or frayed edges from the gouge. If the edges are jagged, the wax will not seat properly. Clean the hole with a bit of denatured alcohol. Heat your iron. Choose at least three colors: a base tone, a grain tone, and a dark knot tone. Melt the lightest color first to fill the bulk of the hole. While it is still tacky, add streaks of the darker tones to mimic the natural wood grain. This is where the art meets the science. You are not just filling a hole; you are recreating a photograph of wood. Overfill it so the wax stands proud of the surface by about a millimeter.
“Laminate performance is dictated by the density of the core and the integrity of the wear layer.” – Master Flooring Axiom
The cooling phase and structural integrity
The cooling phase of the melted wax is when the repair achieves its final hardness and chemical stability. Do not touch the wax for at least three minutes. If you try to level it while it is warm, you will smear it across the surrounding wear layer and create a hazy mess that is impossible to clean. Once it is cold to the touch, use the serrated scraper provided in the kit. Hold it at a 90 degree angle. Shave the excess wax off in short, controlled strokes. You will see thin curls of wax coming off. Stop when the scraper no longer catches on the edge of the repair. If you did it right, you should be able to run your hand over the spot and feel nothing but a flat surface.
Comparing laminate durability to carpet install realities
While a carpet install offers a soft surface that masks subfloor imperfections, laminate provides a rigid barrier that demands precision. People often choose carpet because they do not want to deal with the labor of floor leveling. Carpet can hide a half inch dip. Laminate will fail in that same dip within six months. If you are transitioning from a carpeted room to a laminate room, the height difference can be an issue. You might need to build up the subfloor with plywood to match the thickness. A gouge in laminate is a permanent scar, whereas a stain in carpet is the primary worry. But for those of us who value a clean, allergen free environment, the effort of maintaining laminate and performing these wax repairs is worth the trade off.
- Clean the gouge with a non-oily solvent like denatured alcohol.
- Remove loose wood fibers to ensure the wax bonds to the solid core.
- Pre-heat the melting tool for at least sixty seconds before application.
- Mix colors directly in the gouge to create a realistic wood grain effect.
- Allow the wax to cool completely before using the leveling tool.
- Buff the area with a gray scotch-brite pad to match the sheen of the floor.
Moisture risks near showers and laminate edges
Laminate repairs near showers require extra attention because water can bypass the wax and seep into the surrounding joints. If the gouge is within three feet of a bathroom door, the HDF core is already at risk. When you finish the wax repair, I recommend a secondary seal. Use a specialized laminate joint sealer. This is a liquid that you wipe over the repair and the nearby seams. It creates a hydrophobic barrier. If you ignore this, the humidity from the shower will cause the edges of the planks to peak. Once peaking starts, no amount of wax will fix the floor. You would be looking at a full replacement. Keep your wax kits handy, but keep your moisture levels low. The final verdict on any laminate repair is how well it stands up to the mop. If you prepped the subfloor and melted the wax correctly, that floor will outlast the house.
{“@context”: “https://schema.org”, “@type”: “HowTo”, “name”: “How to Repair a Deep Gouge in Laminate with a Melted Wax Kit”, “step”: [{“@type”: “HowToStep”, “text”: “Clean the gouge and remove debris.”}, {“@type”: “HowToStep”, “text”: “Melt the base color wax into the hole.”}, {“@type”: “HowToStep”, “text”: “Layer darker wax colors to match wood grain.”}, {“@type”: “HowToStep”, “text”: “Allow wax to cool for 3-5 minutes.”}, {“@type”: “HowToStep”, “text”: “Scrape away excess wax with a leveling tool.”}]}