How to Remove Dried Grout Haze Without Ruining Your Tile Finish
The microscopic reality of cementitious residue
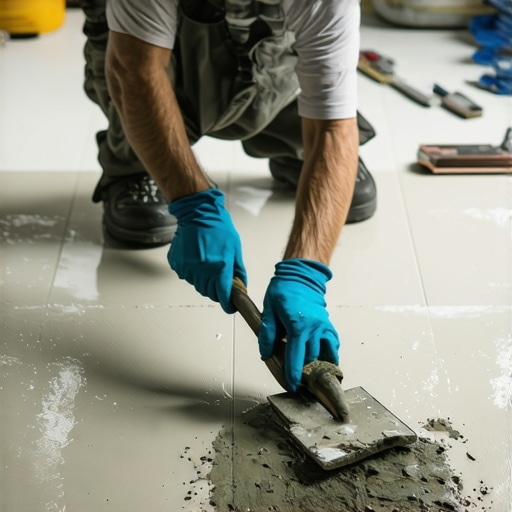
Grout haze removal requires a deep understanding of chemical bonds and surface tension to avoid damaging the underlying tile glaze. This thin film consists of portland cement, fine sand, and polymer additives that settle into the microscopic pores of the tile during the installation process. If the installer waits too long to perform the final wash, these minerals crystallize and create a stubborn, milky fog that obscures the color and texture of your investment.
I spent three days grinding concrete on a job last month just so the floor wouldn’t click like a castanet. That experience reminded me that prep is everything. When it comes to grout haze, you are fighting a battle against time and chemistry. Most guys skip the leveling compound. They think the underlayment will hide the dip. It won’t. The same logic applies to grout. You cannot just wipe it away with a damp rag once the polymer chains have locked together. You need a targeted strategy that respects the Mohs hardness of your tile. Whether you are dealing with porcelain in showers or a new laminate floor leveling project elsewhere, the principles of surface integrity remain the same.
“A floor is only as good as the subfloor beneath it; deflection is the enemy of every joint.” – Master Flooring Axiom
The chemistry of grout haze removal
The chemical composition of your grout determines which solvent will break the bond without etching the tile surface or damaging the pigment. Cement based grouts are alkaline and respond well to mild acidic solutions. Epoxy grouts are chemically inert once cured and require heavy duty alkaline strippers or heat to soften the resin. Identifying the specific grout type is the first step in avoiding a permanent disaster on your porcelain or natural stone.
When we talk about floor leveling and tile prep, we often ignore the molecular level. Portland cement grout cures through a process called hydration. As water evaporates, calcium silicate hydrate crystals form a dense matrix. If this matrix forms on top of your tile glaze, it becomes part of the tile. Using a harsh acid like hydrochloric acid might strip the haze, but it will also eat the finish off your tile and bleach the grout lines. This is why pros use sulfamic acid crystals or phosphoric acid blends. These are buffered to attack the calcium without destroying the silicon dioxide in the glaze. If you are working in a region like Houston where humidity is eighty percent, the curing time is slower, giving you a wider window. In Phoenix, the grout will flash dry in minutes, making haze a much bigger threat.
Why your white vinegar solution might be dangerous
White vinegar is often recommended as a natural cleaner but its acetic acid content can be inconsistent and potentially damaging to natural stone. While vinegar works on ceramic tile, it will cause irreversible etching on marble, travertine, and limestone. These stones are composed of calcium carbonate, which reacts violently with any acid, leaving dull spots that require professional polishing to repair.
I have seen $20,000 marble bathrooms ruined because a homeowner thought vinegar was a safe bet. It is not. Even on porcelain, vinegar can sometimes react with the polymer modifiers in modern grouts, causing the color to turn blotchy or white. If you are doing a carpet install nearby and get grout dust on the transition, the last thing you want is a chemical reaction that spreads. Always use a pH neutral cleaner first. If that fails, move to a dedicated grout haze remover. This is about controlled chemical reactions, not home remedies. The structural integrity of the tile finish is at stake. You do not want to weaken the glaze and make it susceptible to future staining.
The physics of tile glazes and surface tension
Tile glazes are essentially thin layers of glass fused to a ceramic body, and their surface tension dictates how easily grout haze adheres. High gloss tiles have a smooth surface that allows haze to sit on top, while matte or textured tiles have a high surface area that traps particles in microscopic valleys. This increased surface area makes mechanical removal nearly impossible without the right lubricants.
| Chemical Type | Target Grout | Tile Compatibility | Risk Level |
|---|---|---|---|
| Sulfamic Acid | Cementitious | Porcelain, Ceramic | Moderate |
| Phosphoric Acid | Heavy Cement Haze | Acid-Resistant Stone | High |
| Alkaline Stripper | Epoxy, Urethane | Most Surfaces | Low to Moderate |
| pH Neutral Soap | Fresh Residue | All Surfaces | Zero |
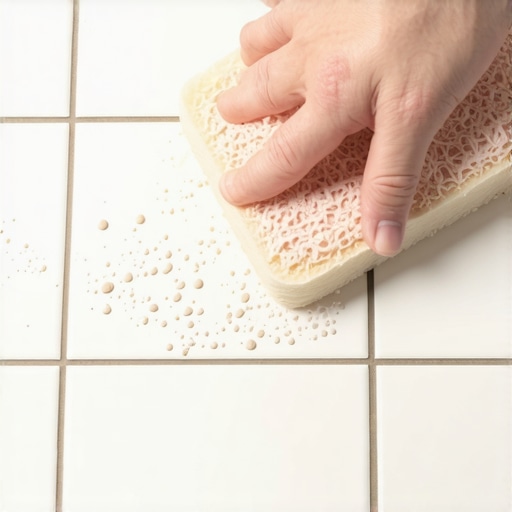
When you use a sponge, you are dealing with displacement physics. A saturated sponge cannot pick up more solids. You must use a microfiber cloth or a specialized grout sponge that is damp, not dripping. Excess water during the cleanup process is the number one cause of weak grout. It dilutes the cement to water ratio, leading to pinholes and cracking. It will buckle. If you add too much water to the surface while trying to remove haze, you are essentially re-hydrating the residue and pushing it deeper into the pores of the tile. It is a vicious cycle that leads to a permanent fog.
“Subfloor flatness and moisture control are the non negotiable pillars of every successful flooring installation.” – TCNA Guidelines
Tools that won’t scratch your investment
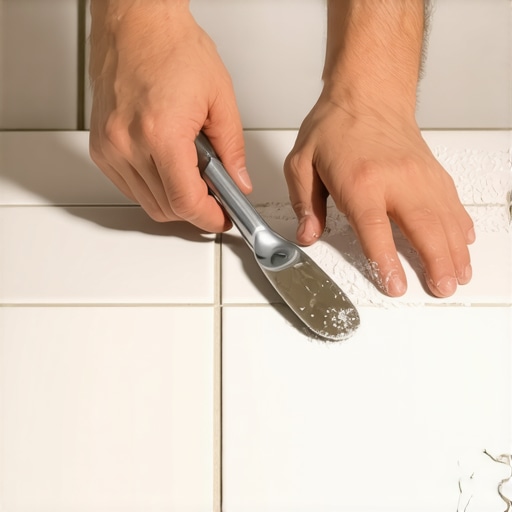
Selecting the correct abrasive level for your cleaning tools is the difference between a clean floor and a scratched surface. White nylon scouring pads are generally safe for most glazes, while green or black pads contain abrasives that can dull the finish of polished porcelain. The goal is to provide enough mechanical agitation to break the bond without exceeding the hardness of the tile glaze.
- Use white nylon pads for mechanical agitation on delicate surfaces.
- Microfiber towels are superior for the final buffing stage to capture fine dust.
- Distilled water prevents mineral spotting in areas with hard water.
- Rubber gloves and eye protection are mandatory when handling acidic cleaners.
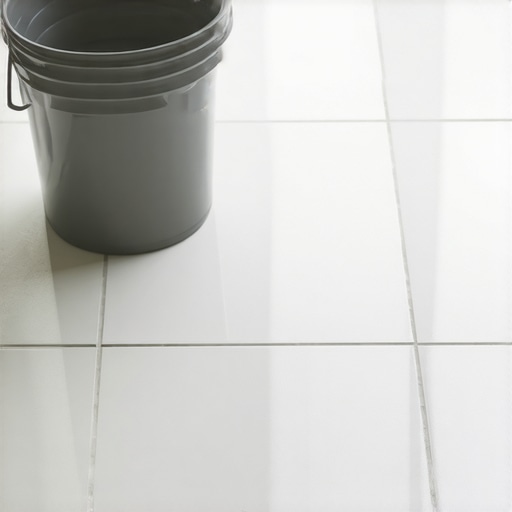
- A dual bucket system keeps your cleaning solution clean and your rinse water separate.
If you are working on a floor leveling project or a laminate transition, you already know that the right tool saves hours of labor. The same applies here. I have seen guys try to use steel wool on grout haze. That is a death sentence for the tile. The metal shards break off, get trapped in the grout, and then rust. Now you have grout haze and rust stains. It is a nightmare. Stick to plastic and fiber tools. The physics of the material must be respected. You want a tool that is softer than the tile but harder than the haze. That is the sweet spot for professional results.
The 1/8 inch that ruins everything
Precision in cleaning grout haze involves maintaining a strict distance from the actual grout joint to avoid pulling out the pigment. If you scrub too close to the line with an acidic cleaner, you will etch the grout itself, leading to a sandy, recessed joint that will collect dirt for the life of the floor. You must focus your efforts on the center of the tile and work outward with caution.
This is where the “zooming” into the installation matters. A grout joint is a structural component. It allows for minor movement and protects the edges of the tile from chipping. If you compromise the joint by over-cleaning or using the wrong chemicals, you invite moisture under the tile. In a shower, this is the beginning of the end. Water will find its way into the subfloor, the wood will rot, and eventually, the whole system fails. It is the same reason we leave expansion gaps in laminate or hardwood. The floor needs to breathe and move. If you lock it down or weaken the joints, physics will eventually win. The ghost in the expansion gap is the sound of a floor that was not respected during the cleaning phase.
Regional climate and the curing window
The environmental conditions of your job site dictate the speed at which grout haze sets and the chemical strength required for its removal. High humidity slows the evaporation of water, keeping the grout in a plastic state longer, while dry, arid climates accelerate the crystallization process, turning haze into a rock-hard layer in a matter of hours.
If you are in the swampy humidity of Houston, you might have twenty-four hours before the haze becomes a problem. In the dry heat of Phoenix, you might only have three. This is why local knowledge is vital. We always check the ambient temperature and humidity before we even open a bag of grout. If it is too hot, we use a grout retarder or work in smaller sections. For those doing a carpet install or floor leveling in the same building, the dust from those projects can settle into the wet grout haze and create a composite mess that is even harder to clean. It is all connected. You cannot treat one room as an island. The atmosphere of the entire house affects the final finish of that tile.
A checklist for your post-grout inspection
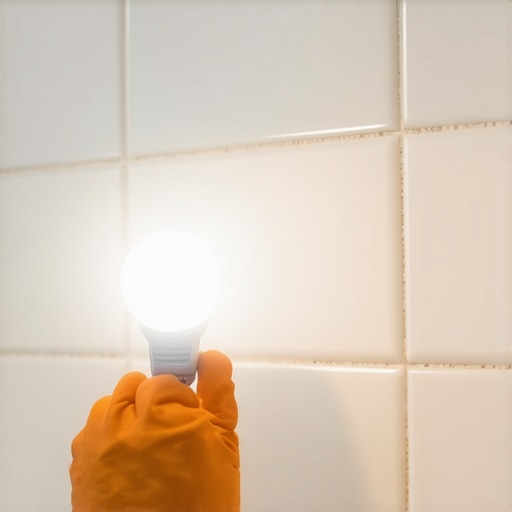
Perform a comprehensive inspection of the tile surface once it is dry to ensure no latent haze remains before sealing. Lighting is your best friend here. Use a high lumen work light at a low angle to highlight any streaks or films that are invisible from a standing position. Once the sealer goes on, any remaining haze is trapped forever.
- Check tile surfaces with a low angle light source for streaks.
- Run a dry microfiber cloth over a test area to see if white dust appears.
- Inspect the depth of the grout joints for consistency and color uniformity.
- Ensure no cleaning residue remains in the corners or along the baseboards.
- Verify that the tile glaze feels smooth and not tacky or gritty.
This process is about being a stickler for the details. If you see a dip in the floor leveling, you fix it before the tile goes down. If you see haze, you fix it before the sealer goes on. It is a hierarchy of operations. You do not move to step B until step A is perfect. Most homeowners are too eager to move back in and use their new shower. They skip the final buff. Then, two weeks later, they wonder why the floor looks dull. It is not the tile. it is the haze they left behind. Take the time. Do the mechanical work. Respect the chemistry. That is how you get a floor that lasts thirty years instead of three.