How to Level a Floor with Shims and Plywood Strips
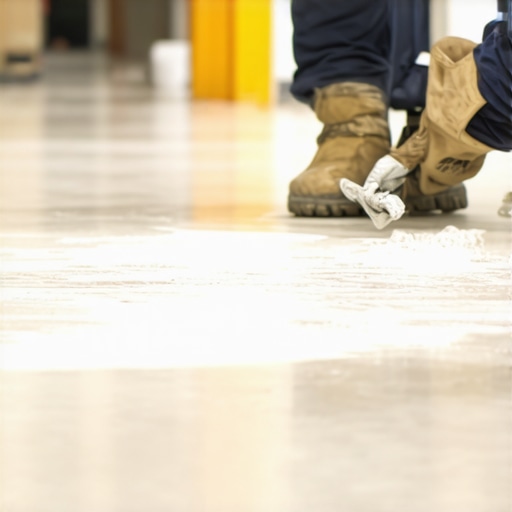
Most guys skip the leveling compound. They think the underlayment will hide the dip. It won’t. I spent three days grinding concrete on a job last month just so the floor wouldn’t click like a castanet. That job was a wake up call for the homeowner who thought a thin layer of foam would magically fix a two inch sag in the center of their 1920s bungalow. I walked in and the 15,000 dollar wide plank walnut floor was already cupping. It looked like a potato chip because the installer didn’t check the crawlspace humidity or the subfloor flatness. If you want a floor that lasts longer than a seasonal lease, you have to respect the physics of the subfloor. I have spent twenty five years on my knees with a moisture meter and an 8 foot straightedge. I smell like oak dust and WD-40. I do not care about your paint colors if your floor is a roller coaster.
The foundation determines the finish
Floor leveling requires a straightedge, spirit level, and moisture meter to identify subfloor deviations exceeding 1/8 inch over 10 feet. Identifying low spots in a subfloor is the primary step before installing laminate, hardwood, or carpet to prevent structural deflection and joint separation. You cannot hide a valley with a rug. The physics of a floor demand a flat plane. When a human walks across a floor, they exert downward pressure. If there is a void under the plank, the locking mechanism or the nail will flex. Flexing leads to friction. Friction leads to noise. Noise leads to a phone call I do not want to take on a Saturday morning.
“A floor is only as good as the subfloor beneath it; deflection is the enemy of every joint.” – Master Flooring Axiom
Why your subfloor is lying to you
Subfloor flatness is often compromised by joist shrinkage, foundation settling, or improper crowning during the initial framing stage. A subfloor might look flat to the naked eye, but a laser level often reveals dips that will ruin a laminate floor installation. Wood is a dynamic material. It breathes. It moves. In a humid environment, the wood fibers expand. In the dry winter months, they contract. If your joists were installed wet, they will eventually shrink. When they shrink, they pull away from the subfloor sheeting. This creates a gap. When you walk over that gap, the plywood deflects. That is the ghost in the room. It is the sound of a structural failure waiting to happen.
| Material | Compression Strength | Moisture Resistance | Best Use Case |
|---|---|---|---|
| Cedar Shingles | Moderate | High | Minor Joist Adjustments |
| Plywood Rips | High | Moderate | Large Area Leveling |
| Asphalt Shingles | Low | High | Minor Shimming for Carpet |
| Plastic Shims | Extreme | Extreme | Tile and Heavy Loads |
The 1/8 inch that ruins everything
Industry standards from the NWFA dictate that a floor must be flat within 1/8 inch over a 10 foot radius to ensure warranty compliance. This tolerance level is vital for click lock laminate systems which lack the tensile strength to bridge subfloor valleys without snapping the tongue and groove. Think about the chemistry of the adhesive or the physics of the click system. A 6 mil wear layer is tough, but the HDF core is brittle. If you drop that core into a 1/4 inch dip, the lever action of your body weight will snap that joint like a dry twig. I have seen guys try to fill these holes with extra underlayment. That is a recipe for disaster. Too much cushion causes the floor to bounce. A bouncing floor is a failing floor.
- Check the moisture content of the subfloor and the new flooring.
- Identify high spots using an 8 foot straightedge.
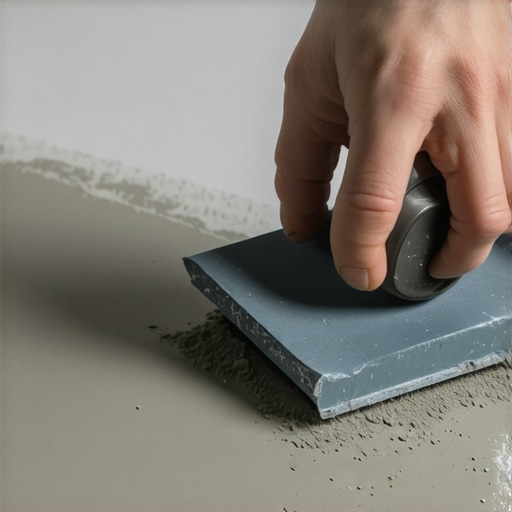
- Sand down high spots with 40 grit sandpaper on a belt sander.
- Map the low spots with a pencil and a long level.
- Cut plywood strips to the exact dimensions of the depression.
- Secure the shims with construction adhesive and screws.
The physics of the shim stack
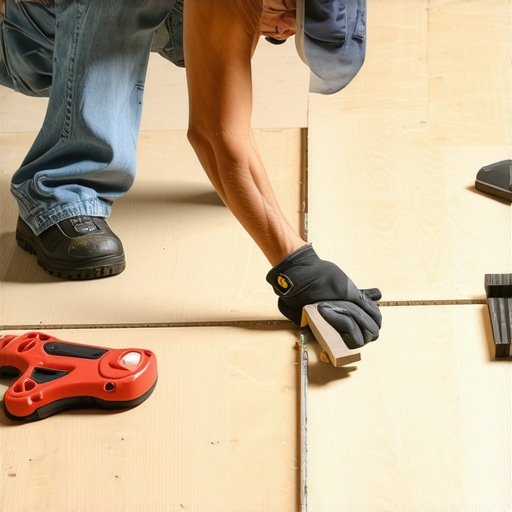
Shimming a floor involves using graduated layers of plywood or lath to build up low spots until they meet the horizontal plane. Using construction adhesive between shim layers is necessary to prevent voids that cause squeaks and movement under the finished floor. You start with the thickest piece in the deepest part of the hole. You taper out with thinner materials like 1/8 inch luan or even 15 pound roofing felt for the very edges. The goal is a smooth transition. If you leave a hard edge, you will feel it through the floor. For carpet install, you can get away with a little more. For laminate or hardwood, you have to be perfect. I use a PL Premium adhesive because it has a high shear strength. It fills the gaps and turns the shims and the subfloor into a monolithic slab.
The chemistry of the bond
Subfloor adhesives must be non-shrinking and solvent-based to ensure a permanent bond between the shims and the joists. High solid content in adhesives ensures that the gap-filling properties remain consistent as the glue cures over a 24 hour period. When you are sistering a joist or shimming a subfloor, the glue is not just an option. It is a structural component. It prevents the wood-to-wood contact that creates those high pitched squeaks that drive homeowners crazy. I have seen guys use cheap wood glue. That is a mistake. Wood glue dries hard and brittle. You need something with a little bit of elasticity to handle the natural movement of the house.
“Deflection of the subfloor shall not exceed L/360 for ceramic tile installations or L/480 for stone.” – TCNA Handbook
The ghost in the expansion gap
Expansion gaps are required at the perimeter of every room to allow flooring materials to expand and contract without buckling or peaking. A minimum 1/4 inch gap is usually necessary for laminate while solid hardwood may require 3/4 inch depending on the species and local humidity. People think waterproof means stable. It does not. Even a waterproof plank will expand if the temperature changes. If you run that floor tight to the wall, it has nowhere to go. It will lift up in the middle of the room. I once saw a floor that had risen three inches off the subfloor because the installer didn’t leave a gap at the baseboards. It looked like a bubble in a pressurized tank. You have to give the floor room to breathe.
How to build a foundation that lasts decades
Long-term floor performance depends on the integrity of the fastening pattern and the stiffness of the subfloor assembly. Using ring-shank nails or screws spaced every 6 inches along the edges and every 12 inches in the field prevents subfloor movement. If you are shimming with plywood strips, you have to nail into the joist. Do not just nail into the subfloor sheeting. You need to bite into the meat of the structure. I prefer GRK fasteners because they don’t strip and they have a head that sinks itself. It is about the connection between the layers. If those layers are not locked together, they will move independently. That movement is the enemy of every flooring product on the market. Whether you are prepping for showers with a cement board overlay or laying down laminate, the prep work is 80 percent of the job. The rest is just snapping planks together.