How to Fix a Loose Tile in the Shower Without Removing Everything
The physics of the failing shower tile
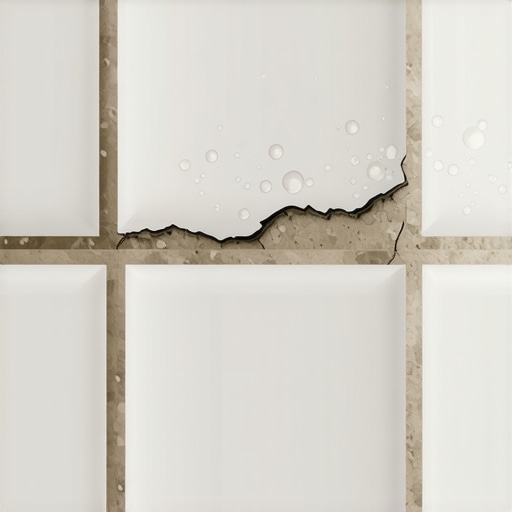
Most guys skip the leveling compound. They think the underlayment will hide the dip. It won’t. I spent three days grinding concrete on a job last month just so the floor wouldn’t click like a castanet. That same philosophy applies to your shower. I once walked into a high-end master bath where a single loose travertine tile turned into a $20,000 mold remediation project because the owner ignored a hairline crack in the grout. The water didn’t just sit there. It moved through capillary action, saturating the wallboard until it had the structural integrity of a wet cracker. Fixing a loose tile is not about aesthetics. It is a surgical procedure to restore the hydraulic integrity of a waterproof system. If you ignore the hollow thud when you tap that porcelain, you are inviting rot into your wall cavity. We are talking about the molecular bond between the thinset and the substrate. When that bond breaks, you have a mechanical failure that requires a specific chemical intervention.
The hollow sound of a failing bond
Loose shower tiles are identified by hollow sounds during a percussion test or visible grout cracking around the perimeter. To fix it without a full demolition, you must identify if the substrate is still structurally sound and dry. This requires precision removal of old grout and adhesive injection methods. Use a carbide-tipped tool to clear the joint lines before evaluating the moisture levels behind the surface.
The sound is the first giveaway. I take a plastic screwdriver handle and tap. A solid bond sounds like a sharp click. A failure sounds like a drum. That space between the tile and the mortar is an echo chamber. It is also a reservoir for soapy water and skin cells. This organic matter becomes a breeding ground for mildew. If you live in a high humidity region like the Gulf Coast, this process happens twice as fast. The moisture cannot evaporate because it is trapped behind the glaze of the tile. You are essentially looking at a petri dish in your wall. The physics of this failure usually point back to poor coverage during the initial install. If the installer didn’t use a notched trowel or failed to back-butter a large format tile, the air pockets are where the failure starts. Over time, the thermal expansion and contraction of the house cause the tile to vibrate against those high spots until the bond snaps. It is a mechanical divorce. You need to reconcile that bond without ripping the whole family of tiles out.
“A tile installation is a system, and the weakest link is often the bond coat thickness or the lack of coverage on the tile back.” – Master Flooring Axiom
The chemistry of the surgical injection
Epoxy injection resins provide a high-strength bond for stabilizing loose tiles without mechanical removal of the unit. These low-viscosity liquids penetrate the voids beneath the ceramic or stone and create a waterproof seal. This method is effective for floors and shower walls where the waterproofing membrane remains intact. The tensile strength of these resins often exceeds the original mortar bond strength.
When we talk about injection, we are looking at two-part resins. These are not your hardware store glues. We are looking at Bisphenol-A resins mixed with a specific hardener. The viscosity is the key. It needs to be thin enough to flow into the 1/64th inch gap but thick enough to stay there once it reaches the void. Once you drill a small hole into the grout line, you are creating a port. When you pump that resin in, you are displacing the air. If there is water in there, you have a problem. Epoxy does not like wet surfaces unless you use a moisture-insensitive formula. This is why I always run a dehumidifier in the bathroom for 48 hours before I even think about touching the repair. The concrete or backer board needs to be as dry as a bone. If you inject resin over moisture, you are just sealing in the rot. The chemical reaction of the epoxy is exothermic. It generates its own heat as it cures. This heat helps it bite into the pores of the tile and the substrate. It creates a mechanical key that is nearly impossible to break without a hammer and chisel.
| Adhesive Type | Bond Strength | Moisture Resistance | Application Method |
|---|---|---|---|
| Modified Thinset | High | Excellent | Trowel only |
| Epoxy Resin | Extreme | Superior | Injection or Trowel |
| Type 1 Mastic | Low | Poor | Never use in showers |
| Polyurethane | Medium | Good | Bead application |
Why your subfloor is lying to you
Subfloor deflection is the primary cause of loose floor tiles in bathrooms and entryways. If the joist spacing is too wide or the plywood thickness is insufficient, the floor flexes under weight. This movement exceeds the shear strength of the thinset mortar, causing the tiles to pop. Ensuring a L/360 rating for ceramic tiles is a requirement for a permanent fix.
I see this all the time with laminate and LVP too. People think they can just slap a floor down. In a shower, the “subfloor” is your mud bed or your backer board. If the guy who built the shower used drywall or non-rated plywood, the game is over before it starts. The tile is rigid. The house is flexible. If those two things aren’t isolated by a proper cleavage membrane or a thick enough bed of mortar, something has to give. Usually, it is the bond. In many modern homes, builders use the bare minimum for floor joists. You walk across the room and the china in the cabinet rattles. That same vibration is killing your shower floor. If you fix a tile and it pops again in six months, you don’t have a tile problem. You have a structural engineering problem. You might need to stiffen the floor from underneath in the crawlspace or basement. Without addressing the deflection, you are just putting a band-aid on a broken leg. The 1/8 inch of movement that you don’t even feel is enough to shatter a grout joint and let the water start its slow destruction of your home.
“Proper substrate preparation is non-negotiable because tile has zero tolerance for deflection.” – Master Flooring Axiom
The checklist for a permanent repair
Fixing a loose tile requires a systematic approach to ensure the waterproof envelope is not compromised. You must remove debris, dry the area, and apply the right adhesive. This checklist ensures you do not skip the structural steps necessary for a long-term bond.
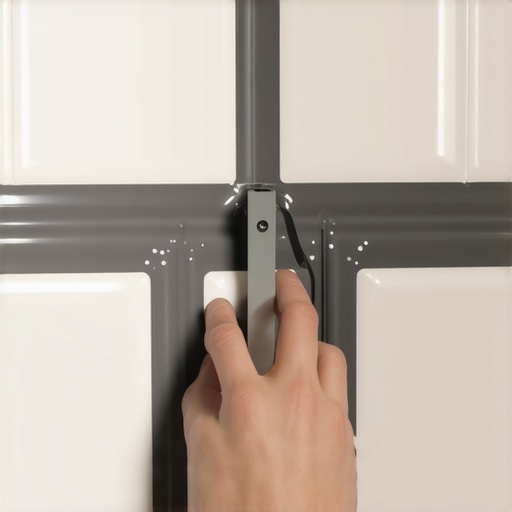
- Clear all loose grout with a manual or oscillating tool to prevent substrate damage.
- Vacuum the joints to remove microscopic dust that prevents adhesive adhesion.
- Direct a heat gun or fan at the open joint for several hours to ensure zero moisture.
- Check for any movement in the surrounding tiles to ensure the failure is localized.
- Inject the specialized tile adhesive until the void is completely filled and level.
- Weight the tile down with a heavy object to ensure it stays flush during the cure.
- Re-grout with a matching color that includes an integrated polymer sealer.
It will buckle if you don’t follow the cure times. I don’t care what the label says. Give it extra time. In a damp environment, chemicals react differently. The humidity in a bathroom can slow down the evaporation of solvents in some adhesives. I always tell clients to stay out of the shower for a full 72 hours. It sounds like overkill. It isn’t. You want that bond to reach its full Shore D hardness before you subject it to the thermal shock of a hot shower. When hot water hits a cold tile, the tile expands. If the adhesive underneath is still soft, that expansion will cause the tile to shift or create micro-fissures in the new grout. Precision is the difference between a job that lasts twenty years and a job that lasts twenty days. Stop looking at the surface. Start thinking about what is happening in those few millimeters between the porcelain and the wall. That is where the war against water is won or lost.
The ghost in the expansion gap
Expansion joints are the most misunderstood part of shower construction and tile installation. Every change of plane or material transition must have a flexible sealant instead of rigid grout. This allows the shower assembly to expand and contract without stressing the tiles. Using 100 percent silicone in these areas prevents loose tiles near corners and floors.
I have lost count of how many times I’ve seen grout shoved into the corner where the wall meets the floor. That is a rookie mistake. Grout is a rock. Rocks don’t bend. When the temperature changes, the walls and floor move in different directions. If there is grout in that joint, it will crack. Once it cracks, water gets behind the tile. Once water gets behind the tile, the bond fails. It is a simple chain of events. Always use a high-quality silicone that matches your grout color. This creates a gasket. Think of it like the suspension on a truck. It absorbs the movement so the rest of the body doesn’t take the hit. In regions with extreme temperature swings, this is even more vital. A house in Minnesota undergoes massive thermal stress compared to one in a temperate climate. The wood framing moves, the slab shifts, and the tile needs to be able to handle that. If you are fixing a loose tile near a corner, check that joint. If it is hard grout, rake it out. Replace it with a flexible sealant. This one change can prevent the surrounding tiles from popping loose in the future. It is about building a system that can breathe.