How to Cut Laminate Flooring Without Getting Jagged Edges
I spent three days grinding concrete on a job last month just so the floor wouldn’t click like a castanet. The homeowner had tried to install the boards himself before calling me. He had used a framing saw with a 24-tooth blade to cut his planks. The result was a disaster of chipped melamine and exposed fiberboard that looked like a beaver had chewed through it. He thought the floor leveling was the issue. It was not. The issue was a total lack of respect for the molecular structure of the material he was trying to manipulate. Laminate is not wood. It is a high-pressure composite, and if you treat it like a 2×4, it will break your heart and your budget.
The structural physics of a clean laminate cut
To achieve a clean finish on laminate flooring, you must understand that you are cutting through a wear layer of aluminum oxide and a decorative paper layer bonded to a High-Density Fiberboard (HDF) core. To prevent jagged edges, the saw blade teeth must enter the finished surface first or you must use a down-cut blade to ensure the melamine resin does not fracture under mechanical stress. This kerf management is the difference between a professional result and a scrap pile.
The aluminum oxide layer is essentially a sheet of liquid sandpaper hardened into a crystalline structure. On the Mohs scale of mineral hardness, it sits just below diamond. When a standard steel blade strikes this surface, the friction generates instantaneous heat. This heat can soften the resins holding the HDF core together, leading to a loss of structural integrity at the very point where you need a crisp line. If your blade is dull, it will not slice through the crystals. It will shatter them. This shattering travels inward, creating those white, jagged chips that catch the light and scream amateur hour.
Why your choice of saw blade determines the finish
A carbide-tipped blade with a high tooth count is the industry standard for cutting laminate because it resists the abrasive nature of the protective coating. For a miter saw, you need a blade with at least 80 teeth to ensure that the feed rate does not outpace the blade’s ability to clear debris. Using a low TPI blade will cause the HDF core to tear rather than shear, resulting in delamination at the cut site.
| Saw Type | Recommended TPI | Blade Material | Best Use Case |
|---|---|---|---|
| Miter Saw | 80 to 100 | Carbide Tipped | Cross-cuts and end joints |
| Table Saw | 60 to 80 | Fine Finish Carbide | Long rip-cuts for wall edges |
| Jigsaw | 20 or higher | Bimetal Down-cut | Notches around door jambs |
| Circular Saw | 60 plus | Triple Chip Grind | General rough sizing |
The Triple Chip Grind (TCG) is a specific tooth geometry that I always recommend. It features one flat tooth and one higher, chamfered tooth. The chamfered tooth does the heavy lifting by clearing a path through the aluminum oxide, while the flat tooth cleans up the edges. This prevents the blade from wandering and reduces the vibration that leads to micro-fractures in the core. If you are using a jigsaw, the vibration is your primary enemy. The reciprocating motion of the blade can cause the plank to bounce, which creates a rhythmic chipping pattern. To fight this, I always use a down-cut blade where the teeth point toward the base of the saw, pulling the material into the work table rather than pushing it away.
“A floor is only as good as the subfloor beneath it; deflection is the enemy of every joint.” – Master Flooring Axiom
The myth of the universal blade
Many big-box retailers sell universal wood blades that claim to handle laminate installation, but these are often low-quality steel that will dull within ten cuts. For a clean edge, you must invest in specialty laminate blades designed with a negative hook angle. This design ensures the blade scrapes the surface before it cuts, preventing the decorative layer from lifting away from the stabilizing layer.
When you are working in a high-humidity environment like New Orleans or Houston, the HDF core is even more sensitive. The moisture in the air causes the wood fibers in the core to swell slightly. If your blade is generating too much heat due to a poor tooth design, it will cook that moisture, creating steam pockets that blow out the side of the plank. I have seen guys ruin entire pallets of high-end laminate because they were using a blade meant for framing a deck. You are not building a deck. You are performing surgery on a compressed fiberboard specimen.
Tools that respect the fiberboard core
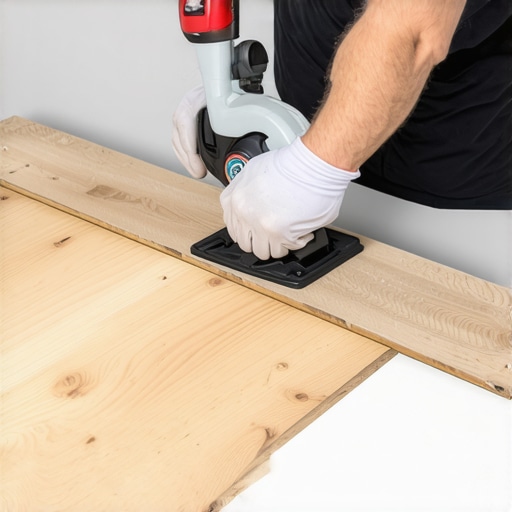
The manual laminate shear is a tool that many pros use to avoid dust and jagged edges altogether. This device works like a guillotine, using mechanical leverage to press a heavy steel blade through the plank. Because there is no high-speed friction, there is no heat generation, which keeps the structural integrity of the locking mechanism intact during the process.
However, shears have their limits. They are fantastic for cross-cuts, but for rip-cuts or intricate notches around plumbing, you are back to the saws. If you are doing a carpet install removal and replacing it with laminate, you might be tempted to use the same rough tools. Don’t. If you are doing floor leveling prior to the install, make sure the surface is dead flat. Any dip in the subfloor will cause the plank to flex as you cut it if you are using the floor as a workbench. This flex is a leading cause of jagged edges. Support the plank on both sides of the cut. If the waste piece drops off before the cut is finished, it will rip the corner every single time.
The subfloor role in cut longevity
A properly leveled subfloor ensures that the laminate planks do not move after the installation, which protects the cut edges from chipping over time. If the subfloor has a dip greater than 1/8 inch over six feet, the click-lock joints will undergo vertical deflection. This movement puts stress on the perimeter cuts, causing the expansion gap to fail and the edges to rub against the baseboards.
I have walked into jobs where the laminate was buckling. The owner said the floor was waterproof, so it shouldn’t be moving. I had to explain that waterproof refers to the surface, not the expansion physics. If you cut your planks too tight to the wall because you were afraid of the gap, the floor will lift as the temperature changes. The cut needs to be clean, but it also needs to be in the right place. A jagged cut that is hidden under a baseboard is one thing, but a jagged cut that is too tight will eventually lead to a total floor failure.
“Precision in the perimeter is the signature of a master; the gap is not a mistake, it is a requirement.” – Master Flooring Axiom
The 1/8 inch gap that ruins everything
The expansion gap is the most misunderstood part of laminate flooring installation. You must maintain at least 1/4 inch to 3/8 inch of space between the cut edge and any vertical surface. If your cuts are jagged, you might be tempted to push the plank closer to the wall to hide the blemishes, but this locking of the floor will result in peaking and joint separation.
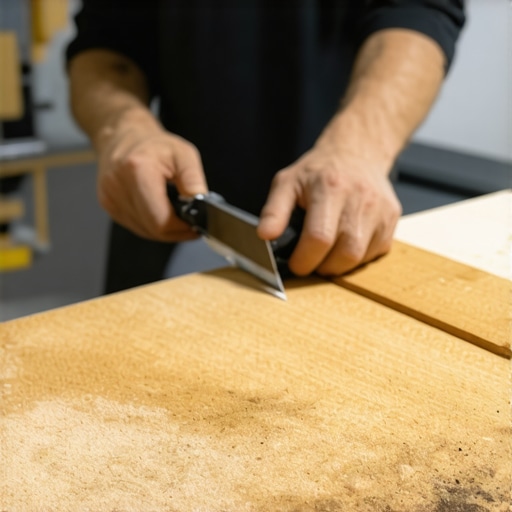
- Always score the cut line with a utility knife before using a power saw.
- Use blue painter’s tape over the cut line to hold the surface fibers in place.
- Check the blade for pitch buildup every ten cuts and clean with a solvent.
- Ensure the plank is face-down when using a circular saw or jigsaw.
- Maintain a consistent feed rate to prevent heat-related core scorching.
The blue tape trick is a favorite for a reason. It adds a layer of tension to the melamine surface. When the saw tooth tries to lift the resin, the adhesive on the tape provides just enough resistance to keep the chip from breaking off. It is a simple mechanical solution to a complex physics problem. But even with tape, if your RPM is too low, you are going to get chips. You want that blade spinning at its maximum rated speed before it touches the plank. Do not start the saw while the blade is resting against the material. That is a guaranteed way to lose a chunk of the decorative layer.
Managing the aluminum oxide shield
The protective layer of laminate is designed to resist scratches from dogs and furniture, but it makes the material brittle during fabrication. When you use a table saw, the rotation of the blade pulls the plank down toward the table. For this reason, you should always cut laminate face-up on a table saw but face-down with a circular saw or jigsaw.
This is all about the direction of the teeth. You want the teeth to be moving into the finished side of the board. If the teeth are coming out of the finished side, they are pushing the melamine away from the HDF core. Since the bond between the resin and the fiberboard is the weakest point of the plank, it will fail. This is why many beginners struggle. They treat the laminate like a piece of plywood where the direction doesn’t matter as much. With laminate, direction is everything. If you are doing a complex cut, like around a radiator pipe, use a hole saw with a high tooth count and go slow. Do not force the tool. Let the carbide do the work of grinding through the oxide shield.
Final inspection of the perimeter
Once your cuts are made and the floor is laid, the edges should be clean enough that even without the baseboards, the floor looks intentional. In bathrooms or near showers, these cut edges are vulnerable points for moisture intrusion. Even though the surface is waterproof, the HDF core is a sponge. I always recommend a bead of 100 percent silicone in the expansion gap in wet areas. This protects your clean, non-jagged cuts from swelling when the kids splash water out of the tub. A swollen edge is just as ugly as a jagged one. Respect the material, use the right TPI, and never settle for a dull blade. Your knees and your reputation will thank you later.