The Tap Test for Detecting Hollow Spots Under Your Laminate Planks
The echo of a failing subfloor
A hollow spot under laminate flooring indicates a vertical gap between the plank and the subfloor. This void usually stems from improper floor leveling or a subfloor that does not meet the industry standard of 1/8 inch flatness over a 10 foot radius. Most guys skip the leveling compound. They think the underlayment will hide the dip. It won’t. I spent three days grinding concrete on a job last month just so the floor wouldn’t click like a castanet. That job was supposed to be a simple laminate overlay. Instead, I found a 3/4 inch birdbath in the center of the living room. The homeowner had already bought the flooring. They thought the underlayment would bridge the gap. I had to explain that if we laid that floor, every step would feel like walking on a trampoline. Eventually, the tongue and groove joints would just snap. It is a common story. People focus on the wear layer. They focus on the color. They ignore the slab. A floor is a structural system. If the foundation is wavy, the finish will fail. It is physics. You cannot argue with gravity or the deflection of High Density Fiberboard under a 200 pound human. This is why the tap test is your best friend. It is the only way to hear what your eyes cannot see through the planks.
The science of the hollow pocket
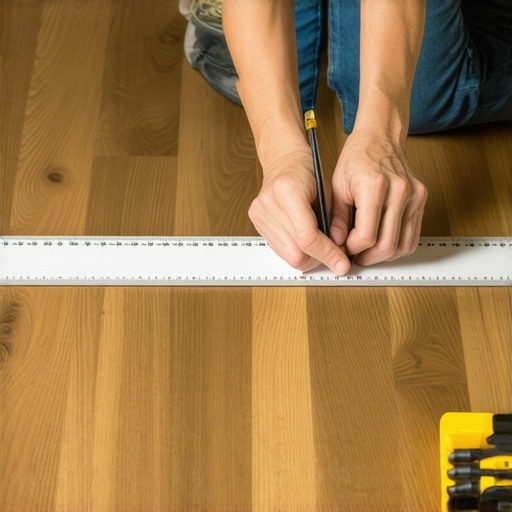
Hollow spots occur when the laminate flooring bridges a low point in the subfloor rather than resting flush against it. This creates an air pocket that resonates when struck, signaling potential joint failure and board movement under load. When you walk across a floor, your weight applies downward pressure. If there is a void, the plank flexes. Laminate is made of HDF, which is essentially compressed sawdust and resin. It has some flexibility, but the locking mechanisms are brittle. They are small. They are precise. When the board dips into a hollow, the joint is pulled apart. This is called deflection. Over time, the constant rubbing of the tongue inside the groove creates heat and friction. It wears down the locking profile. Soon, you have gapping. You have clicking. You have a floor that sounds like a haunted house. The acoustics of a hollow spot are distinct. A solid floor has a thud. A hollow floor has a ring. This ring is the sound of air vibrating between the underlayment and the subfloor. It is the sound of a mistake. If you find these spots after the baseboards are on, you are in trouble. You have to pull it all back up. Or you have to inject resin. Neither is fun. This is why you level first. You use a straight edge. You mark the floor with a crayon. You fix the birdbaths before the first plank hits the ground.
“A floor is only as good as the subfloor beneath it; deflection is the enemy of every joint.” – Master Flooring Axiom
The ghost in the expansion gap
Proper expansion gaps at the perimeter of the room are required to prevent laminate planks from peaking, which can mimic the sound of a hollow spot. Laminate expands and contracts with humidity changes, requiring at least 1/4 inch to 1/2 inch of space. Sometimes the tap test reveals a hollow sound not because the subfloor is low, but because the floor is too tight. If the planks are jammed against the wall, they have nowhere to go. They lift. They form a bridge over the subfloor. You tap it, and it sounds empty. But the problem is at the edges. I have seen guys install laminate right up to the drywall. They think it looks cleaner. They forget that the house breathes. Humidity goes up, the HDF core swells, and the floor buckles. This is why we use spacers. This is why we install baseboards over the gap, not on top of the floor. If you trap the floor, it will fight back. It will lift. It will click. If you are doing a carpet install nearby, watch the transitions. Don’t pin the laminate down with a heavy transition strip. Let it float. If it cannot move, it will arch. An arched floor is a hollow floor. It is a simple concept that many DIY installers miss because they are in a hurry to see the finished product.
| Subfloor Material | Tolerance Requirement | Preparation Method |
|---|---|---|
| Concrete Slab | 1/8 inch per 10 feet | Grinding or Self-Leveling Compound |
| Plywood Subfloor | 3/16 inch per 10 feet | Sanding Seams or Patching Compound |
| Existing Tile | Must be flat and bonded | Skim coating grout lines |
| OSB Board | Check for moisture swelling | Sanding peaked edges |
Tools for the acoustic detective
The tap test requires a heavy object like a golf ball, a large marble, or a specialized flooring hammer to strike the surface gently. You listen for changes in pitch and resonance across the entire floor. Do not use a metal hammer. You will dent the wear layer. I prefer a golf ball. It has the right weight. It has the right bounce. You drop it from about six inches. If it hits and stays quiet, the floor is solid. If it hits and rings, you have found a void. You should perform this test every few rows during installation. Do not wait until the end. If you find a hollow spot early, you can pull up three rows and fix the subfloor. If you find it at the end, you will ignore it. Then you will regret it. I once worked a job where the client had a massive shower leak in the adjacent room. The water traveled under the laminate. The subfloor swelled in one spot and stayed low in another. The tap test helped us map exactly where the subfloor had compromised without ripping up the whole room. It is a diagnostic tool. Use it to check around islands. Use it near doorways. These are high traffic areas. A hollow spot in a doorway will fail within six months. The constant foot traffic will snap the headers. You cannot hide from the physics of a doorway.
“Subfloor flatness is the single most important factor in the longevity of a floating floor system.” – National Wood Flooring Association
The chemistry of the repair
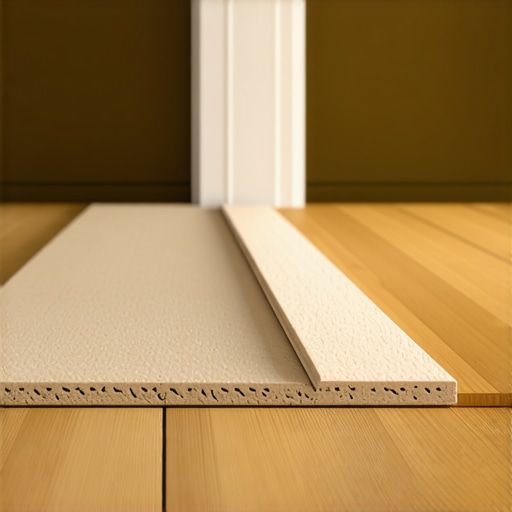
Fixing a hollow spot without removing the floor involves injecting a low viscosity technical resin through a small hole drilled in the plank. This resin fills the void and hardens to provide structural support. This is a last resort. It is messy. The resin is expensive. It is often a two part epoxy or a specialized polyurethane. You drill a 1/8 inch hole in a dark grain line or a knot in the laminate pattern. You pump the liquid in. You place a heavy weight on the spot. The resin spreads out. It fills the air pocket. It cures. Now, when you step there, the floor is solid. But you have a hole to hide. You use a floor repair wax kit. You melt the wax into the hole. You level it. If you are good, nobody sees it. If you are sloppy, it looks like a cigarette burn. This is why I always tell people to spend the money on floor leveling first. A bag of self leveler is thirty bucks. A resin injection kit is eighty. Plus your time. Plus the risk of the resin squishing out of the joints and ruining the finish. Do the work on the front end. Level the floor. Use a high quality underlayment with a high compression strength. Cheap underlayment is just foam. It compresses too much. It creates its own hollow spots as it wears down. You want something with a high density. It supports the joints. It dampens the sound.
- Check subfloor moisture levels before installation.
- Use a 10 foot straight edge to identify low spots.
- Apply a primer before using self-leveling compounds on concrete.
- Ensure the underlayment is not overlapped at the seams.
- Vacuum the subfloor twice to remove every pebble and grain of sand.
- Maintain a consistent indoor temperature for 48 hours before laying planks.
The 1/8 inch that ruins everything
A subfloor deviation of just 1/8 inch can cause enough deflection to break the locking mechanism of a laminate floor over time. Precision in the leveling phase is the difference between a 20 year floor and a 2 year floor. I have seen guys try to fix dips with layers of roofing felt or extra underlayment. Do not do this. Underlayment is soft. If you stack it, you create a soft spot. The floor will bounce. The bounce is just as bad as the hollow. You need a rigid fix. If the subfloor is wood, use a floor patch that hardens like stone. If it is concrete, use a leveler that flows like water. You want a flat, boring, dead surface. That is the secret to a great install. When I walk onto a job and see a perfectly level slab, I know it is going to be a good day. When I see a slab that looks like the surface of the moon, I know I am going to be there for a week. Homeowners do not want to hear that. They want the pretty planks. But the pretty planks are just a veneer. The real floor is the concrete beneath it. If you treat that concrete with respect, your laminate will sound solid. It will feel solid. It will last. If you ignore the slab, the tap test will find you out. It always does. The sound of a hollow floor is the sound of a shortcut. Do not take shortcuts. Do the work. Grind the high spots. Fill the low spots. Then, and only then, open the boxes of flooring. You will thank me in ten years when your floor is still quiet.