Why Your Self-Leveling Compound is Still Soft After 24 Hours
The nightmare of the soft subfloor
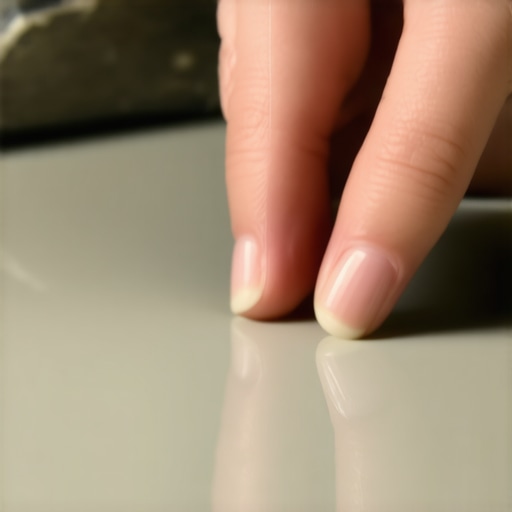
Most guys skip the leveling compound. They think the underlayment will hide the dip. It won’t. I spent three days grinding concrete on a job last month just so the floor wouldn’t click like a castanet. I walked into that job after another installer had dumped forty bags of self-leveler onto a cold slab without a lick of primer or a moisture test. When I arrived, twenty-four hours later, I could still push my thumb into the material like it was wet clay. It was a fifteen-hundred-dollar mistake that ruined the timeline and the budget. If your floor is still soft, you are likely looking at a failure of chemistry, not just a slow drying time.
The chemistry of a failed cure
Self-leveling compound stays soft after 24 hours because the hydration process has been interrupted by improper water ratios, low ambient temperatures, or excessive substrate moisture. This is not paint. It does not dry by evaporation alone. It cures through a chemical reaction. If the molecular bond of the Portland cement or calcium aluminate is compromised, the material will never reach its rated compressive strength. This often happens when a DIYer or a rushed pro adds just a splash more water to make the pour flow easier. That extra water dilutes the polymers and breaks the crystalline structure before it even begins to knit together.
“A floor is only as good as the subfloor beneath it; deflection is the enemy of every joint.” – Master Flooring Axiom
Why primer is not optional
Failing to prime the subfloor is the most common reason for soft or bubbling self-leveling compound. The substrate is essentially a giant, dry sponge. If you pour wet compound onto an unprimed concrete slab or plywood deck, the substrate will instantly suck the water out of the bottom layer of the mix. This creates a flash-set at the interface while leaving the top of the pour soupy and weak. The primer acts as a bridge. It seals the pores of the concrete so the water stays in the compound where it belongs, allowing the chemical hydration to complete its cycle. Without that moisture retention, the bottom of your leveler turns to dust and the top stays soft because the balance of the mix is destroyed.
Water ratios and the death of structural integrity
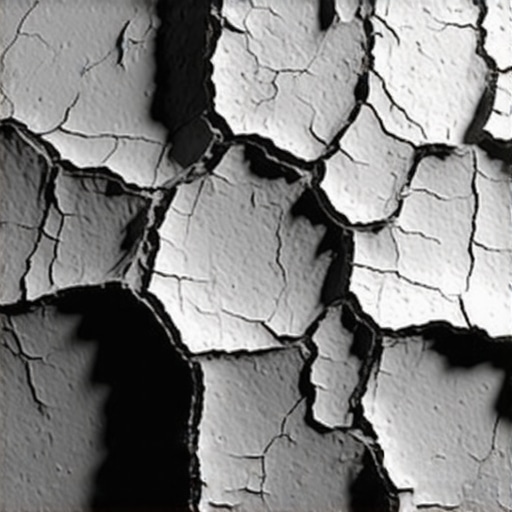
Precise water measurement is the difference between a rock-hard floor and a chalky mess that will eventually crack under your laminate. Every manufacturer has a specific range, usually measured in quarts. If the bag calls for 5.5 quarts and you use 6, you have increased the water volume by nearly ten percent. This results in segregation. The heavy aggregates sink to the bottom, and the fine polymers and water rise to the top. This creates a surface layer that looks like a floor but has the structural integrity of a cracker. I have seen guys try to mix by eye in a five-gallon bucket. That is a recipe for disaster. Use a graduated cylinder. Use a low-RPM drill so you do not whip air into the mix, which creates pinholes and further weakens the slab.
Environmental factors that freeze the clock
The climate of the room dictates the speed of the cure and the final hardness of the leveling underlayment. In high-humidity areas like Houston, the air is already saturated. The water in the mix has nowhere to go, which slows the hydration process to a crawl. Conversely, if the room is too cold, the chemical reaction simply stops. Most compounds need to be above fifty degrees Fahrenheit to move. If you are working in an unheated basement in the dead of winter, that compound might stay soft for three days. You also have to watch out for drafts. A fan blowing across a fresh pour will cause the surface to skin over while the middle remains wet, leading to map cracking.
The specific needs of showers and wet areas
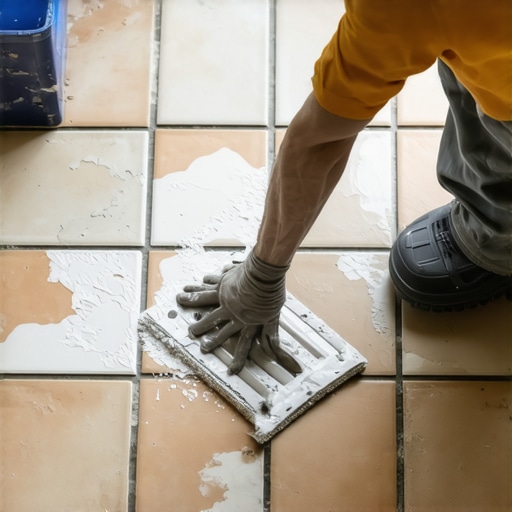
Self-leveling in a shower requires specific waterproof polymers and a much higher level of precision than a standard bedroom floor. When preparing for a tile install in a wet area, you are often using a rapid-setting compound that is designed to handle moisture. However, if the subfloor has standing water or if the moisture vapor emission rate (MVER) is too high, the compound will fail to bond. According to the Tile Council of North America, the subfloor must be stable and properly prepared to prevent grout cracking. If your shower floor is still soft, do not even think about laying tile. The weight of the thin-set and the tile will cause the soft leveler to compress, and your beautiful shower will be leaking within six months.
“Substrate preparation is the most critical phase of any tile installation; shortcuts lead to systemic failure.” – TCNA Handbook Standards
Preparing for laminate and carpet over soft patches
Laminate and carpet require a solid base to prevent mechanical failure of the locking systems or stretching of the fibers. If you lay a click-lock laminate floor over a soft or dusty leveling compound, every step you take will grind that soft material into powder. Eventually, the floor will begin to bounce. You will hear a crunching sound. That is the sound of your subfloor disintegrating. For carpet install, a soft leveler will cause the tack strips to pull right out of the floor. You cannot stretch a carpet onto a subfloor that has the consistency of a graham cracker. You need to verify the hardness by scratching the surface with a nail. If it leaves a deep gouge after twenty-four hours, the pour is a failure.
Comparing different leveling technologies
Not all compounds are created equal. You have to match the product to the substrate and the finish flooring. Portland-based products are the industry standard for strength, while gypsum-based products are often used over radiant heat systems because they do not shrink as much. Understanding these differences is vital before you start the pour.
| Compound Type | Best Substrate | Typical Set Time | Hardness Rating |
|---|---|---|---|
| Portland-Based | Concrete Slabs | 4 to 6 Hours | 5,000 PSI |
| Gypsum-Based | Wood / Radiant | 2 to 4 Hours | 3,500 PSI |
| Polymer-Modified | All surfaces | 2 to 12 Hours | 4,500+ PSI |
The checklist for a successful pour
- Measure the moisture content of the slab with a calcium chloride test.
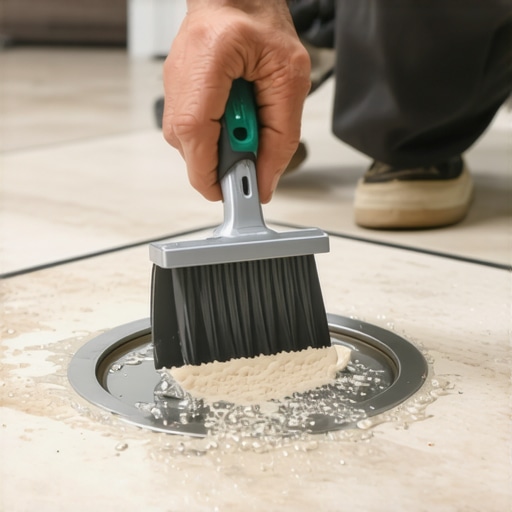
- Vacuum the floor twice to remove all laitance and dust.
- Apply the manufacturer-approved primer with a soft-bristled brush.
- Check the room temperature and ensure it stays between 65 and 75 degrees.
- Measure water to the exact ounce using a graduated container.
- Mix for exactly the time specified on the bag with a high-torque, low-speed drill.
- Use a spiked roller to release trapped air immediately after pouring.
- Allow the floor to cure for double the time if the humidity is above sixty percent.
The ghost in the expansion gap
Most people think a floor ends at the wall. It doesn’t. If you pour your self-leveling compound right up to the drywall without an expansion strip, you are asking for trouble. Concrete and wood expand and contract with the seasons. If the leveler is locked against the studs, it has nowhere to go when the house settles or the humidity spikes. It will hump up in the middle or crack at the edges. I always use a foam sill sealer around the perimeter. It looks like a small detail, but it prevents the floor from crushing itself. If your compound is soft and you also didn’t leave a gap, the problem will only get worse as it dries and begins to pull at the walls.
Why your subfloor is lying to you
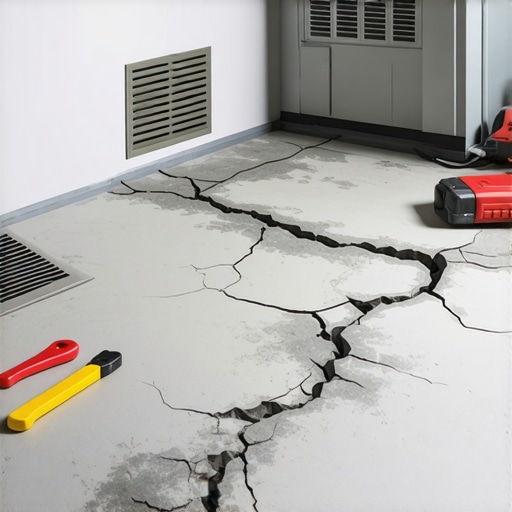
Sometimes the floor looks flat but it is actually a series of waves. This is why we use a ten-foot straightedge. If you find a dip that is deeper than a quarter inch, you cannot just pour leveler into the hole and walk away. You have to feather the edges. If the compound is still soft in those deep pockets, it is because the mass of the material is generating heat. This is an exothermic reaction. In deep pours, the middle can stay wet much longer than the surface. You have to wait. If you try to walk on it too soon, you will leave a permanent footprint in the structural heart of your floor. This is especially true if you are prepping for a thin-set tile application where every millimeter of height matters.
Steps to take if the floor will not harden
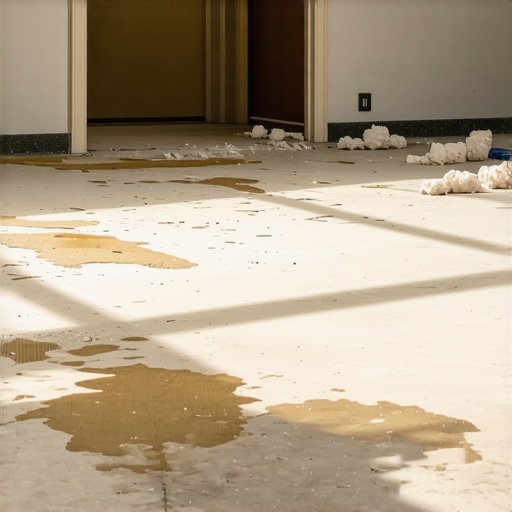
If it has been forty-eight hours and the floor is still soft, you have to make a hard choice. First, check the temperature. If it is cold, try to bring the room up to seventy degrees with a space heater, but do not point the heater directly at the floor. If the floor is still soft after three days, it is likely a bad mix or a bad batch of product. At that point, you have to scrape it up. It is a miserable job. I have spent days with a floor scraper and a shop vac cleaning up a failed pour. You cannot save it by pouring more on top. You have to get back to the original substrate, re-prime, and start over. It is better to lose three days now than to have the entire floor fail in a year.