How to Spot a Leaking Shower Pan Before the Ceiling Below Fails
The Hidden Disaster Beneath Your Bathroom Tile
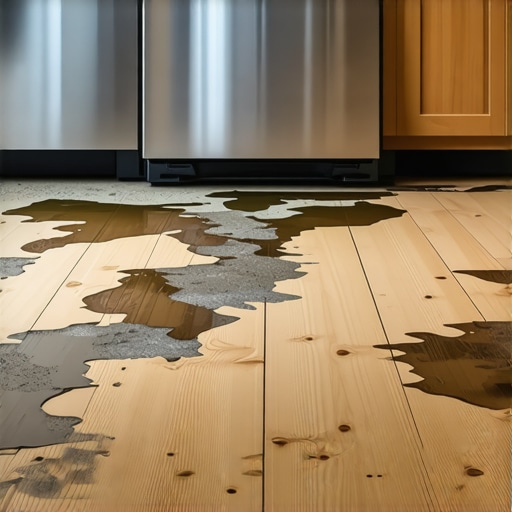
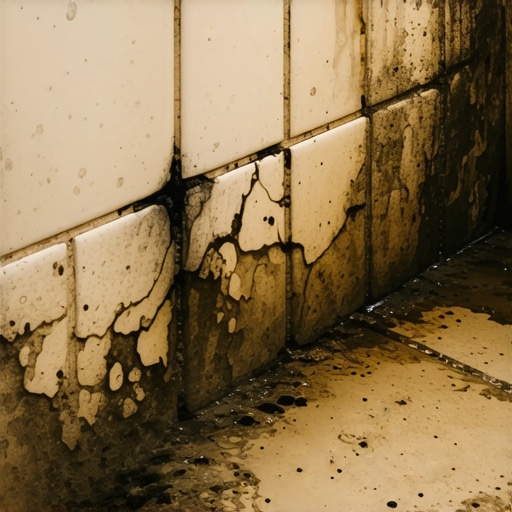
I spent three days grinding concrete on a job last month just so the floor wouldn’t click like a castanet. That was a cakewalk compared to the catastrophe I found in a master suite in Georgia. The client noticed a small ripple in their hallway carpet. It was subtle. Most people would have just ignored it or blamed a bad carpet install. I pulled back the padding and found a literal swamp. The subfloor was a black, pulpy mess of rotting plywood that had been drinking water from a leaking shower pan for three years. The tile looked fine. The grout looked fine. But underneath, the structure was failing. If you do not understand the physics of moisture migration, you are just waiting for your house to rot from the inside out. Flooring is not about what you see on the surface. It is about the structural integrity of the assembly from the joists up.
The subtle betrayal of the bathroom baseboard
Signs of a shower pan leak often appear first in the adjacent rooms as swollen baseboards or discolored flooring materials. Look for dark spots on the bottom of the trim or a slight separation between the baseboard and the floor. This indicates that the subfloor is saturated and the wood is expanding. Most homeowners wait for a ceiling stain downstairs. By the time that happens, the rot has already compromised the floor joists. You must act the moment you see a change in the perimeter of the room. Water does not stay put. It uses the thin-set under your tile as a sponge, pulling moisture across the room via capillary action. If you have laminate flooring nearby, check for peaking at the joints. Laminate is basically compressed sawdust and resin. It will buckle the moment it touches a moisture level above twelve percent. If your floor leveling compound is starting to crumble or turn into a white powder, that is efflorescence. It is a sign that water is moving through the slab and bringing salts to the surface. It is the calling card of a failed waterproof membrane.
“A floor is only as good as the subfloor beneath it; deflection is the enemy of every joint.” – Master Flooring Axiom
The ghost in the expansion gap
Expansion gaps are required for all floating floors to allow for natural movement caused by humidity shifts. When a shower pan leaks, these gaps become the primary collection point for trapped moisture. If you notice a musty smell that persists even after cleaning the bathroom, the water is likely trapped under the underlayment. In a carpet install, the tack strip will be the first thing to fail. The nails will rust and the wood strip will turn black. This is a definitive sign of a recurring moisture problem. I have seen guys try to install new carpet over a damp slab. It is a recipe for mold growth that can affect the air quality of the entire home. You cannot hide a leak with a new layer of flooring. The moisture vapor transmission rate will simply increase until the new material fails too. If you are dealing with a concrete slab, you need to be checking for hydrostatic pressure. Water can be pushed up through cracks in the concrete by the weight of the water table outside, but in a bathroom, it is almost always the shower liner or the drain assembly. The chemical bond of your adhesive will break down in a high-alkaline environment created by constant moisture. It will turn into a gooey, sticky mess that never dries.
The one eighth inch that ruins everything
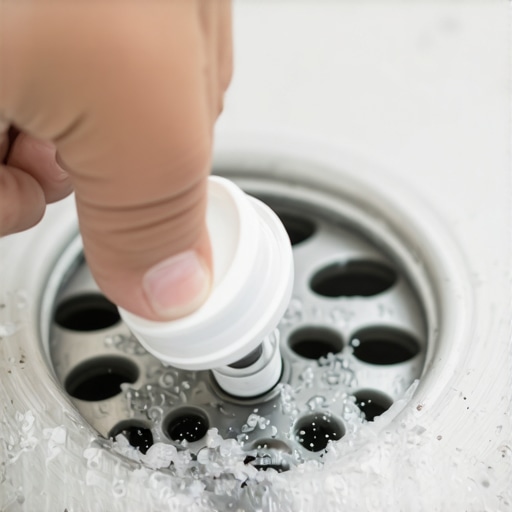
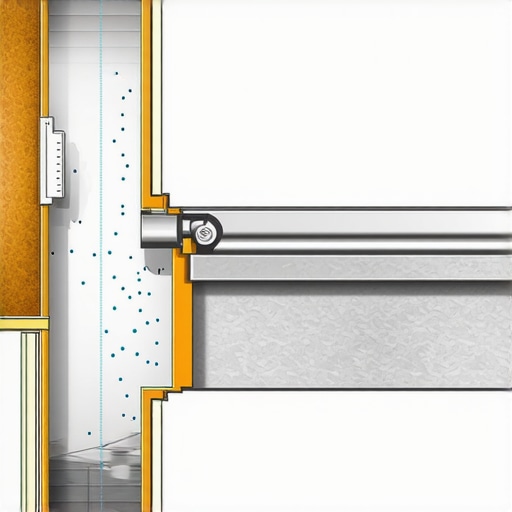
A leak often starts at the drain where the clamping ring meets the waterproof liner. If the installer did not use a pebble guard or if the weep holes are clogged, water will sit in the mortar bed forever. This is called a saturated mud bed. It creates a constant state of dampness that eventually rots the wooden framing. This is why the Tile Council of North America has such strict rules about the pre-slope. The liner should never sit flat on the subfloor. It must be sloped toward the drain. Without that slope, the water just pools in the corners. Eventually, it finds a staple hole or a small tear in the PVC or CPE liner. Then the real damage starts. Below is a comparison of how different flooring types react to this hidden moisture.
| Material Type | Moisture Tolerance | Failure Mode | Acclimation Needs |
|---|---|---|---|
| Solid Hardwood | Very Low | Cupping and Crowning | 7 to 14 Days |
| Engineered Wood | Moderate | Delamination | 3 to 5 Days |
| Laminate Flooring | Low | Joint Peaking | 48 Hours |
| Luxury Vinyl Plank | High | Adhesive Failure | 48 Hours |
The physics of the shower curb
The curb is the most common failure point in a traditional tiled shower. Most contractors nail their cement board right through the top of the curb, piercing the waterproof liner multiple times. This is gross negligence. Every one of those nail holes is a potential leak point. Water wicks up the grout lines, gets behind the tile, and follows the nail down into the wooden framing of the curb. From there, it travels into the subfloor of the bathroom and into the bedroom. If you have carpet installed against the bathroom tile, the transition strip is where you will see the damage. The wood will feel soft. The carpet will feel damp. You need to use a moisture meter. I never trust my eyes. I trust a pinless meter that can read the moisture content through the tile. If I see a reading of twenty percent or higher in the subfloor, that shower is coming out. There is no shortcut. You cannot seal a leak from the top. You have to rebuild the pan using modern methods like a bonded membrane system. These systems are superior because they keep the water on the surface of the tile rather than letting it soak into a mortar bed. They are mandatory in high-humidity regions like Florida or the Gulf Coast where wood rot happens twice as fast.
“The integrity of the waterproofing system is independent of the decorative finish; the liner must be leak-proof before a single tile is set.” – TCNA Handbook Standards
The moisture detection checklist
Perform these checks every six months to catch a leak before it destroys your structure. Regular maintenance is the only way to avoid a ten thousand dollar repair bill. Follow these steps carefully.
- Inspect the grout joints at the floor and wall transition for any hairline cracks.
- Press on the bottom row of wall tiles to check for any movement or softness.
- Look for dark staining on the ceiling directly below the bathroom.
- Check the hallway flooring for any signs of swelling or unusual texture.
- Sniff near the floor for any earthy or musty odors that do not go away.
- Examine the baseboards for paint bubbling or wood expansion.
- Check the silicone caulk around the drain and the curb for any peeling.
Regional climate and subfloor resilience
Environmental conditions play a huge role in how fast a leak will destroy your home. In the swampy humidity of Houston or New Orleans, a wet subfloor will never dry out on its own. The ambient humidity is too high. This leads to rapid fungal growth and structural decay. In dry climates like Phoenix, you might not see the mold, but the wood will dry and shrink so rapidly when the leak stops that it will crack and splinter. This ruins the levelness of the surface. If you are planning a floor leveling project, you must ensure the moisture source is gone. Putting self-leveling underlayment over a damp subfloor is a waste of money. The product will not bond to the wet wood or concrete. It will crack and pop as the house shifts. You need a dry, stable surface for any flooring installation to succeed. I have seen homeowners spend a fortune on Italian marble only to have it crack because they didn’t want to spend the money to fix a three hundred dollar plumbing leak. Do not be that person. Respect the subfloor. It is the foundation of your home. If the pan is leaking, rip it out and do it right. Use a topical waterproofing membrane and follow the manufacturer instructions to the letter. This is the only way to ensure your floor lasts for another thirty years without a failure.